Hi everyone! It’s Lindsay here with you all today and I am so excited to share today’s video tutorial with you all. Today’s tutorial is a simple one. It’s all about creating a DIY birthday card with the new “Go There” (Digital) stamp set from Joy Clair stamps! Be sure to watch the video tutorial below for all the details on how to create this simple handmade greeting card!
The Video Tutorial
The video tutorial above contains products that were sent to me free of charge for design purposes. I only ever design for companies I can stand behind 100%! This post also contains affiliate links.
Making the Birthday Card
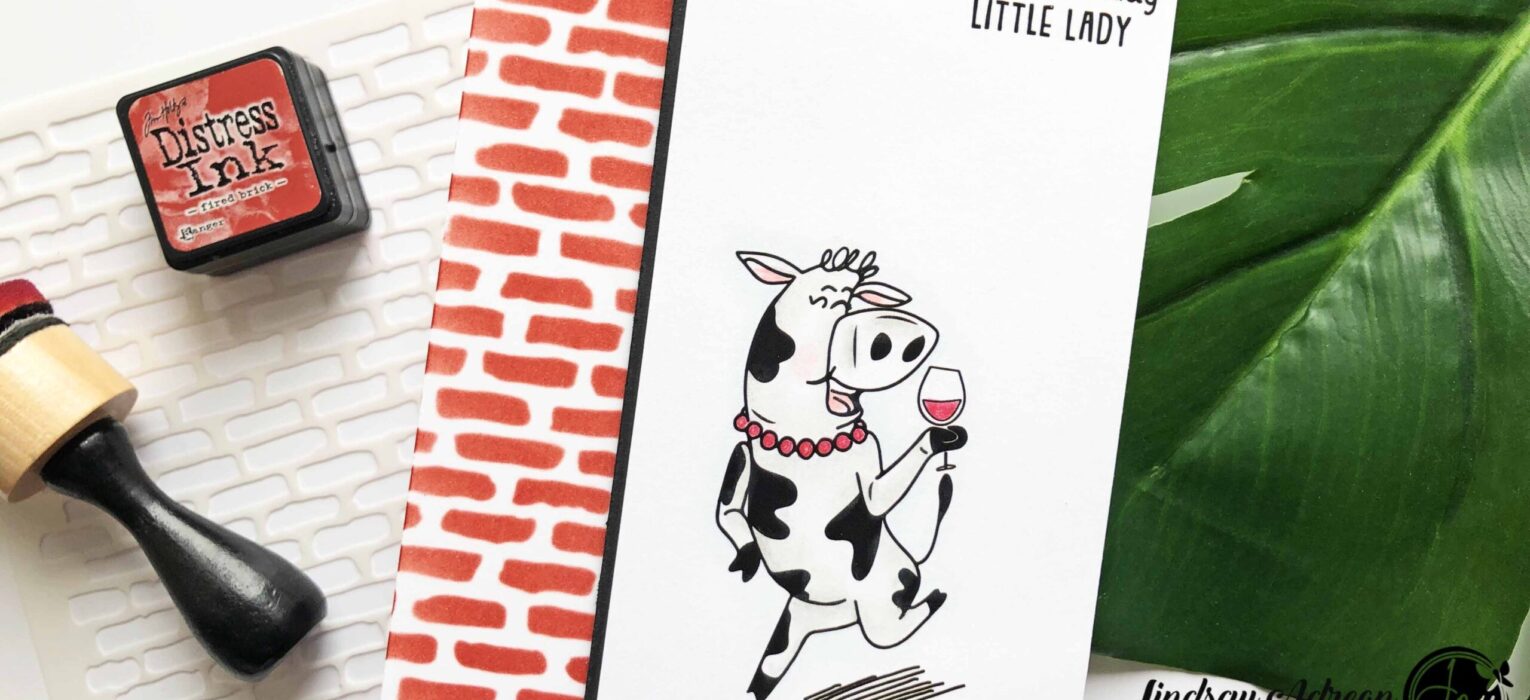
To create this card I used the digital form of the Go There set, however, you can easily recreate this card with the stamp set as well. I did keep the images the same size as the stamp set.
To create my main image panel, I used the cow and wine glass (which fits perfectly in her hoof) and also the Happy Birthday Little Lady sentiment. I arranged them in Photoshop Elements and printed them off with my laser printer

What Printer Do I Use For Digital Images?
I see this question SO often. I use a laser printer, specifcally a very cheap Brother printer that only prints in black and white. The reason I recommend a laser printer over an ink jet is simple. When I use a laser printer I don’t have to think about my coloring medium. They work with alcohol markers, watercolor, colored pencils and OMS, etc. Also, as long as I use the correct settings for my cardstock, I know the toner is set and baked on and I can use it IMMEDIATELY. There is no wait time or dry time!
I understand a laser printer is more of an investment initially. However, by the time I figure in ink costs of an ink jet, how often I am changing out inks versus toner cartridges, and wasted ink when it runs, the laser is well worth that initial cost.
Back to the DIY Birthday Card!
After printing, it was time to color. This coloring took no time at all! I did use light grays to add a little shading to the cow, maroons for the wine and necklace, and a little pink to the cheeks and ears. SUPER SIMPLE!

The last component of this DIY birthday card, was the stenciling. I kept it very simple and added a brick pattern with Fired Brick Distress Ink directly to the card base.

The very final step was putting everything together. I added a strip of black cardstock to the stamped panel. Then, popped that panel up onto the card base with foam adhesive for added dimension!

I hope you all enjoyed a look a this simple DIY birthday card made with the new Go There stamp set! If you are interested in any of the supplies I used they are all listed and linked down below! Until next time, happy crafting everyone!!
Supply List
Affiliate links are used
 Go There Digital Set Shop at: JCS |  Go There Stamp Set Shop at: JCS |  Brother HL-L2300D Monochrome Laser Printer Shop at: AMZ |  Tombow Mono Multi Glue Shop at: SB.com | AMZ |
 Scotch Delicate Surface Painter’s Tape Shop at: AMZ | 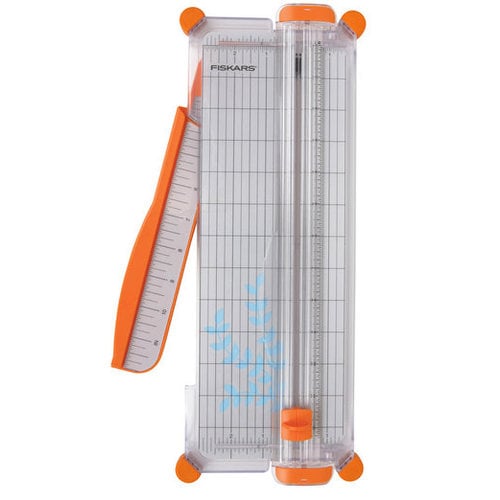 Fiskars – 12 Inch Personal Paper Trimmer with Cut-Line Shop at: SB.com | AMZ |  Teflon Bone Folder Shop at: AMZ |  The Crafter’s Workshop – 6 x 6 Doodling Templates – Micro Bricks Shop at: SB.com |
 2 Rolls Double Sided Foam Tape Shop at: AMZ | 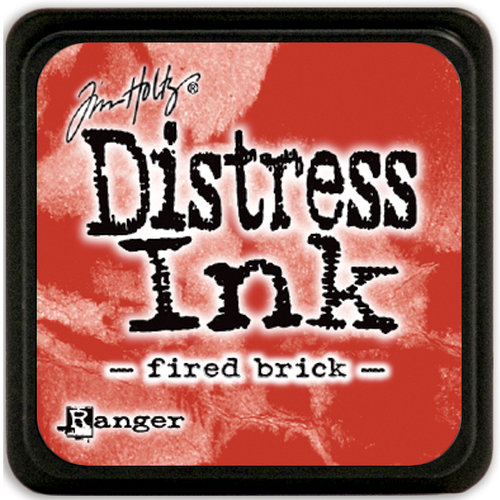 Distress Ink Mini – Fired Brick Shop at: SB.com | AMZ | 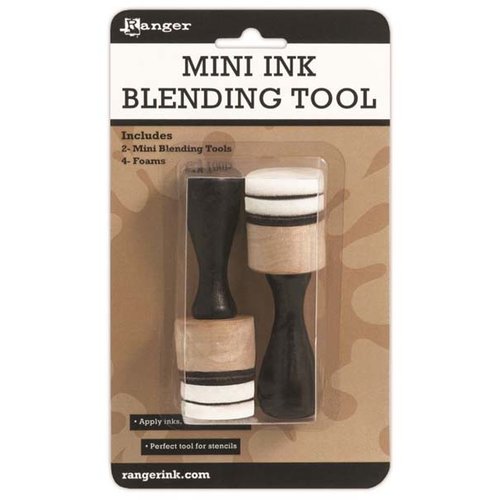 Ranger Ink – Tim Holtz – Mini Ink Blending Tool – Round Shop at: SB.com | AMZ |  Prismacolor Premier Colored Pencils, Soft Core, 132 Pack Shop at: AMZ |
 Gamblin Gamsol Oil Color, 16.9 oz, Clear Shop at: AMZ |  Dappen Dish Glass Shop at: AMZ |  Pipettes (20 PCS) Shop at: AMZ |  Blending Stumps and Tortillions Shop at: SB.com | AMZ |
 Westcott PRO-Point CarboTitanium Recycled iPoint Evolution Electric Pencil Sharpener Shop at: AMZ |
