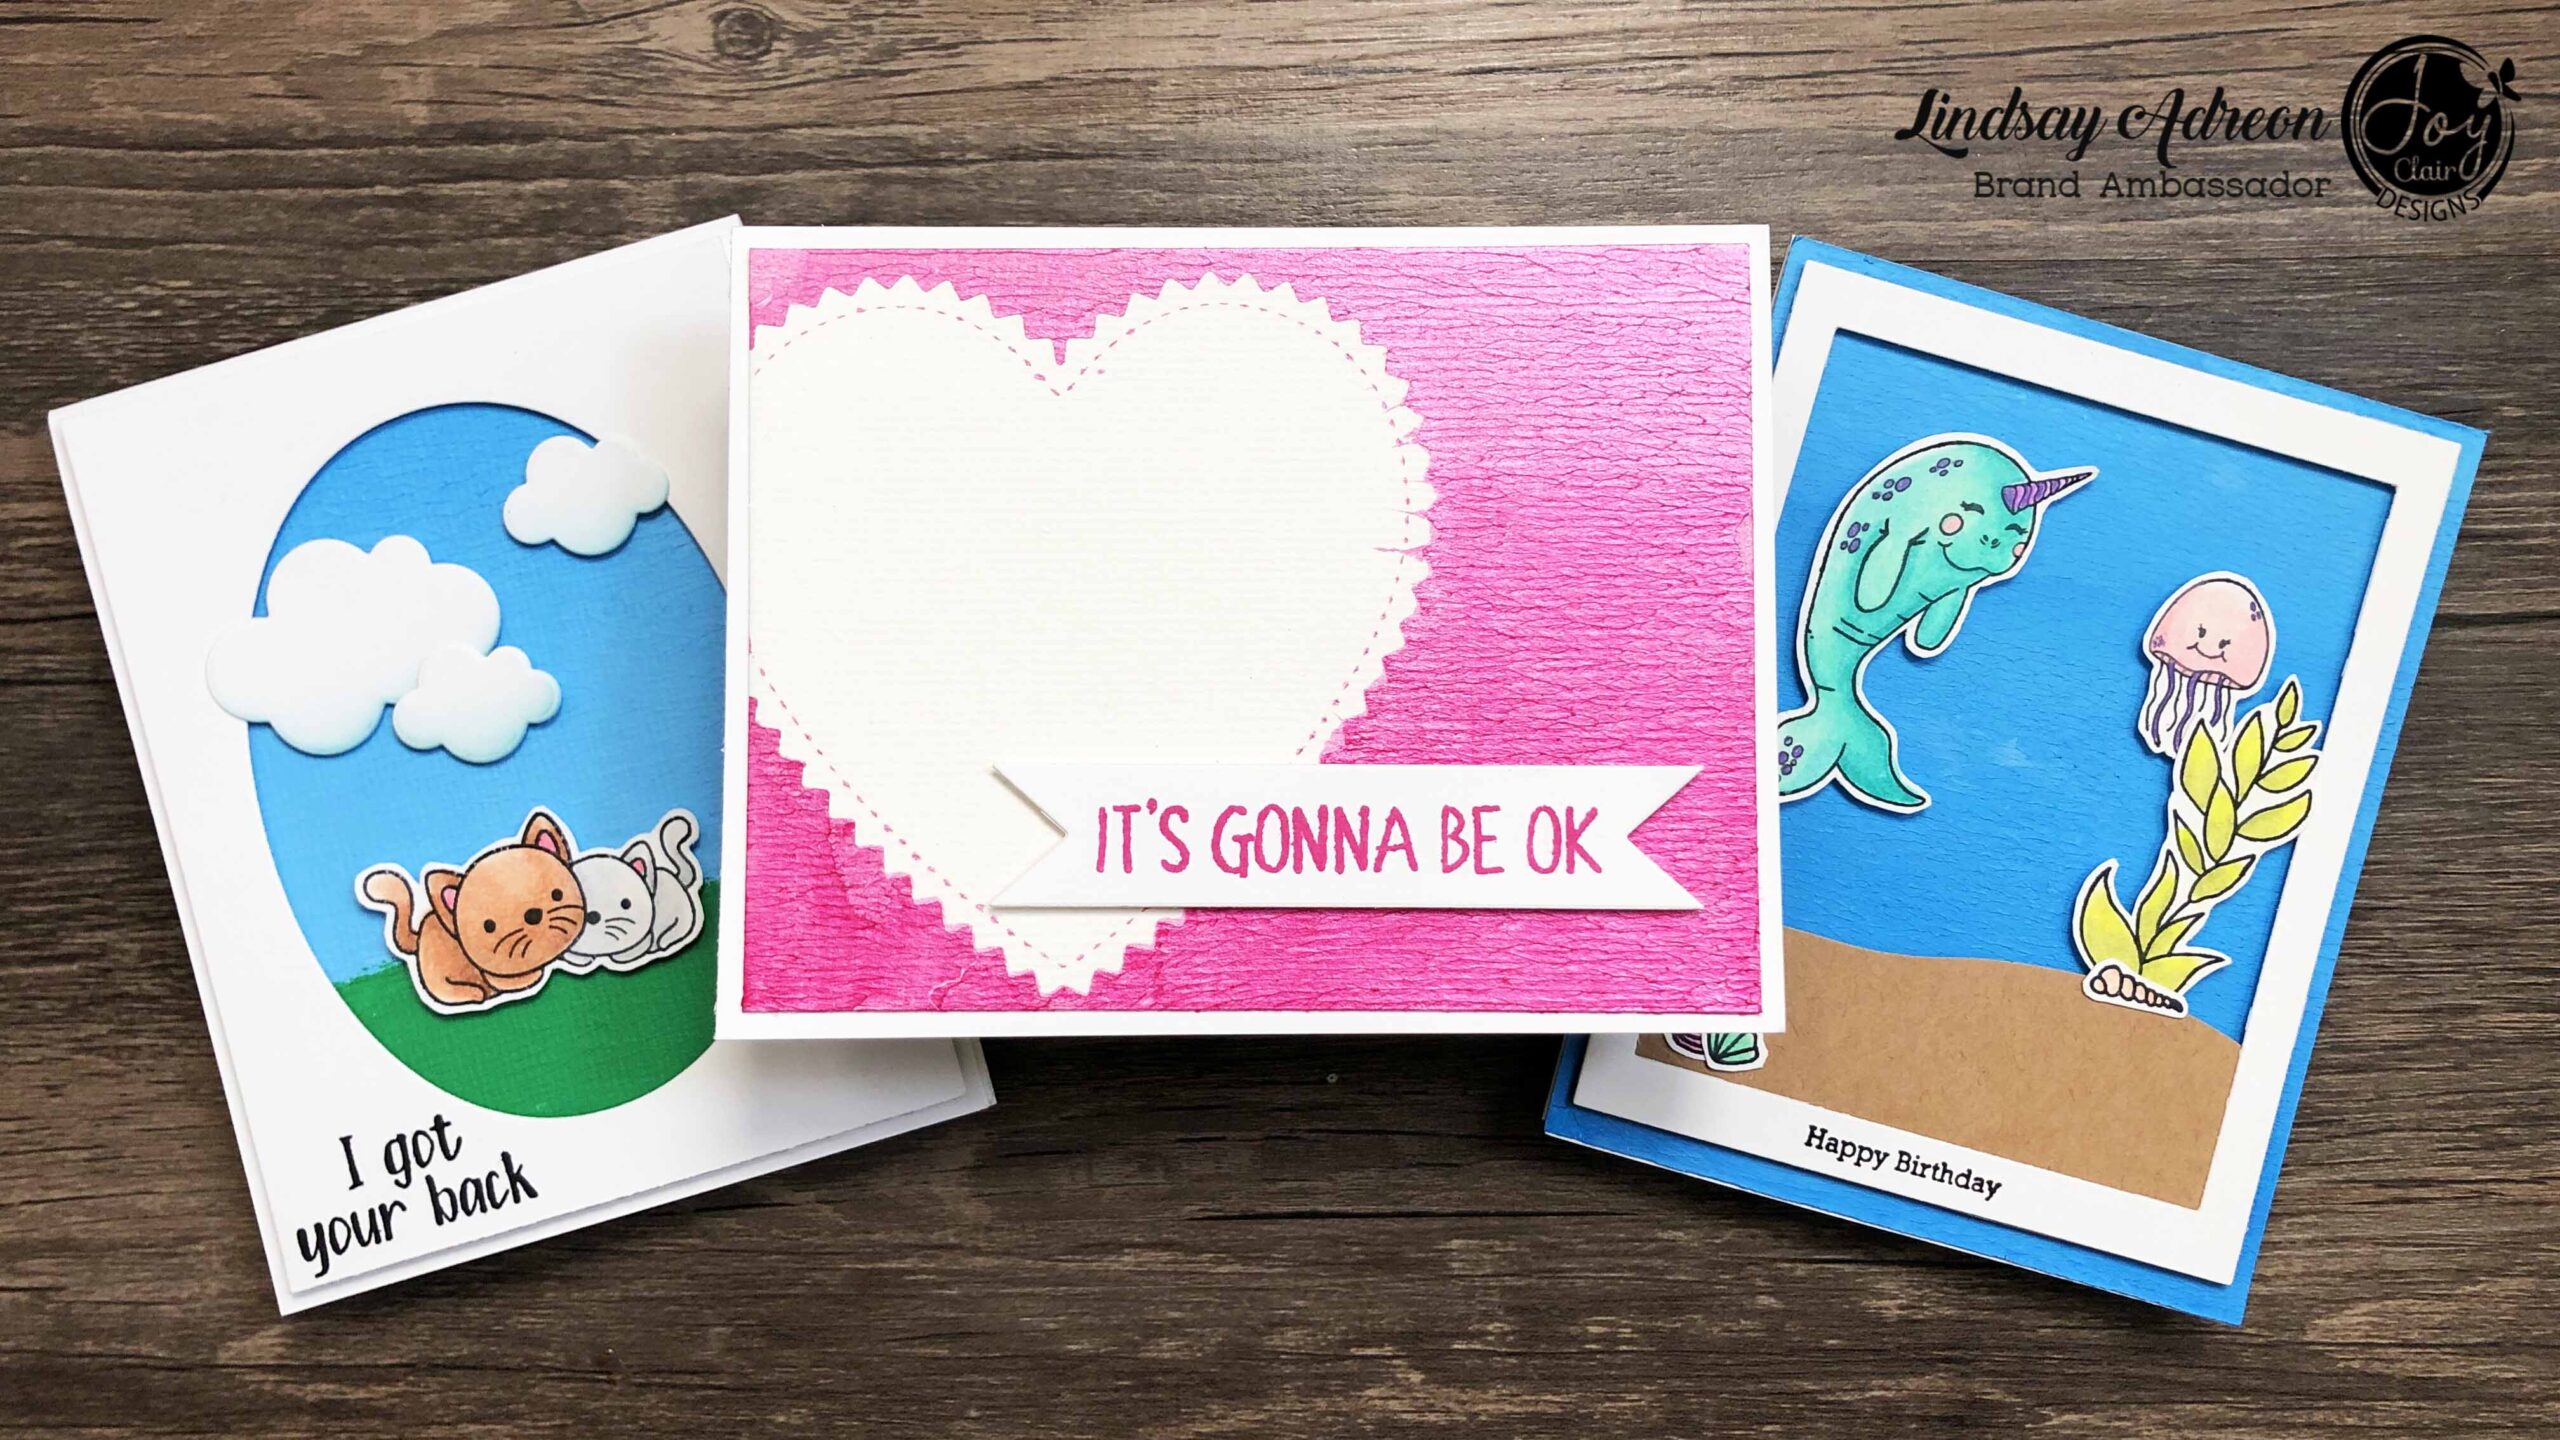
Hi everyone! It’s Lindsay here with you today sharing another cardmaking video with you all. Today, it’s all about the brayered background cardmaking technique!
I love creating backgrounds for my handmade greeting cards and one quick way to do that is with your ink brayer! All you need is a acrylic paint and watercolor paper and along with your brayer you can create really easy backgrounds that have amazing texture! Be sure to watch the video tutorial below for all the details!
[aux_divider width=”medium” style=”solid” margin_top=”20″ margin_bottom=”20″ extra_classes=””]
The Brayered Background Video Tutorial
[aux_divider width=”medium” style=”solid” margin_top=”20″ margin_bottom=”20″ extra_classes=””]
The Brayered Background Cardmaking Technique
This cardmaking technique is so simple! First, start by placing your acrylic paint onto a palette, I use a sheet of blank stencil material or a laminated piece of cardstock. Then, with your brayer, start spreading the paint and making sure that your brayer is completely covered in a smooth coat of the paint. Next, it’s time to start rolling it onto the paper! I use a back and forth motion, making sure to spread the paint in an even layer over the watercolor paper. When you’re happy with the way your background looks, all that’s left is to let it dry!
A few things I want to mention, these backgrounds are great for blending colors and making ombres. Play around with the different colors of paint and see what you can come up with! Also, I use heavy body acrylic paints which give the best coverage and results. But cheaper acrylic paints will work, too. You will just need to add more layers!
Making the Cards
Happy Birthday Handmade Card
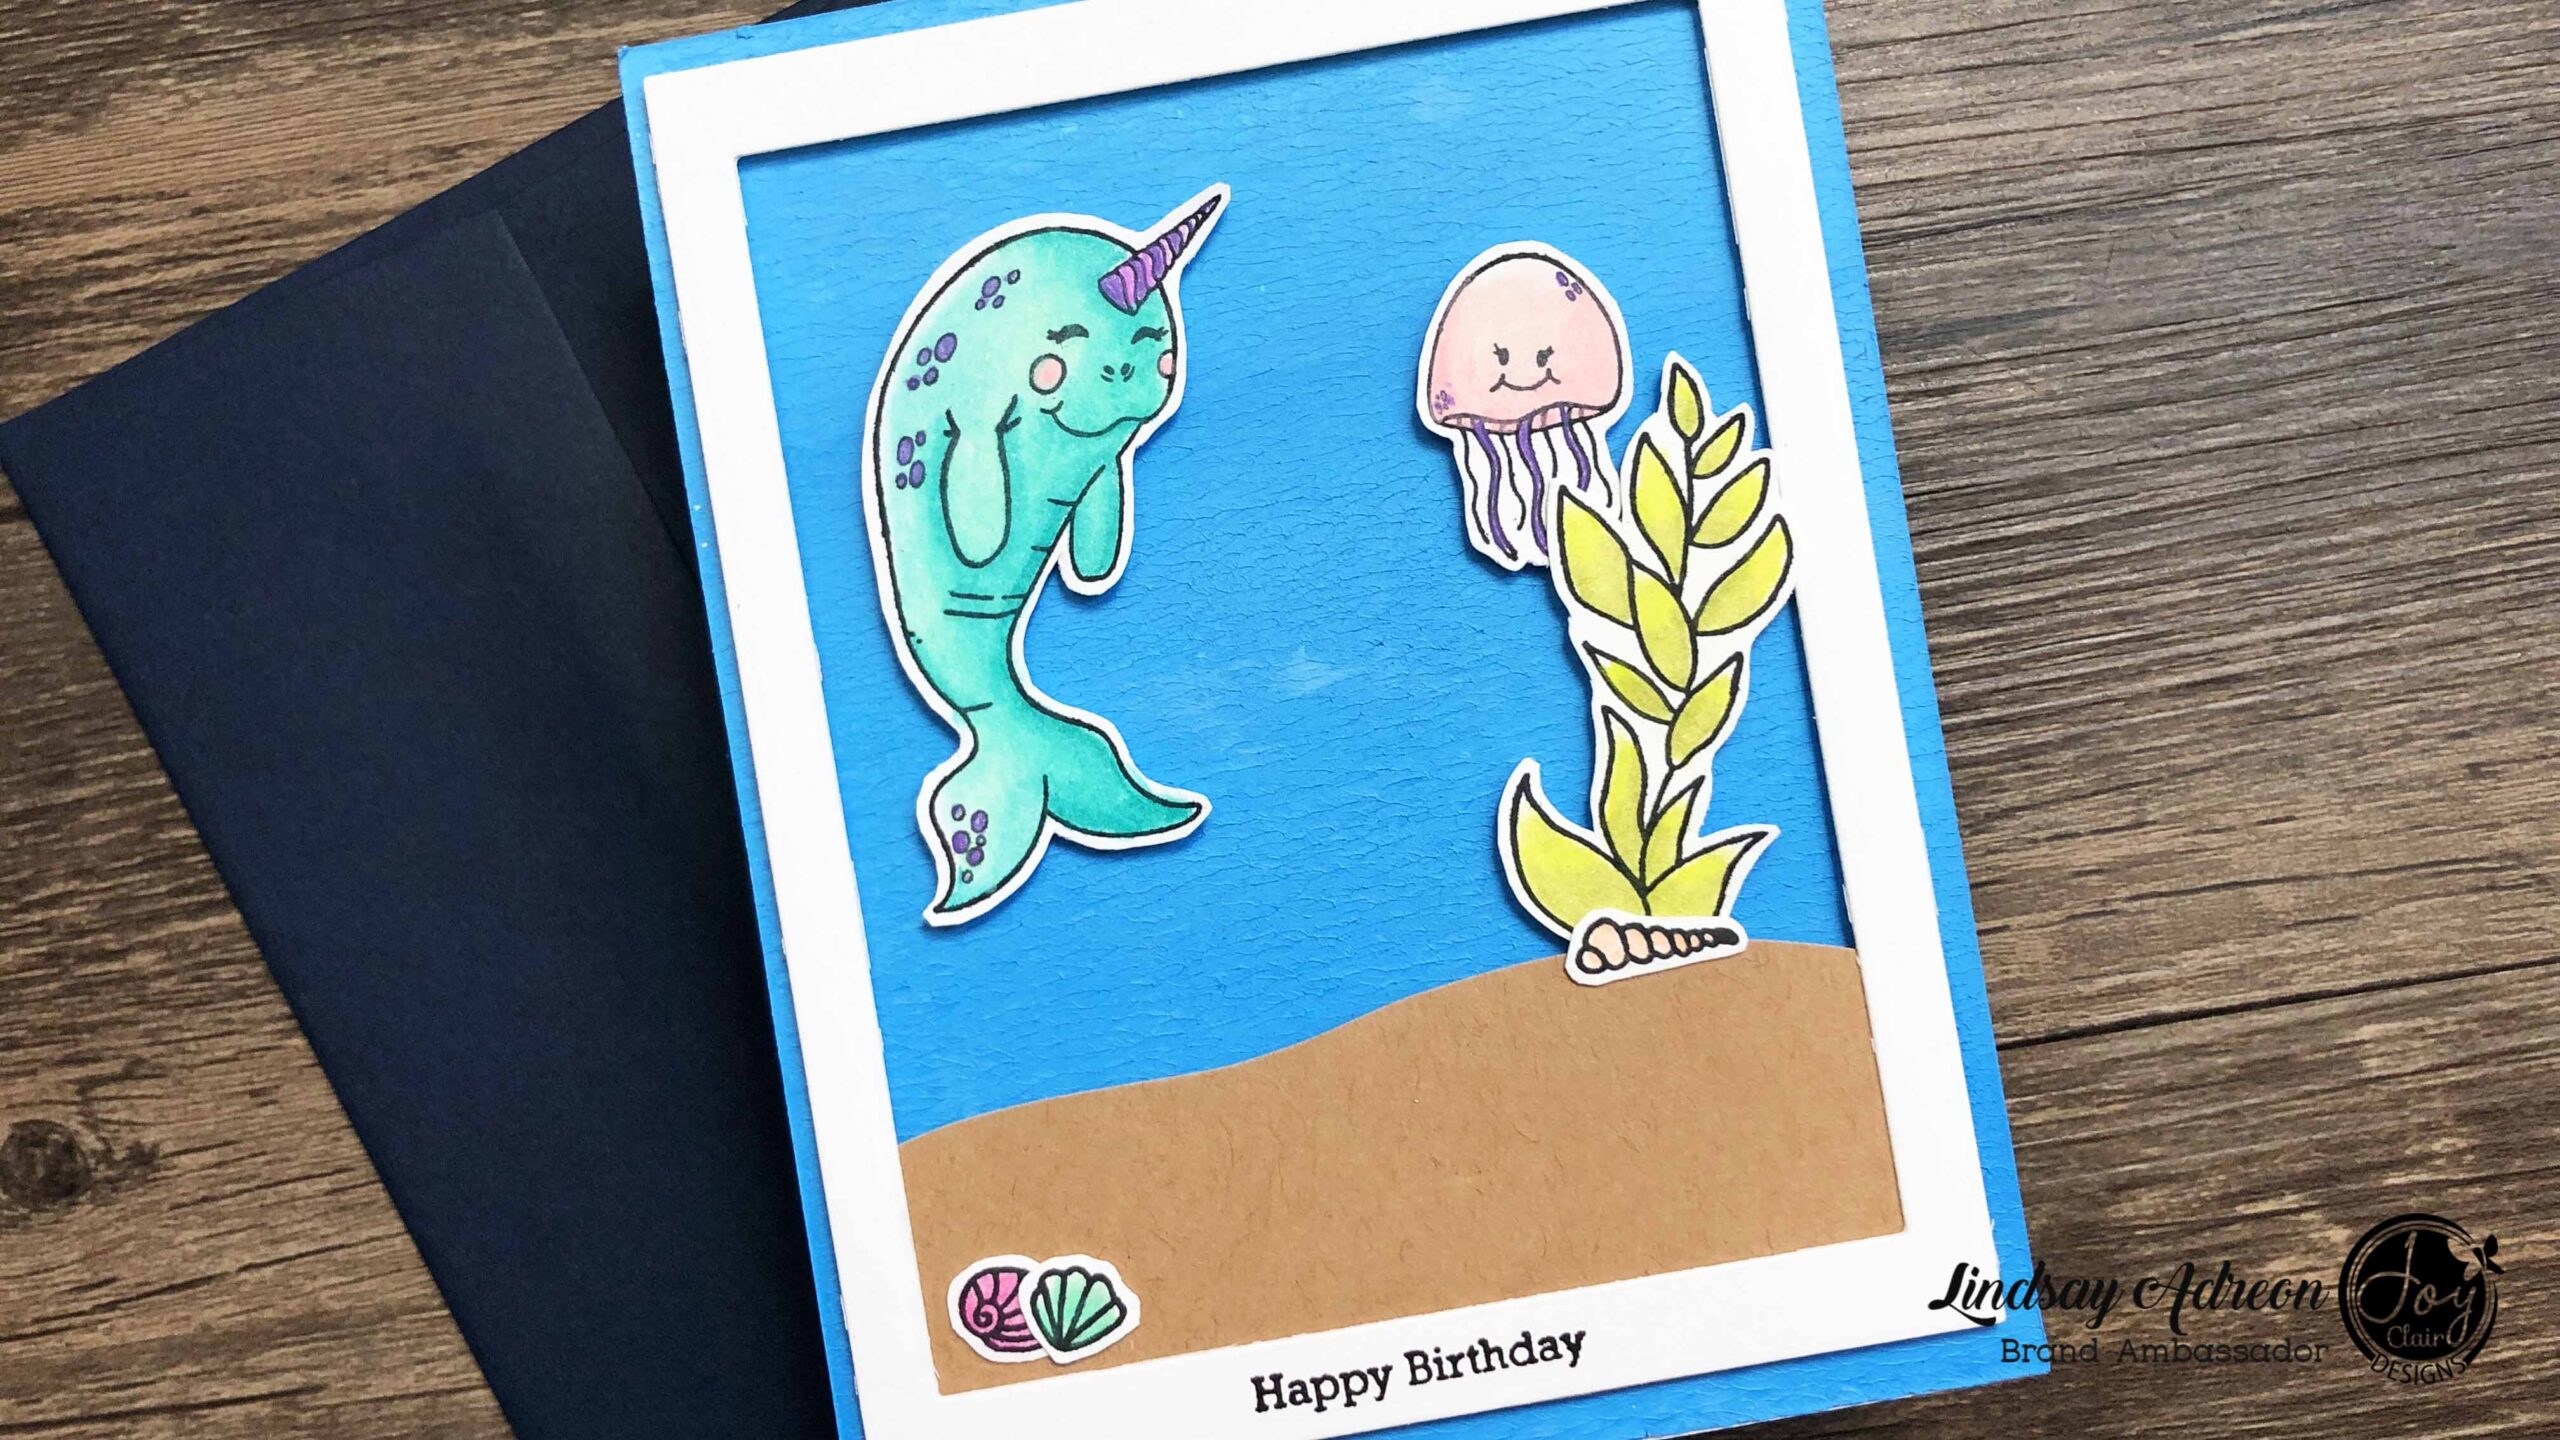
The first card I made is very simple. I started by brayering the background with blue and white acrylic paint. Be sure to watch the video above for all the information on this technique! After the background was dry I created a little scene with the adorable “I Think You’re S’Whale” stamp set from Joy Clair Stamps. This set is perfect for Valentine’s Day, but I love that it also includes everyday sentiments!
I’ve Got Your Back Handmade Greeting Card
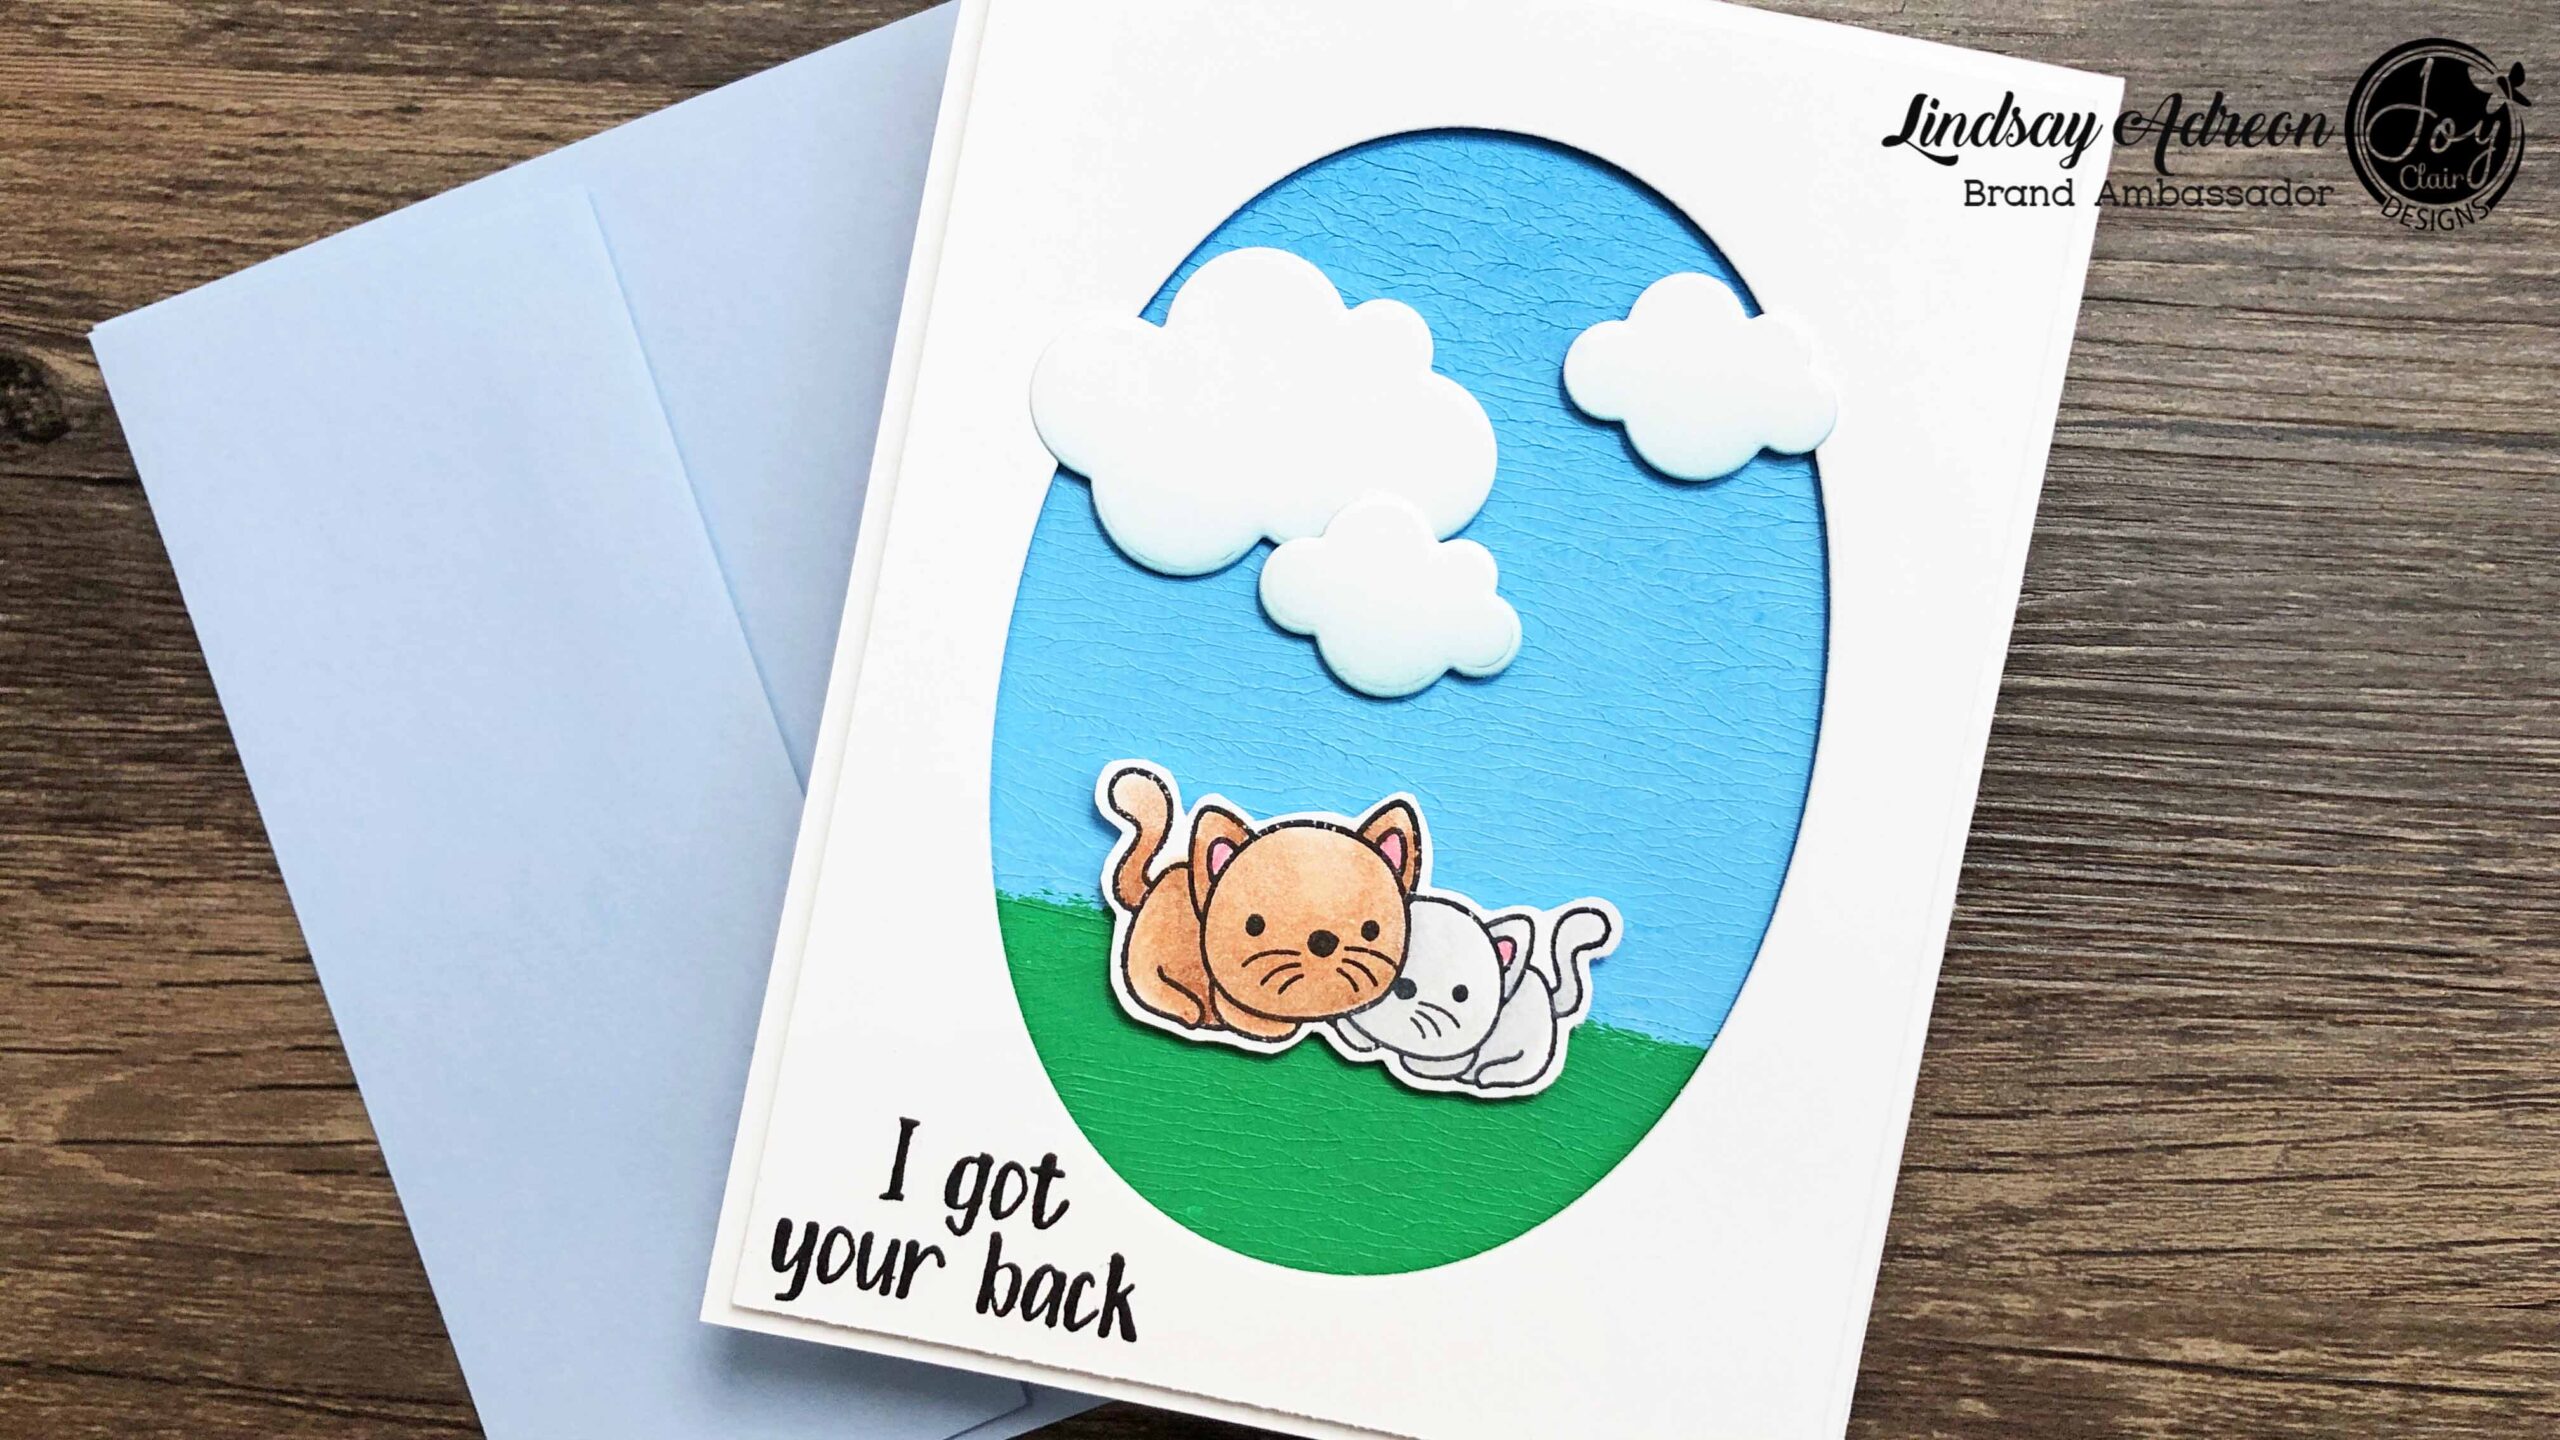
On my second handmade greeting card, I used two different colors of paint to create a fun scene. Using the brayered background cardmaking technique adds so much texture to this simple card! To finish this card, I used the “Best Buds” stamp set from Joy Clair Stamps. This set is adorable and a great one to have on hand to send to all your animal lover friends! I stamped and colored the cats from the set to add to my scene.
To complete the scene, I added a few cloud die cuts. Also, I felt the scene was a bit too big for the small cats, so I cropped it down with an oval die cut frame. This is an easy way to really add some focus to your main image! It also served as a great holder for my “I got your back” sentiment!
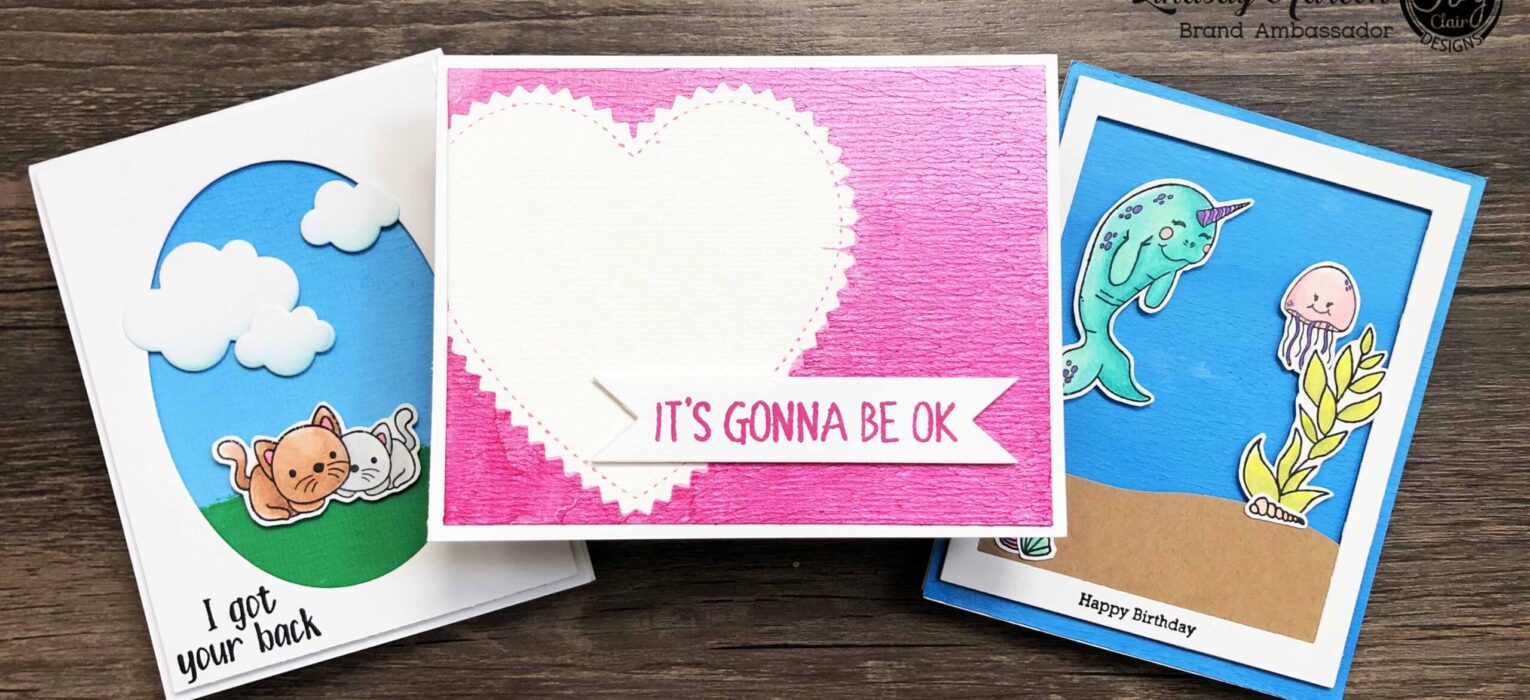
It’s Gonna Be Ok Handmade Card

My final handmade card is so simple, but it has a little something special! I added Shimmery Goodness, which gives the paint a pearlescent shine! To create this background, I masked a heart on the watercolor paper then added the paint. The masking paper I used is actually label paper which is stickier and does a better job holding up to the moisture of the paint. To finish this simple card I used one of my favorite sentiments sets from Joy Clair Stamps called “You Got This“.
[aux_divider width=”medium” style=”solid” margin_top=”20″ margin_bottom=”20″ extra_classes=””]
I hope you all enjoyed this brayered background cardmaking technique! It is such a quick and easy way to create some great backgrounds for your handmade greeting cards!
If you are interested in any of the Joy Clair stamp sets I used today, you can find them listed and linked down below! Until next time, happy crafting everyone!!
[aux_divider width=”medium” style=”solid” margin_top=”20″ margin_bottom=”20″ extra_classes=””]

Karthikha Uday
Beautiful cards with awesome textures! Loved watching you create 🙂
Carol
Really like these cards