Hello readers! This is Design Team member Crystal Komara here with you today and I’m excited to be sharing a couple cards that I created using the Christmas Joy stamp set, which is part of the Wonderfully release. I know it’s only October and everyone might not be ready for Christmas just yet, but for those of us who make a LOT of holiday cards it is never too early to start!
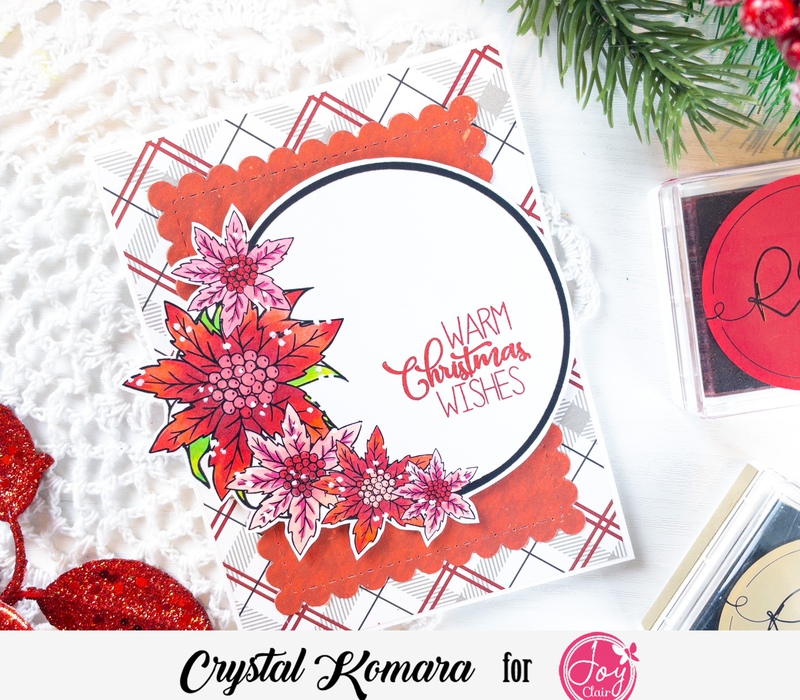
Card details:
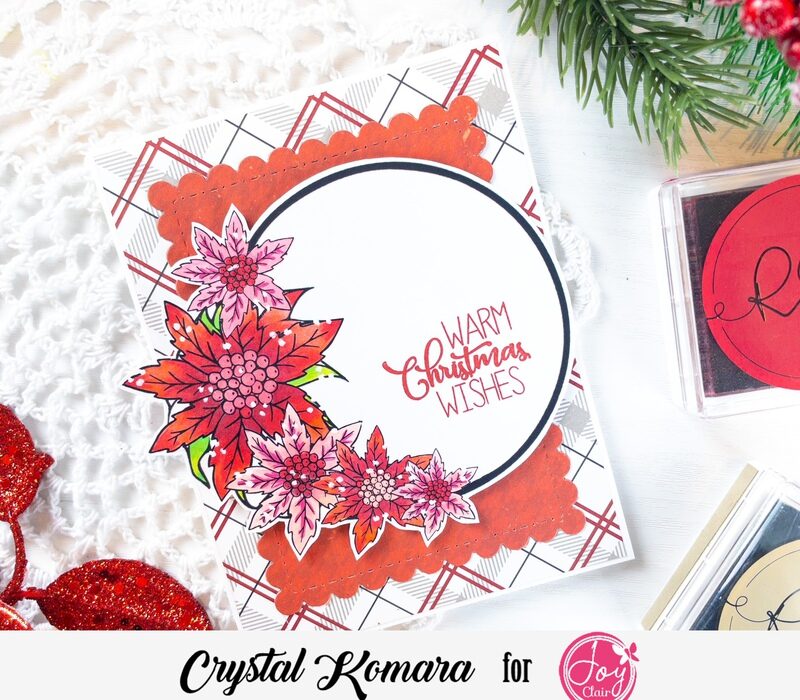
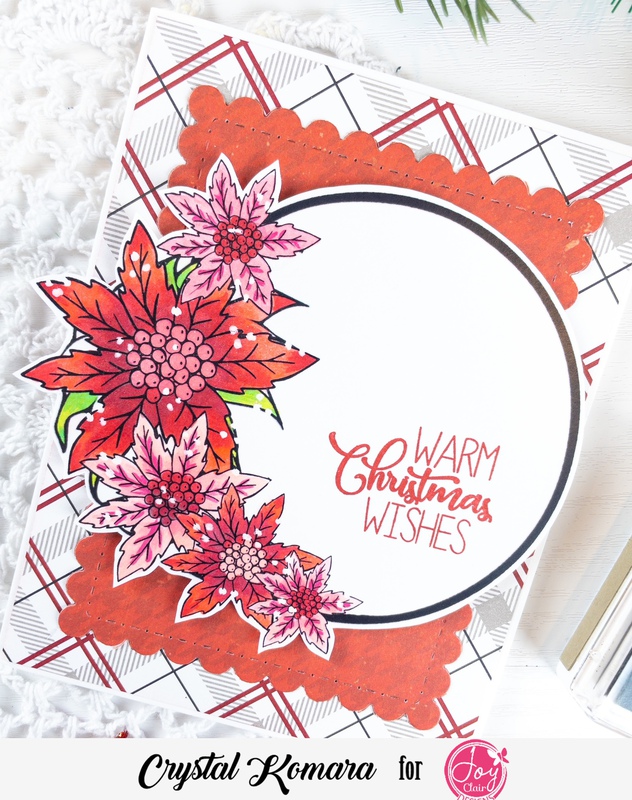
The base of this A2 sized card was made with 80 lb. Neenah Solar White smooth cardstock. This is my go-to white cardstock for everything! I use it for card bases, card layers, die cutting, Copic coloring and so much more. I cut a 5 1/4″ x 4 piece of plaid paper as my first base. Using the Gina Marie Designs Scalloped Stitched Rectangle dies, I die cut a frame from red houndstooth paper. I placed this frame in the center of the card. I printed the wreath image from the digital Christmas Joy stamp set on Neenah white cardstock. I colored the image with Copic markers and then fussy cut the wreath by hand. I stamped the sentiment “Warm Christmas Wishes” in red ink and I adhered the wreath to the center of the card using 3M foam adhesive for added dimension. Lastly, I added a coat of clear Wink of Stella to the wreath for added sparkle.

I also created a slimline card using the same wreath from the Christmas Joy digital stamp set:
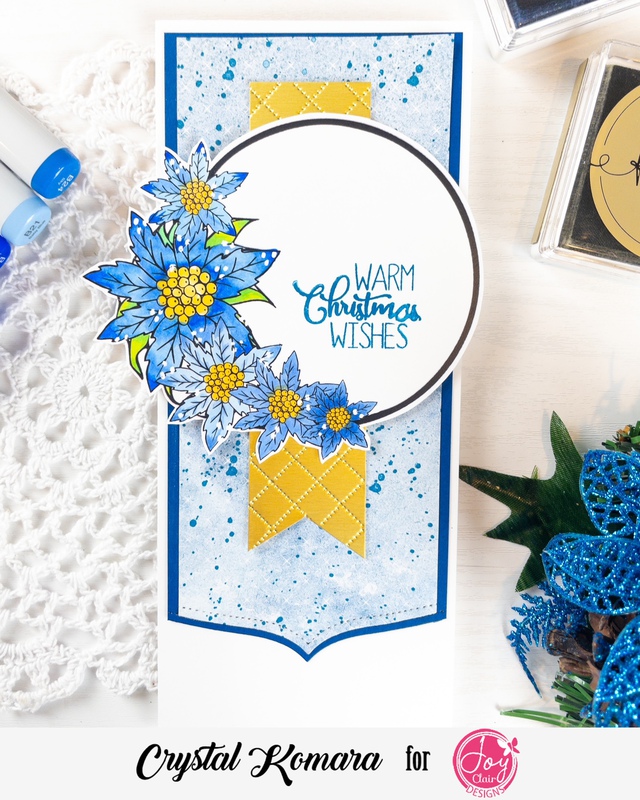
Card details:
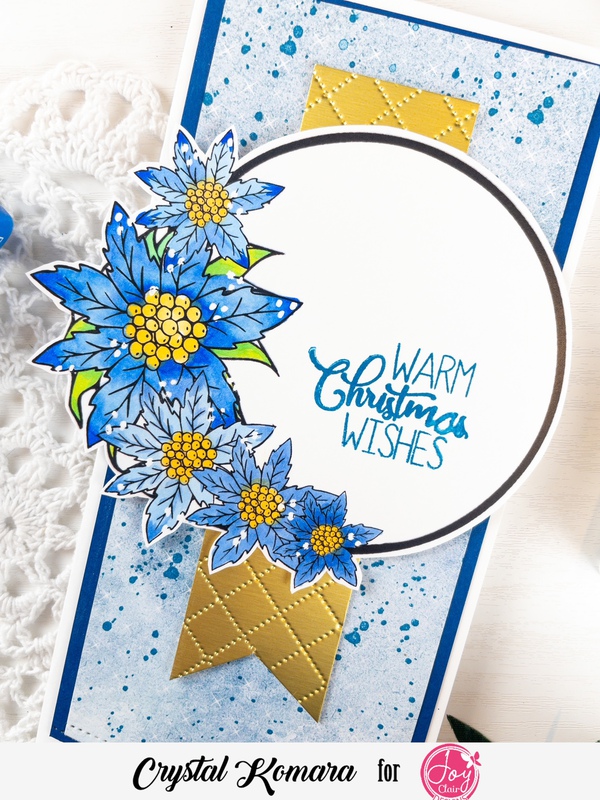
This slimline card measures 8 1/2″ x 3 1/2″. Slimline cards are designed to fit inside a regular #10 business sized envelope and require no additional postage. The base of this card was made using 80 lb. Neenah Solar White Smooth cardstock. I cut a 7″ x 3 1/4″ piece of royal blue cardstock for my first base. I used a fancy border die along the bottom edge of the royal blue cardstock. On top of the royal blue cardstock is a 6 3/4″ x 2 3/4′ piece of watercolored blue and white cardstock. I splattered some royal blue ink on top of that cardstock before edging the bottom border with the same fancy die. I cut a 6″ x 1″ piece of gold foil paper and ran it through a diamond embossing folder before adhering it to the center of the card. I printed the wreath from the Christmas Joy digital stamp set and colored it using Copic markers. I stamped the sentiment “Warm Christmas Wishes” in royal blue ink and then I fussy cut the wreath by hand and adhered it to the center of the card using 3M foam adhesive. Lastly, I added a coat of clear Wink of Stella to the wreath for added sparkle.
I hope you have enjoyed these cards and maybe are even beginning to create your own holiday cards! Thanks for visiting and have a wonderfully creative day! For more inspiration, you can follow me on my website, Instagram, Facebook and on my YouTube channel.
XO, Crystal
Follow Us
Be sure to sign up for Joy Clair Designs newsletters. You will receive notifications of new releases, sales and exclusive offers to subscribers. You can also follow the team’s creations from Joy Clair Designs on Facebook Page, Joy Clair Stamp Projects Facebook Group, Instagram , Twitter, Pinterest and YouTube!

