Skip to contentRaindrops Like Using Embossing Powder
Raindrops Like Using Embossing Powder
Hi crafters! Have you ever had a project that has raindrops like after using embossing powder? Marj here from MarjBanzalesDesigns. Well, today’s project is all about that. I know most crafters use embossing powder to add texture, shine, bling, and of course, to make our project beautiful.
My project today features the beautiful Spring Rose Digital Stamp Set. This stamp set comes with 2 beautiful flowers and several sentiments. I would say this stamp set is becoming one of my favorite. You can definitely use this to make every occasion cards such as Mother’s Day, Birthdays, Just to say Hello, To a Friend, Celebration, and many more.
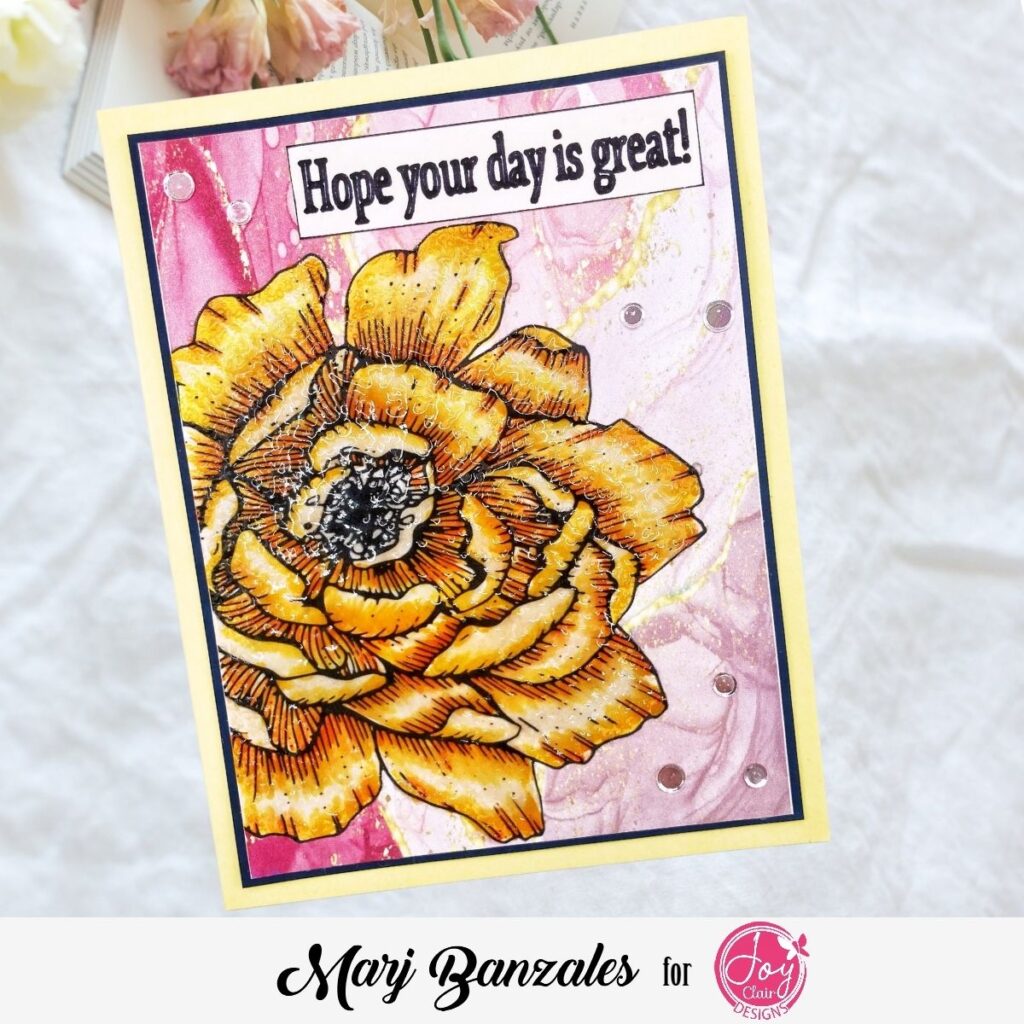
Let’s get started on the card details:
First, I started cutting my card base to 4.25 x 5.5 inches using my We R Memory Keepers Mini Guillotine Paper Cutter. Next, I started choosing my background and decided to use a digital alcohol ink background.
After that, I added the Spring Rose Digital Stamp on top of my digital paper. Resizing the image and arranging it accordingly. Once set, I printed it from Sweet Tooth White Cardstock using my HP Printer.
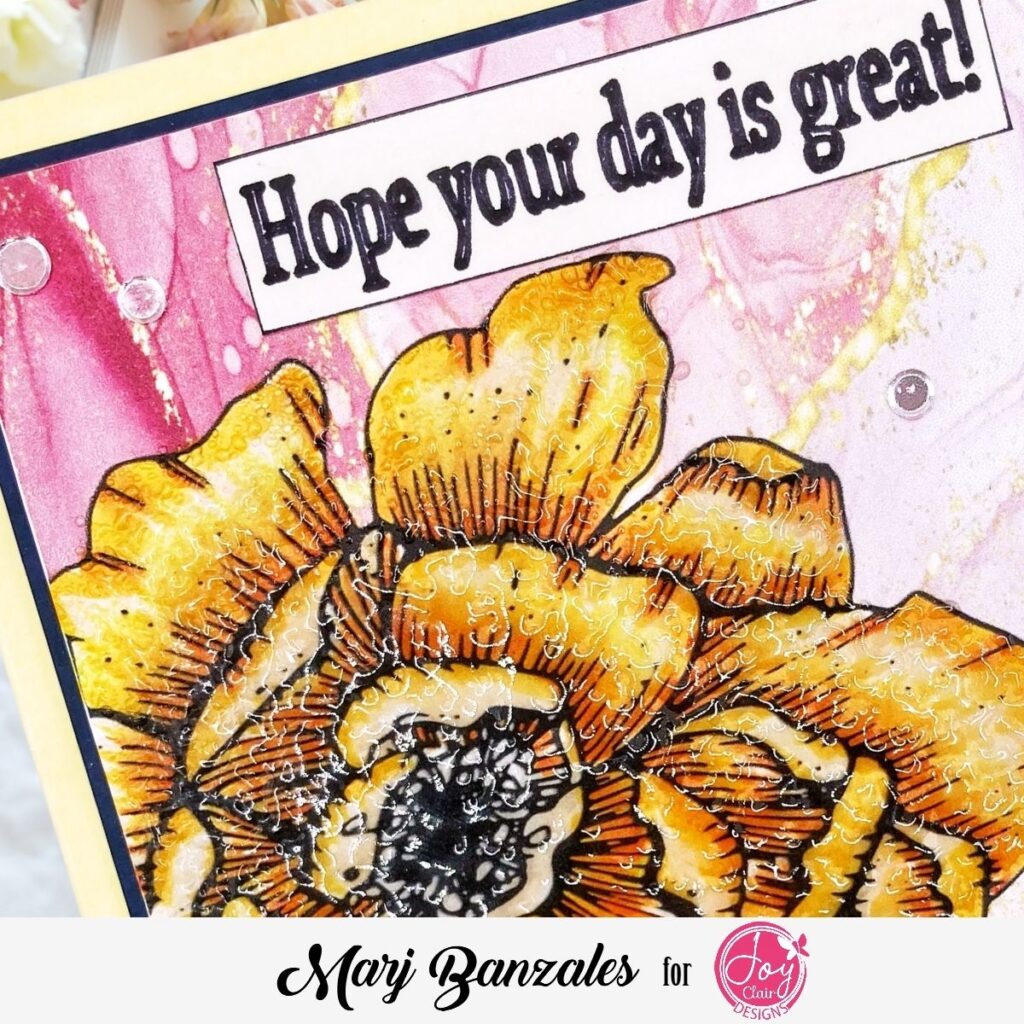
Now it’s time to add some color…
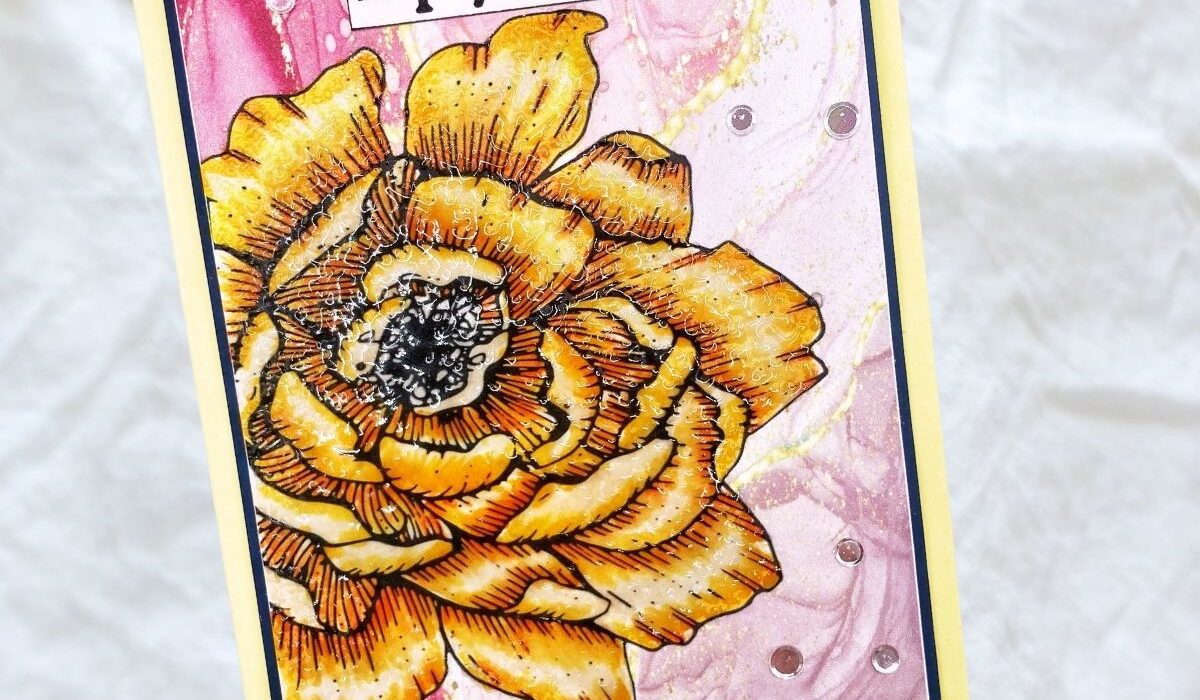
I used a combination of Yellow and Orange to make it pop and achieve my goal to have like a Golden Yellow. Voila! I did it! I started applying the Pumpkin Orange ( YR33), then Sunflower Yellow (Y22), Apricot (YR37), and Narcissus Yellow (Y03). I’m happy how it came out as it was my goal. I wanted to add some texture so I decided to apply some Ranger Clear Embossing Powder. This is where the accident happened. I was supposed to apply heat in the back of the card but I accidentally applied in the front which cause the bursts of the Clear Embossing Powder all around.
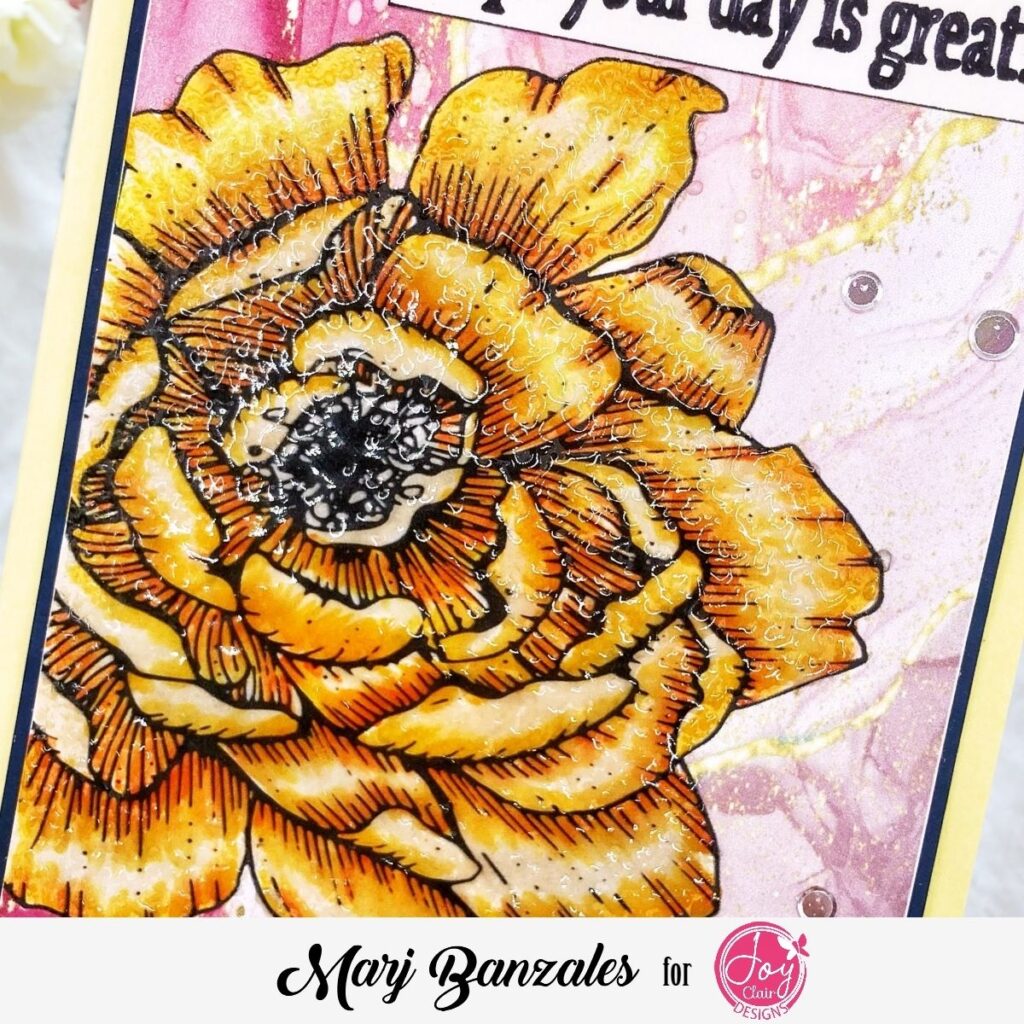
I thought I will have to redo my project but fortunately, I love it because the effect was raindrops like from embossing powder. It’s a realistic raindrops that you normally see in flowers. So, it’s a win win for me!
Using a strong glue I added the card panel to another layer of card base just a tad bit bigger. Then, added to my card base. I used the sentiment from the Forever Moments Digital Stamp Set and added it to the top right of the card. Lastly, added a few Satin Confetti for dimension.
I really love how this turned out and will do this again for future projects.
If you like this project, please leave a comment on the blog post. Don’t forget to stop by Joy Clair Designs.
Thank you all for stopping by and I will see you next year for some more amazing projects. For some more inspiration, please visit my Website, Instagram, Facebook, Pinterest, and Twitter.
Bye for now!!!
Marj


