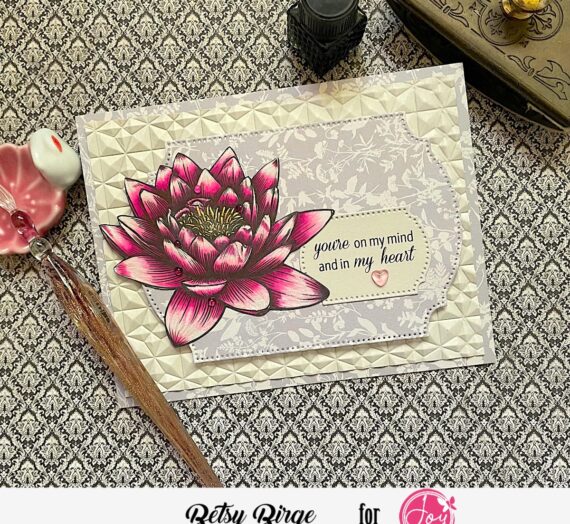
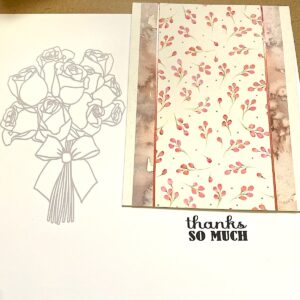
I wanted to key my Copic coloring to the patterned paper. So on a scrap piece of white card stock I tested colors until I found one that looked good with the patterned pHello everyone! Betsy here today sharing the Bunch of Love digistamp set. This is such a lovely set with the rose bouquet. Let me show you how I made my card! I started by composing my design in the computer. I made the sentiment away from the design so I could work with it separately. I recolored my image so it was light gray – for a no line look. I made a card base using 2 coordinating patterned papers onto a standard A2 size top folding white card base. To separate the papers I used rose gold peel-offs. This gives just a bit of definition and refinement.
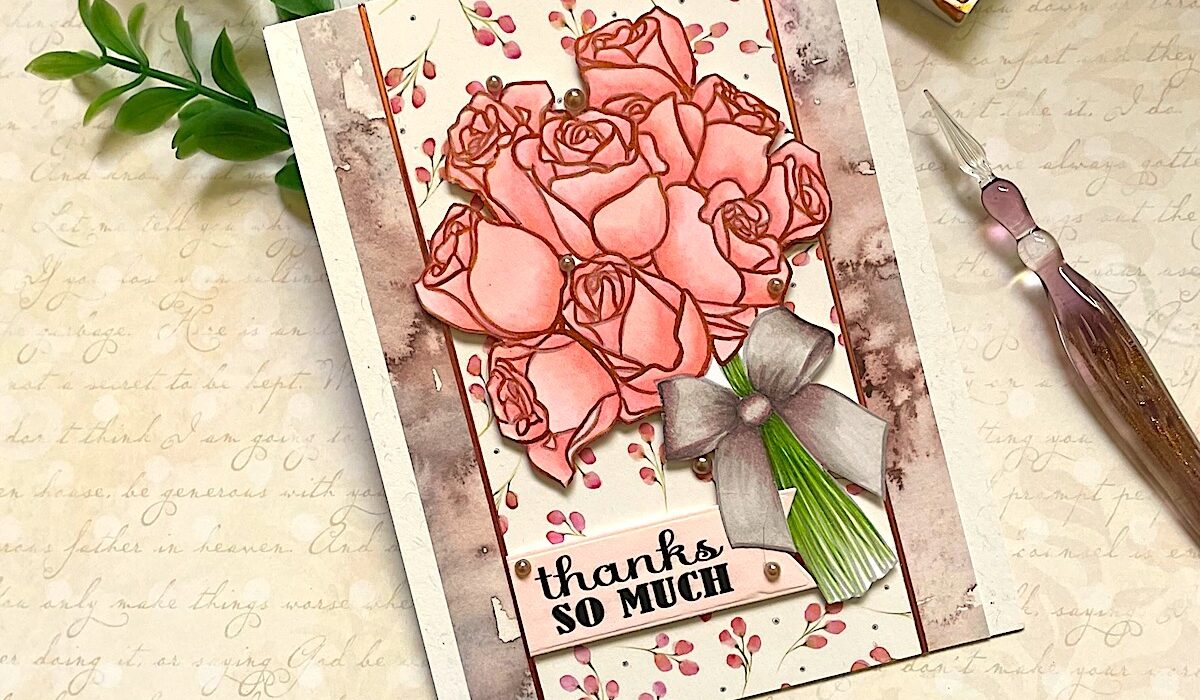
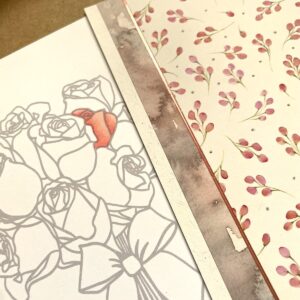
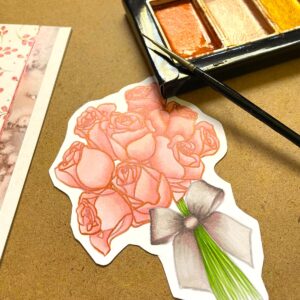
 I wanted to key my Copic Colors to the colors in the paper. I used R000, R00, R20, R32 and then a glaze of RV10.
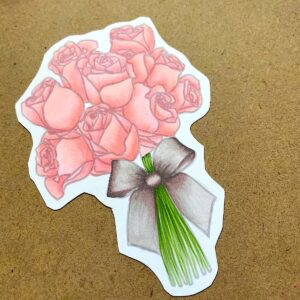
I went ahead and colored all of the roses the same way using the same colors. I did not do a really deep shading on these flowers. I used W2, W3, W5 and E04 for the ribbon and bow.
The last to color in were the stems. I used YG11, YG63, YG17.
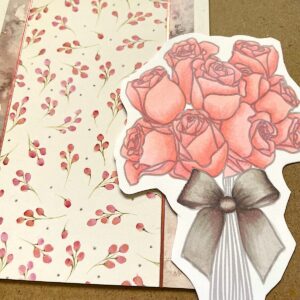
I fussy cut this image and then, using a small paintbrush and some rose gold watercolor paint, I outlined the roses. This made them stand out a bit and really matched the peel-offs down the sides of the card.
I next took the sentiment and colored over it with the R00 marker.
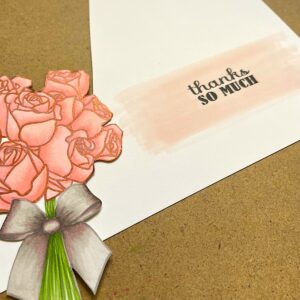
I die cut the sentiment with a banner die and had the fish tail on the right side so I could align it to the left side on the card. I cut a line between the ribbon tail and stems so I could overlap the ribbon end on my sentiment. I adhered these to the center of the card with foam tape. For embellishments I added some small taupe pearls from my stash and my card was done!

I hope I’ve inspired you here today to make something beautiful! Digital stamps are a great way to go! They are so versatile and the price point is awesome!
Thanks so much for stopping by today!
Betsy