Hi friends! Marj here and I’m back again for a new project to share with you. Working on stencils is so fun and any kind will make you wow after making them. Either to be a background, main focus of the project, a design to any project or anything. That’s why I love working with any type of stencils.
So, let’s begin…
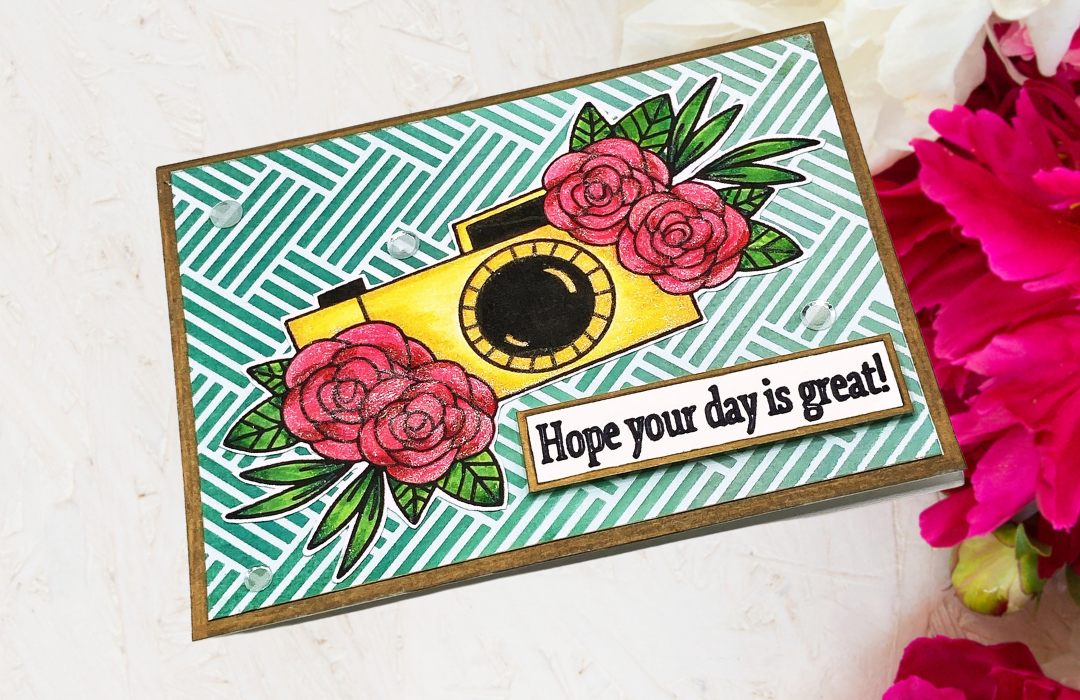
First, I used Martha Stewart Laser Cut Stencil to a white cardstock that measures 4 x 5.25 inches. Then, I used Tim Holtz Ranger Distress Oxides : Pine Needles, Evergreen Bough, and Cracked Pistachio. I applied it very lightly to achieve my preferred color of greens. I started from darkest to lightest. Then, I let it dry for a couple of hours.

Next, I printed the camera with some flowers from the Pamper Yourself Digital Stamp Set to a white 110 lb cardstock. Today, I colored it using my new Arteza Tropical Tones Brush Markers.
These markers are so easy to blend it is smooth like butter. This camera is so beautiful to color and easy to work with. After that, I fussy cut the image leaving a little white border on all over.

I used my Arteza Gel pens and added them to the image to make it more pop and for some added interest. While the gel pens are drying, I added a strong glue to the background and I adhered it to my A2 card base.

Next, I took the Gold Sharpie and added it directly all over the edge for some dimension. Then, I added some glue to the back of the image and attached it to the center in a slanted way.

As a final touch, I added my sentiment to the bottom right of the card and finish it off with some additional Studio Katia Crystal Clear Confetti.
Thank you for stopping by and don’t forget to check all the amazing products of Joy Clair Designs. There are different products between, dies, tools, and stamps. Their digital products are super affordable!
Until next time!
XOXO
Marj