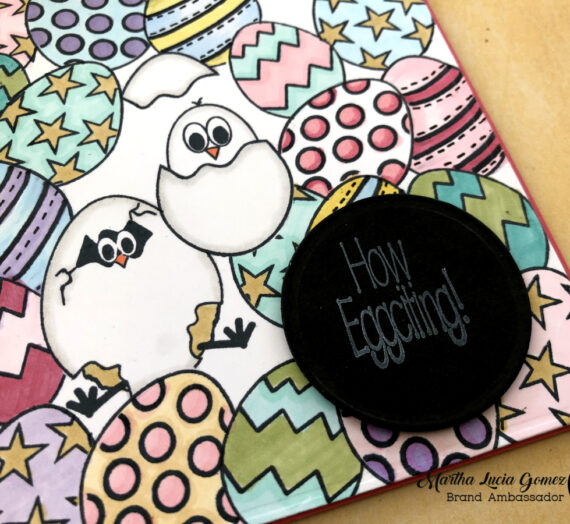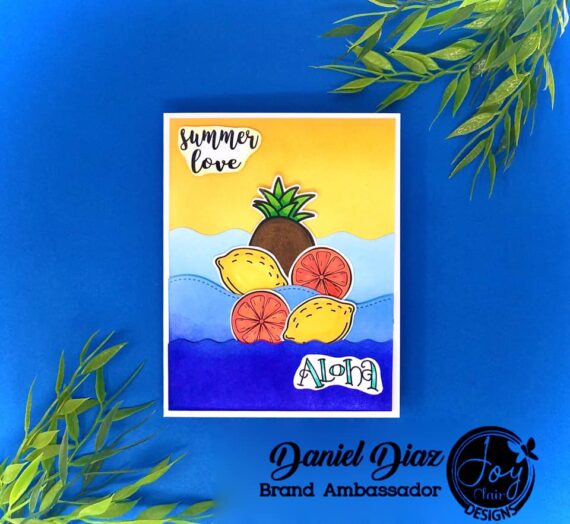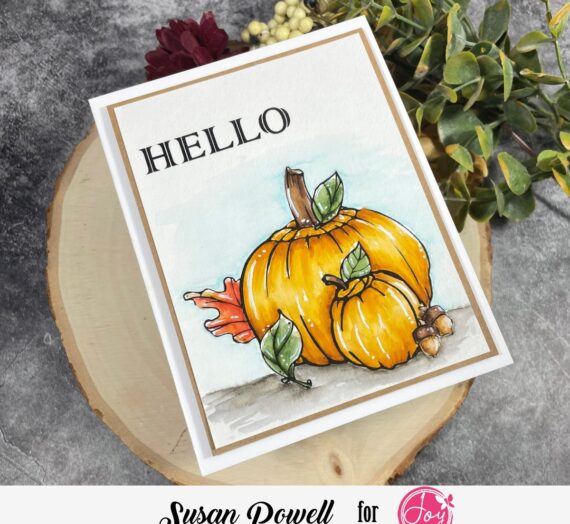
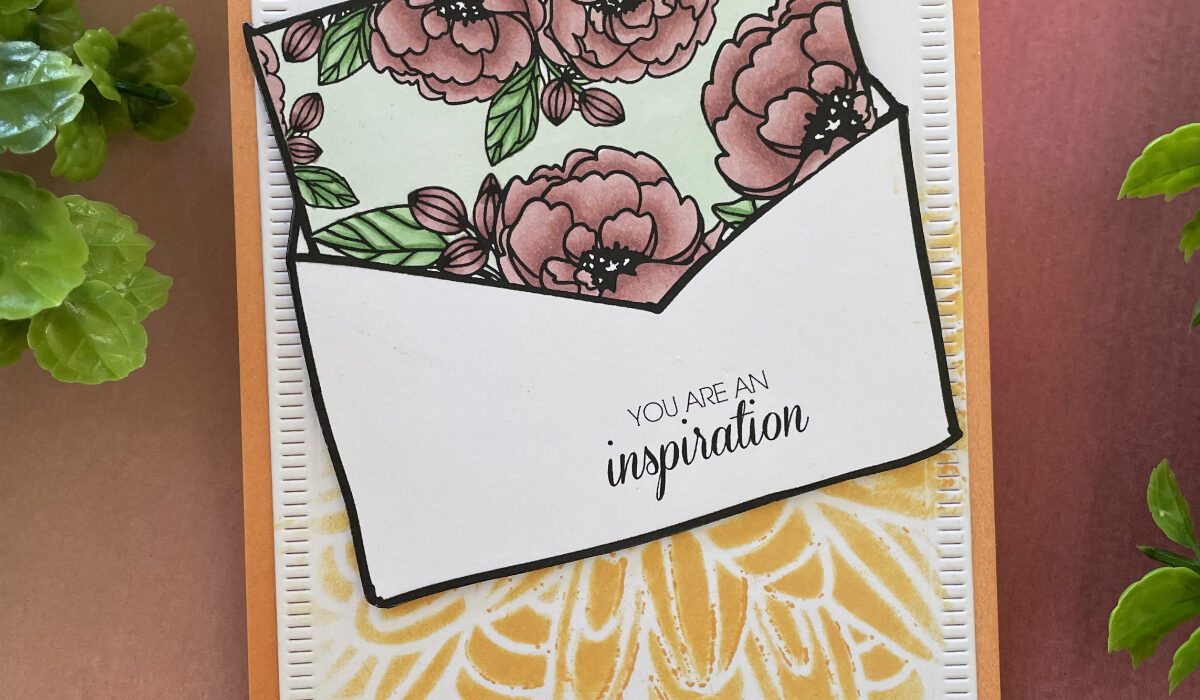
Hello friends, Martha Lucia here! Today I will show you how to make an easy card. I am featuring images from the Extraordinary Digital Stamp set by Joy Clair Designs. However my idea can be easily adapted for any occasion.

You have been asking me about how I work with digital stamps?. My answer is too simple. First, I love these stamps and for me is very easy print a lot of them and colored in my own time to use then in a card. With digital stamps you can change the size of the images, you can create your own compositions and you can save and print them for future use.
Additionally, you don’t need to have a fancy printer. I have a HP Officejet Pro 8610 for many years and it works perfectly with the cardstock. You only need to review the settings of your printer and change the option to cardstock. By the way my favorite cardstock to print and coloring is White Smooth Cardstock.

I play with the images in a photo edit program called Ribbet. But any program, including word let you use these stamps and create the look that you want for your creation. I used different programs, but my favorites are Ribbet (paid option) and Silhouette Studio Software that is a free option.
ABOUT THE CARD
To make the card, I combined one of the images and sentiment included on the Extraordinary Digital Stamps. I placed the sentiment on the lower part of the envelope and printed it onto White Smooth Cardstock. Then I colored the flowers with TriBlend Markers from Spectrum Noir. I only used two TriBlend Markers on this coloring, Light Green Blend and Antique Pink Blend.

To color the background of the flowers, I used an Illustrator Marker from Spectrum Noir. The color that I used was the GT1, Ice Green. It really added more dimension to the colors and make this part of the envelope the focal point. In addition, I fussy cut the envelop with scissors. I love to cut with scissors because it relax me but you can use any electronic machine to cut your digital stamps if you don’t like scissors. Or you can also prefer don’t cut and simply create an one layer card.

Having the focal point of the card ready, create the rest of the card was more easy. First, I die cut a white smooth cardstock layer with the large size of the Crimped Frame Die by The Greetery LLC. Then, using a stencil from TWC Stencils, I covered the lower part of the die cut layer. I inked the free areas with a single color of Distress Oxide Ink. I repeated the process adding a little more ink to make a false texture.
To paste the envelope and decorated layer to the card base, I used 3D Foam Squares from Scrapbook Adhesives. This step add more dimension to my card and let me have different levels with the images. Voila! My easy friendship card is ready and I share with you how to make an easy card!
Thanks for stopping by and I hope you try digital stamps… I am sure you will love them!