Hi everyone! It’s Lindsay here, from Crafting While Caffeinated Blog and YouTube Channel, and I am back to share another video tutorial. It’s all about ink blending today, specifically ombre ink blending. And I’m using two stamp sets that were designed by ME!!! Be sure to check out the video tutorial down below!!
The video above contains products that were sent to me free of charge for design purposes. I only ever design for companies I can stand behind 100%! This post also contains affiliate links.
Tips for the BEST Ombre Ink Blending
- The best and most important tip I can give you about creating the perfect ombre effect with your ink blending is in choosing your colors. You HAVE to choose the right colors. They need to be the same tone, but different shades. The easiest way to get the color choice right is with ink swatches. Yes, they take time and it’s kind of a pain. But, I can’t tell you how much I use them. Not only for this technique but so many others! So SWATCH those inks!!
- Another great tip is to be sure you choose the right blending tool for YOU. Not what I use, not what you see your favorite card maker using, but what works for you. Unfortunately, there isn’t some magical way of finding the right tool other than trying them.
- And while tools and inks can make all the difference, nothing will beat PRACTICE! You have to practice your ink blending to achieve the best results. Take your time, start with light layers and build your color, and practice.
Making the Card
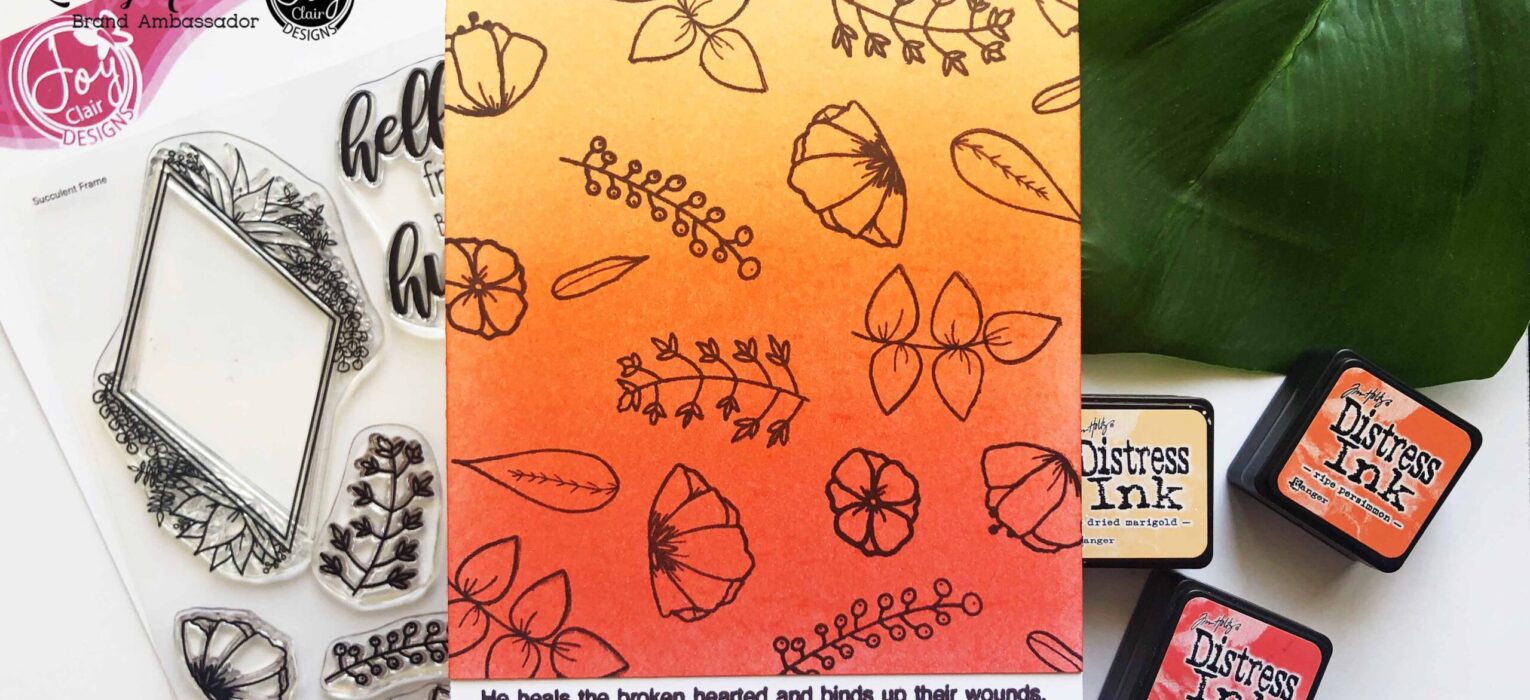
This card is a little different from my normal A2 card. It is still A2 sized, but the front panel is 1/2″ shorter. This gives a little space at the bottom where the inside of the card peeks out. Once the front panel is ink blended this gives a nice white space for my sentiment to shine through!

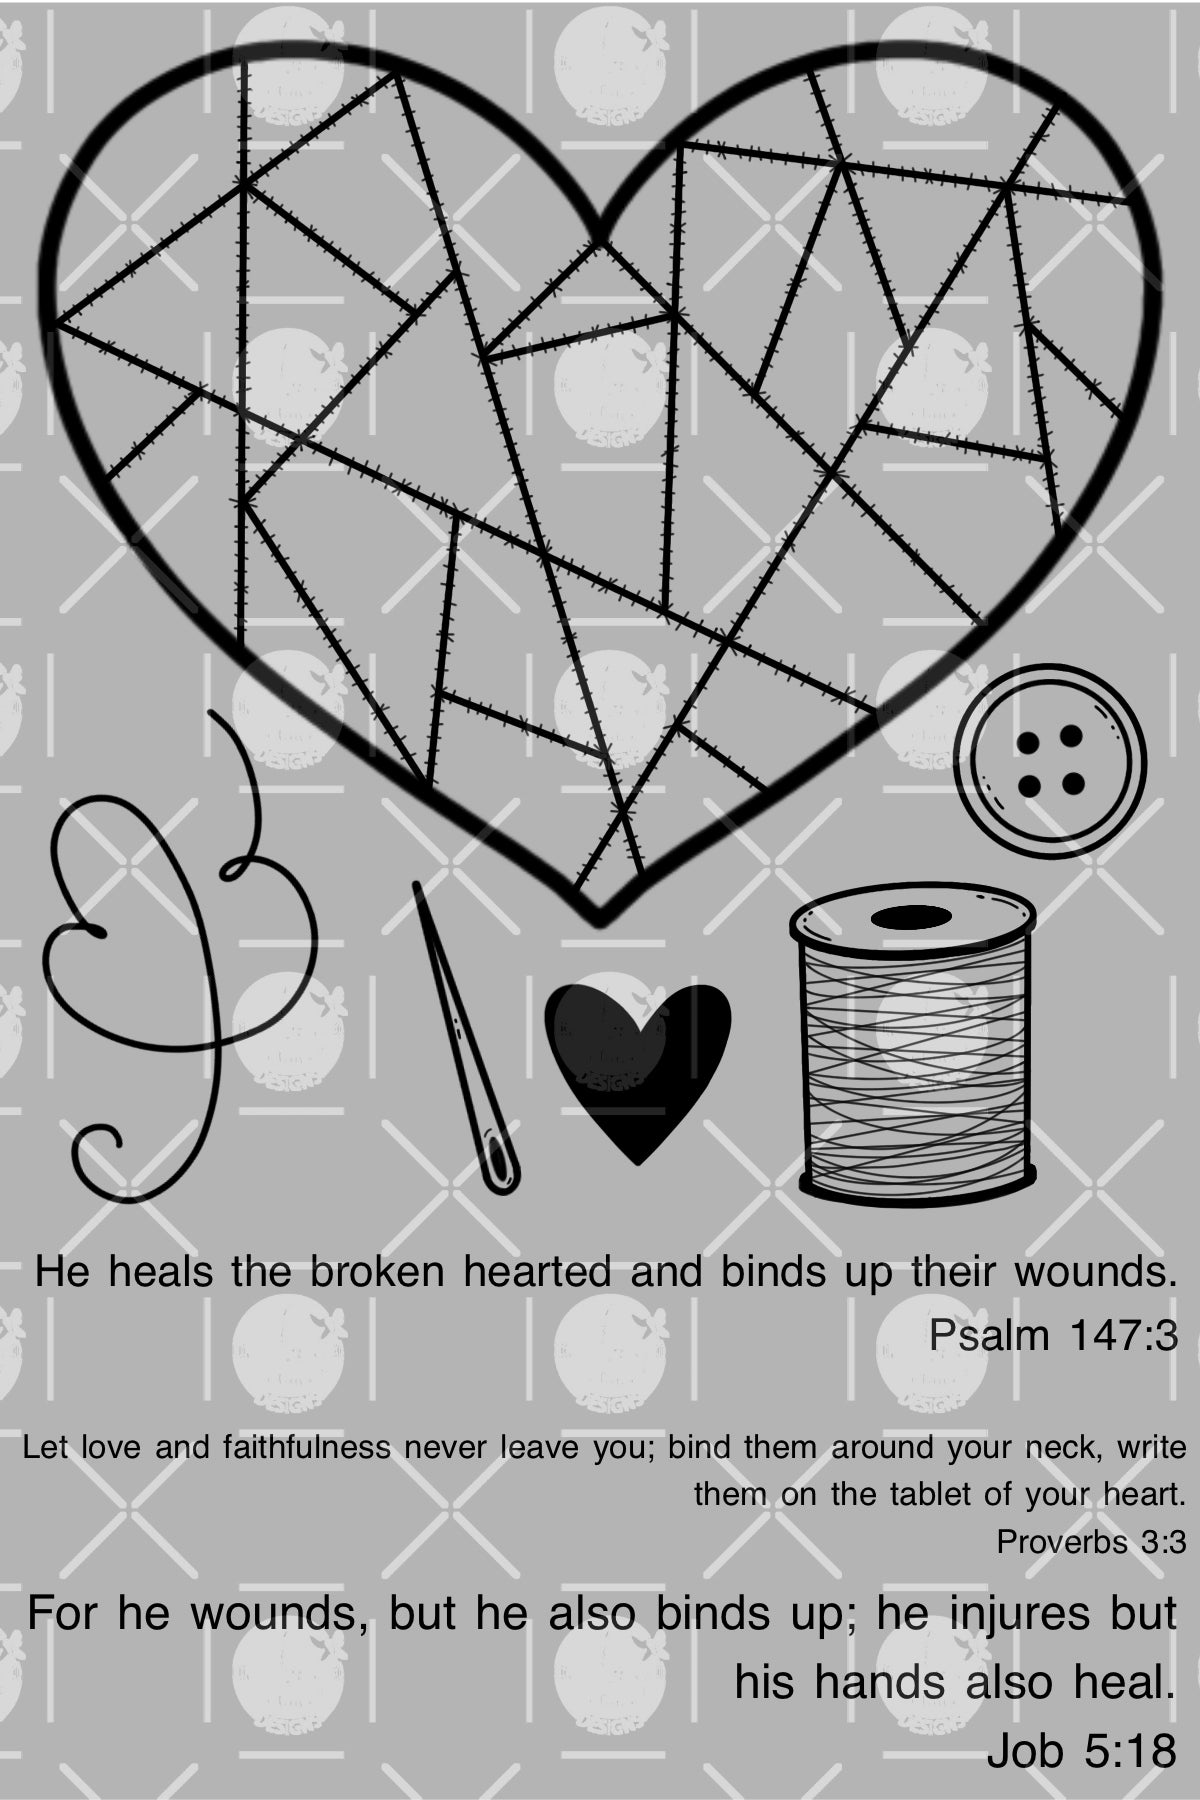
The sentiment I used is from a stamp set that I designed. It’s called “My Heart” and I absolutely love the longer verses in this set. They were the perfect choice for that sentiment strip at the bottom of the card!

To fill in the rest of the ombre background and add a little more interest, I decided to stamp over the background. I used the small images in the “Succulent Frame” (also designed by me!) stamp set and Versafine Clair Pinecone ink to fill up the background.

I hope you all enjoyed the video today and will give ombre ink blending a try on your next card! If you are interested in the stamp sets I used on my project, you can find them both listed and linked down below! Until next time, happy crafting!!
Supply List
 My Heart Stamp Set Shop at: JCS |  Succulent Frame Stamp Set Shop at: JCS |
Check Out My Previous Post!
It’s all about using the new digital stamps from Joy Clair Stamps to create you own stickers!! Just click the photo below to check out the video tutorial!


