I love to color with colored pencils, they’re kind of my safe zone. But there are times when I want a watercolor look and I have to admit, I’m not great at watercolor. One thing that does help me, though, is when the watercolor comes in brush or pencil form. I feel like I have so much more control! So today, I want to share with you everything I know about using watercolor pencils to color in your stamped images, plus, tips and tricks to get the best results!

The Video Tutorial
The video above contains products that were sent to me free of charge for design purposes. I only design for companies I can stand behind 100%! This post also contains affiliate links that can be used at no additional cost to you.
What You Need When Using Watercolor Pencils
Before I get into the project I want to share a few things you’re going to need while you’re using these pencils. Having the right tools makes all the difference, I promise! Just keep reading below for all the details!
Paper
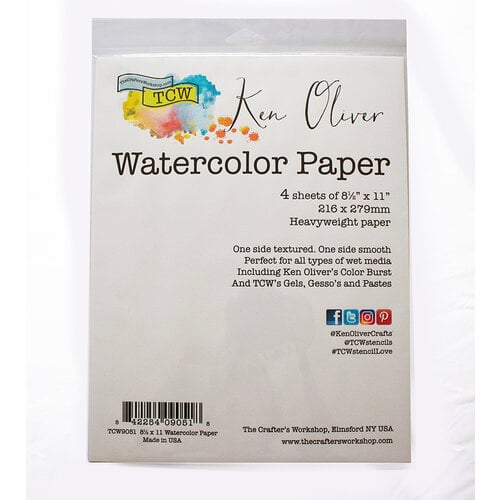
Having and using the right paper is going to make all the difference. You can’t color with watercolor pencils onto plain cardstock and expect good results. You really need to use watercolor paper!!
Brushes
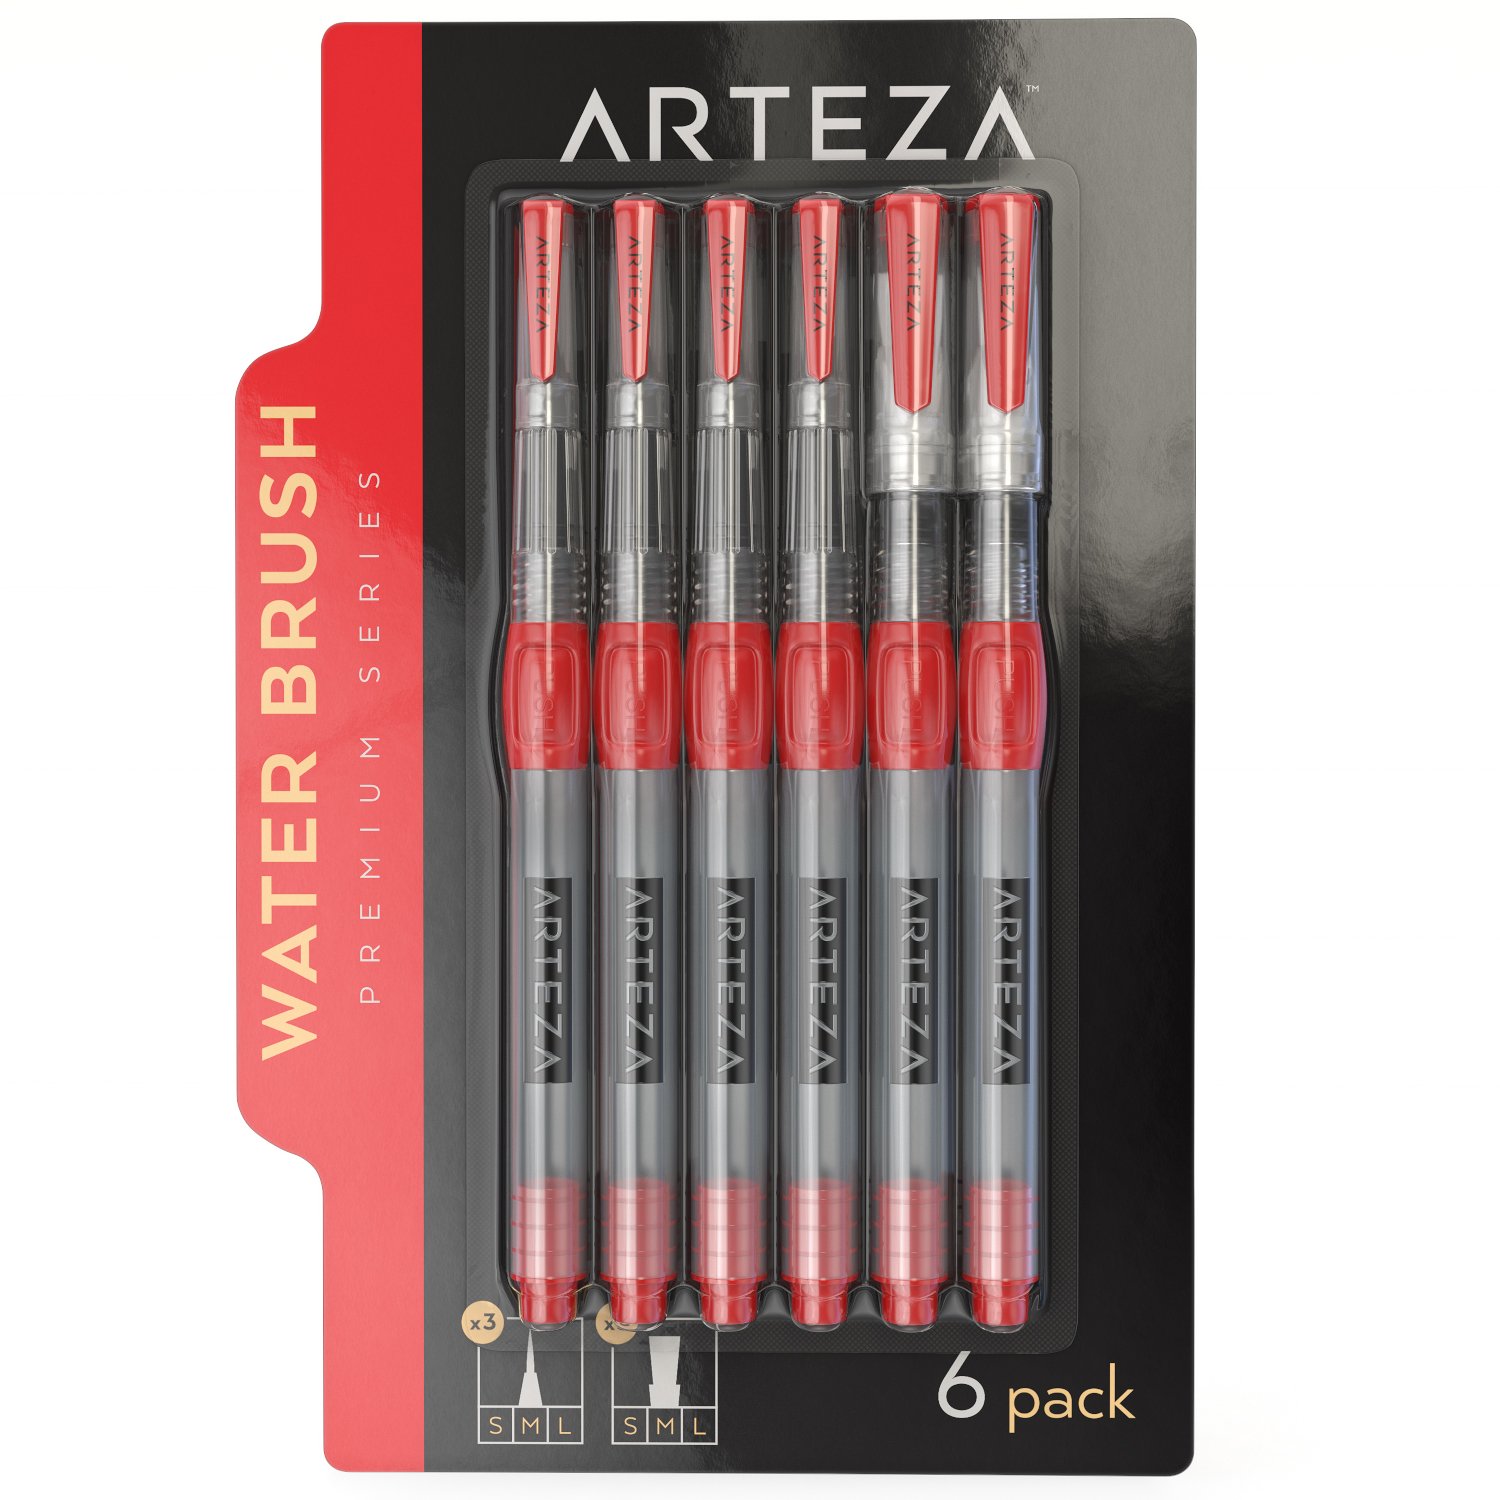
You are also going to need some kind of watercolor brush to blend out your colors. The brushes pictured above are what I use and love, but you might not. Brushes are one of those choices that are going to vary from person to person and you have so many options to choose from. Whether you choose water brushes like I use or choose to use more traditional brushes, play around with the choices and find what works best for you!
Pencil Sharpener

When using any kind of pencil, you need to invest in a good pencil sharpener. This is what I use. It’s electric, so I don’t need to buy batteries, and it sharpens to a fine point! I use this pencil sharpener for both my colored pencils, writing pencils, and watercolor pencils. I’ve had it for over 4 years, with my kiddos using it too, and it’s still going strong!
Waterproof Ink Pad
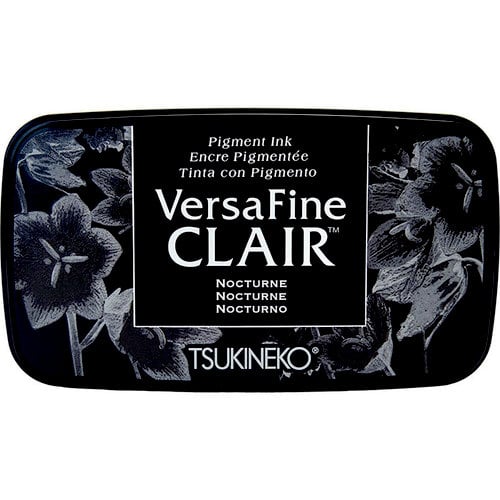
Obviously, if you are using watercolor pencils on their own choosing the right ink isn’t something to worry about. However for us stampers and cardmakers it is SO IMPORTANT to get this step right! You don’t want to take the time to stamp your image, use your paper, and then have your ink run when you add water to it. Be sure your ink says it is waterproof. My favorite ink to use when watercoloring is Versafine Clair in Nocturne.
Techniques & Ways to Use Watercolor Pencils

There are quite a few ways to use watercolor pencils. But if I want you to take anything away from this post it is that when using your watercolor pencils, use a LIGHT TOUCH!
When I first tried watercolor pencils I wanted the color to be there in one layer. So I would press the pencil and try to get as much pigment as possible onto the paper. But what happened was I made indentations and the pigment gets stuck in those indentations and never blends out. Using a light touch and a few layers is the way to go!

Something else that I’ve picked up while playing with my pencils is that coloring on the textured side of the paper really works best. However, that makes stamping tricky! I like to use my MISTI to do my stamping so I can double, even triple, stamp if I need to.

The Techniques
Now onto the techniques, I use mainly four. Be sure to watch the video tutorial above to see all of these in action! First is just coloring with a light touch onto dry paper. And the second, coloring onto wet paper with a dry pencil. This creates a rich, bold color and is great for adding shading and depth where you want the color a little darker.
The third technique is a fun one, it is dipping the pencil tip into water and then coloring onto dry paper. This is the best way to get the most intense color, but in smaller areas. It is great for adding small little details.
And finally, you can take color directly from the tip of the pencil with your brush. Essentially, you’re using the pencil lead as a mini palette! This technique is the best way to create washes of color where you don’t want any stroke marks!
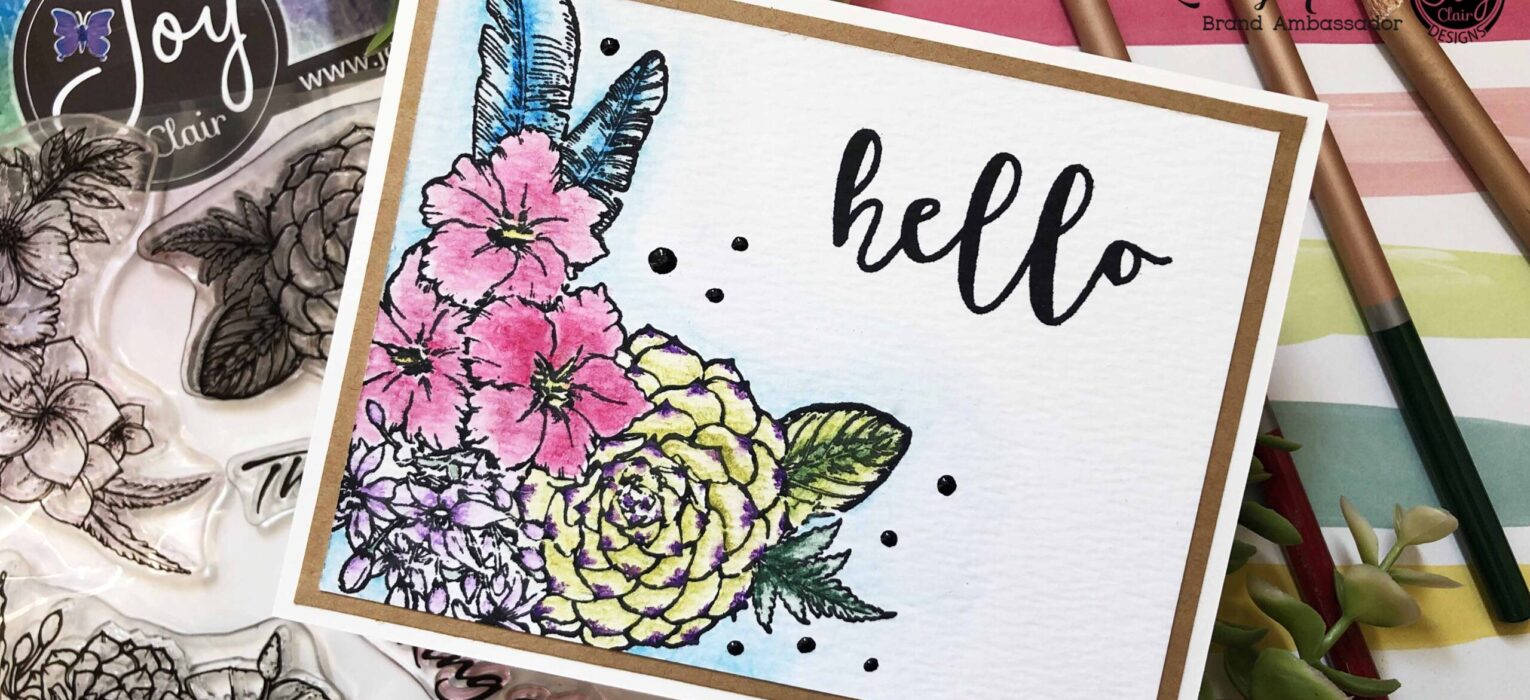
Finishing the Handmade Card

The main focus of this handmade card was the coloring and the finishing of this card is so simple!! I first stamped a quick hello sentiment from the “Hello Sentiments” stamp set from Joy Clair. It’s one of my all time favorite sentiment sets because you can build up so many fabulous sentiments and sayings!
Finally, I added a quick mat and attached everything to an A2 card base. It was so simple!
I hope you all enjoyed the video tutorial and the run down on how I like to use my watercolor pencils. So, if you are interested in any of the supplies I used today, you can find them all listed and linked down below. Until next time, happy crafting!!
 Martha’s Flowers | Clear Stamp Set Shop at: JCS |  MISTI Stamping Tool – The Most Incredible Stamp Tool Invented Shop at: SB.COM | AMZ |  Nuvo – Deluxe Adhesive Shop at: SB.COM |  Fiskars – 12 Inch Personal Paper Trimmer with Cut-Line Shop at: SB.COM | AMZ |
 Teflon Bone Folder Shop at: AMZ |  Wagner Spraytech Dual Temperature Hot Air Tool Shop at: AMZ | Arteza Water Brush Pens Shop at: AMZ | |
 Tsukineko – VersaFine Clair – Ink Pad – Nocturne Shop at: SB.COM | AMZ |  My Sweet Petunia – Creative Corners Shop at: SB.COM | AMZ |  Hello Sentiments Shop at: JCS | |
") Arteza Watercolor Pencils, Soft-Core, Triangular-shaped, Pre-sharpened (Pack of 48) Shop at: AMZ |  The Crafter’s Workshop – 8.5 x 11 – Watercolor Paper Pack Shop at: SB.COM | AMZ | Westcott PRO-Point CarboTitanium Recycled iPoint Evolution Electric Pencil Sharpener Shop at: AMZ | |