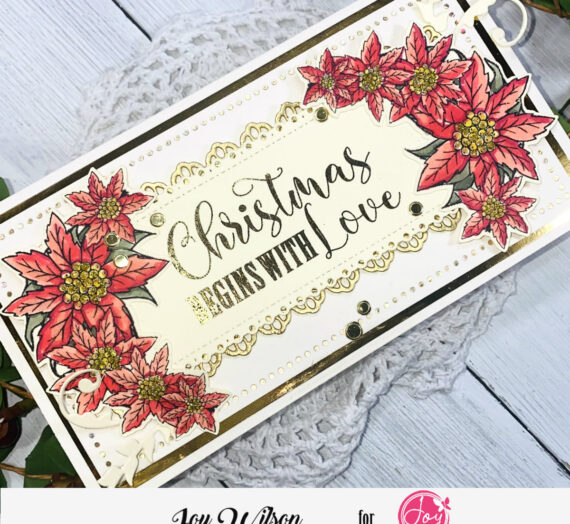
Hi everyone! It’s Lindsay, from Crafting While Caffeinated Blog and YouTube Channel, here with you today sharing another video tutorial. Today’s tutorial is all about foiling, one of my favorite cardmaking techniques. Did you know that you could foil your digital stamps? Well, you can and it is so incredibly easy! You can watch the video tutorial down below for all the details on foiling your digital stamps!
The Video Tutorial
The video tutorial above contains products that were sent to me free of charge for design purposes. I only ever design for companies I can stand behind 100%! This post also contains affiliate links.
How to Foil Digital Stamps

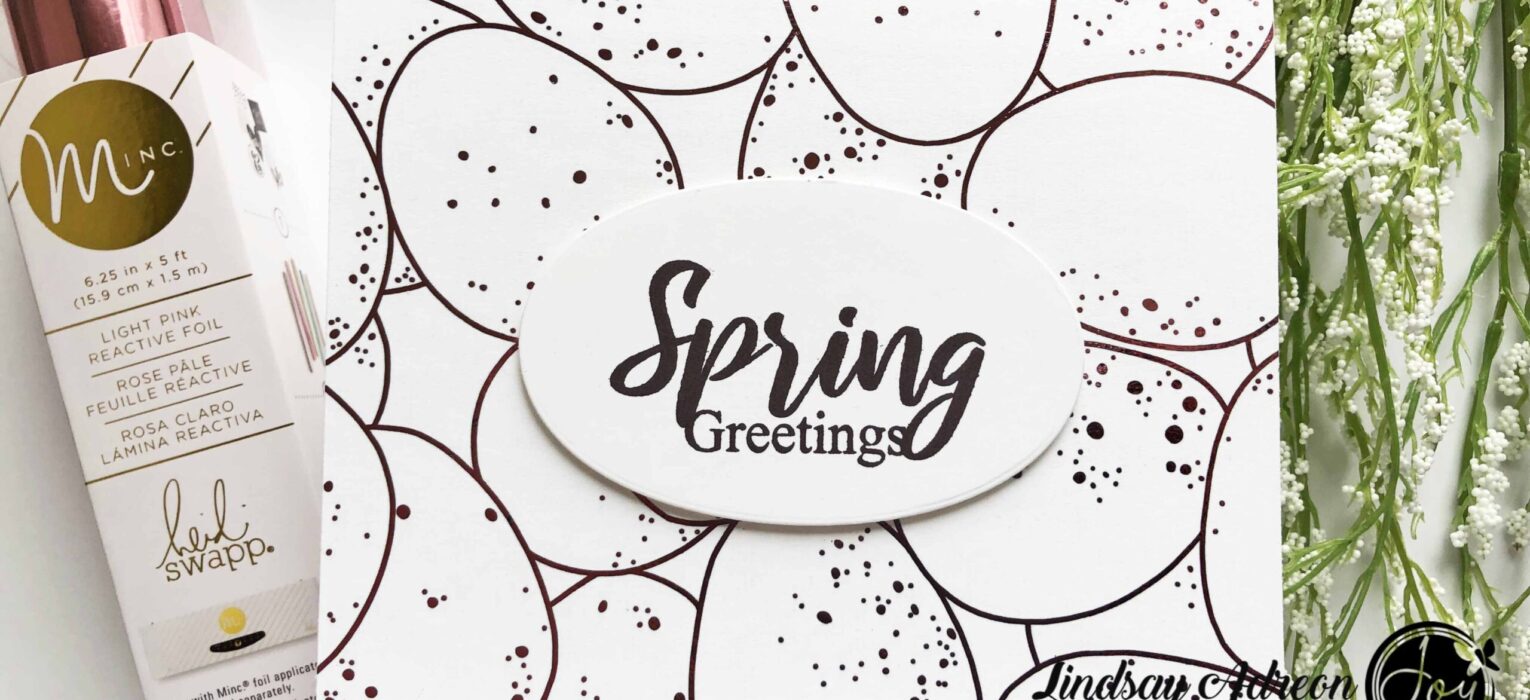
The digital stamp I am using today is one that I designed! It’s a full 6×6 background called “Speckled Egg Background”. Click the photo below to shop!!
What You Need
Foiling digital stamps is super easy and I will let the video guide you on the step by step. But, I want to share the must haves for this technique because there are a few aside from the digital stamps that you will need.
The Right Printer
To foil you have to have a laser printer. An ink jet printer WILL NOT work. You can also take your images to a local print shop and use their copier. The main thing to remember is whatever you use it needs to use toner.
Here is the printer I use!
The Right Foil
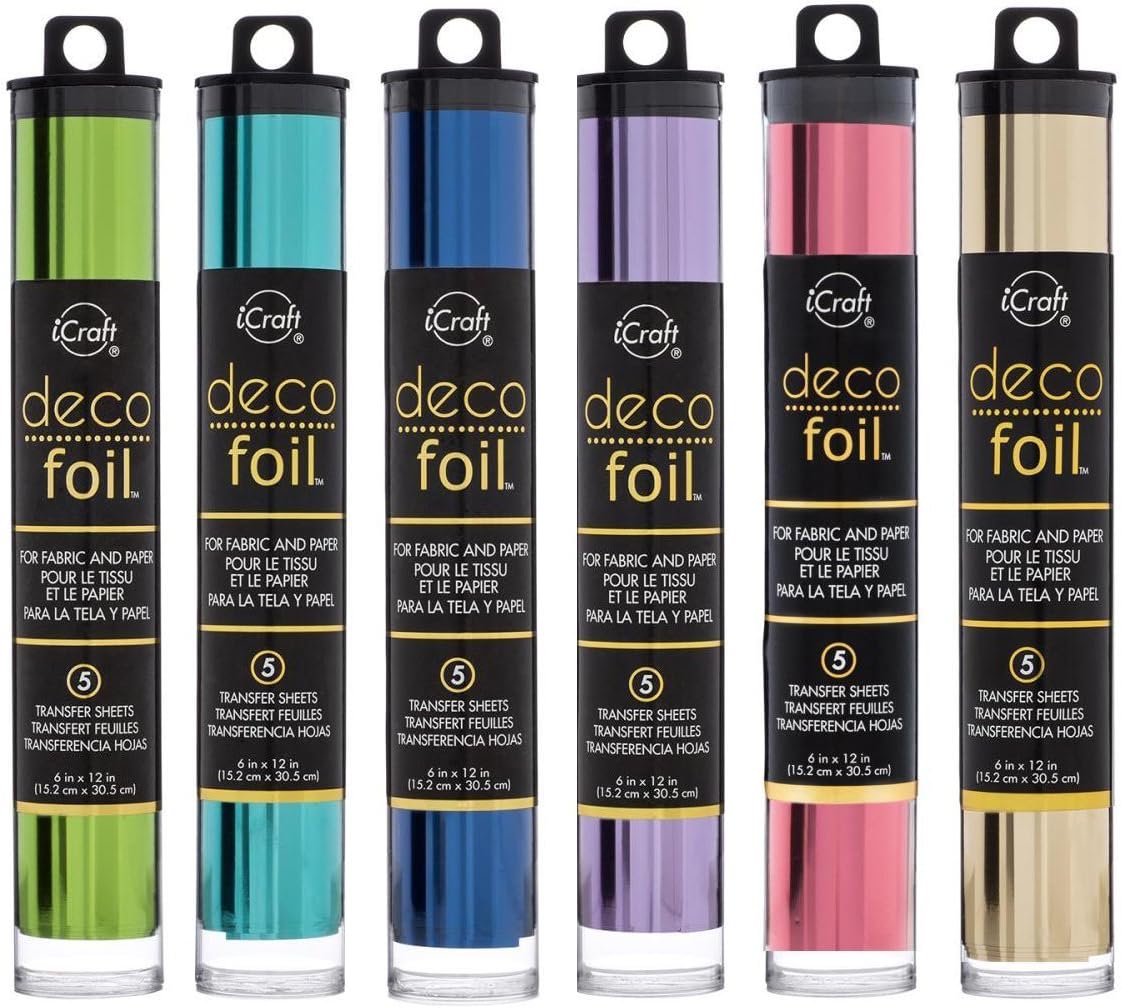
There are quite a few foils on the market and not all will work to foil your laser printer digital stamps. You need to be sure to choose the right foil that will work for this technique. Two brands that I know and trust are the Deco Foil line from Thermoweb (my favorite) and also the Heidi Swapp Minc line of foils. It needs to be a HEAT REACTIVE foil.
My favorite foil to use is the Deco Foil line. There are so many colors and variations to choose from, it is a heavier weight and works well each and every time! Here it is!
A Laminator or Foiling Machine
Ok, here’s the thing, there are more expensive foiling machines on the market and they do work. HOWEVER, a laminator works just as well for a quarter or less of the price. You may even already have a laminator, so double check your craft and office supplies!
Here is the laminator I use!
A Look at the Handmade Card
I kept the overall card very simple and really focused on the foiling. I only added a simple sentiment onto an oval die cut. The sentiment I used was from the Easter Greetings stamp set from Joy Clair Stamps.

I hope you all enjoyed a look at how to foil the new digital stamps that Joy Clair Stamps is offering! They are so versatile and fun to use. I can’t wait to share more tutorial with you!
If you are interested in any of the supplies I used to create my card today, I have linked them all down below. Until next time, happy crafting!!
Supply List
Affiliate links are used
 Speckled Egg Background Digital Stamp Shop at: JCS | 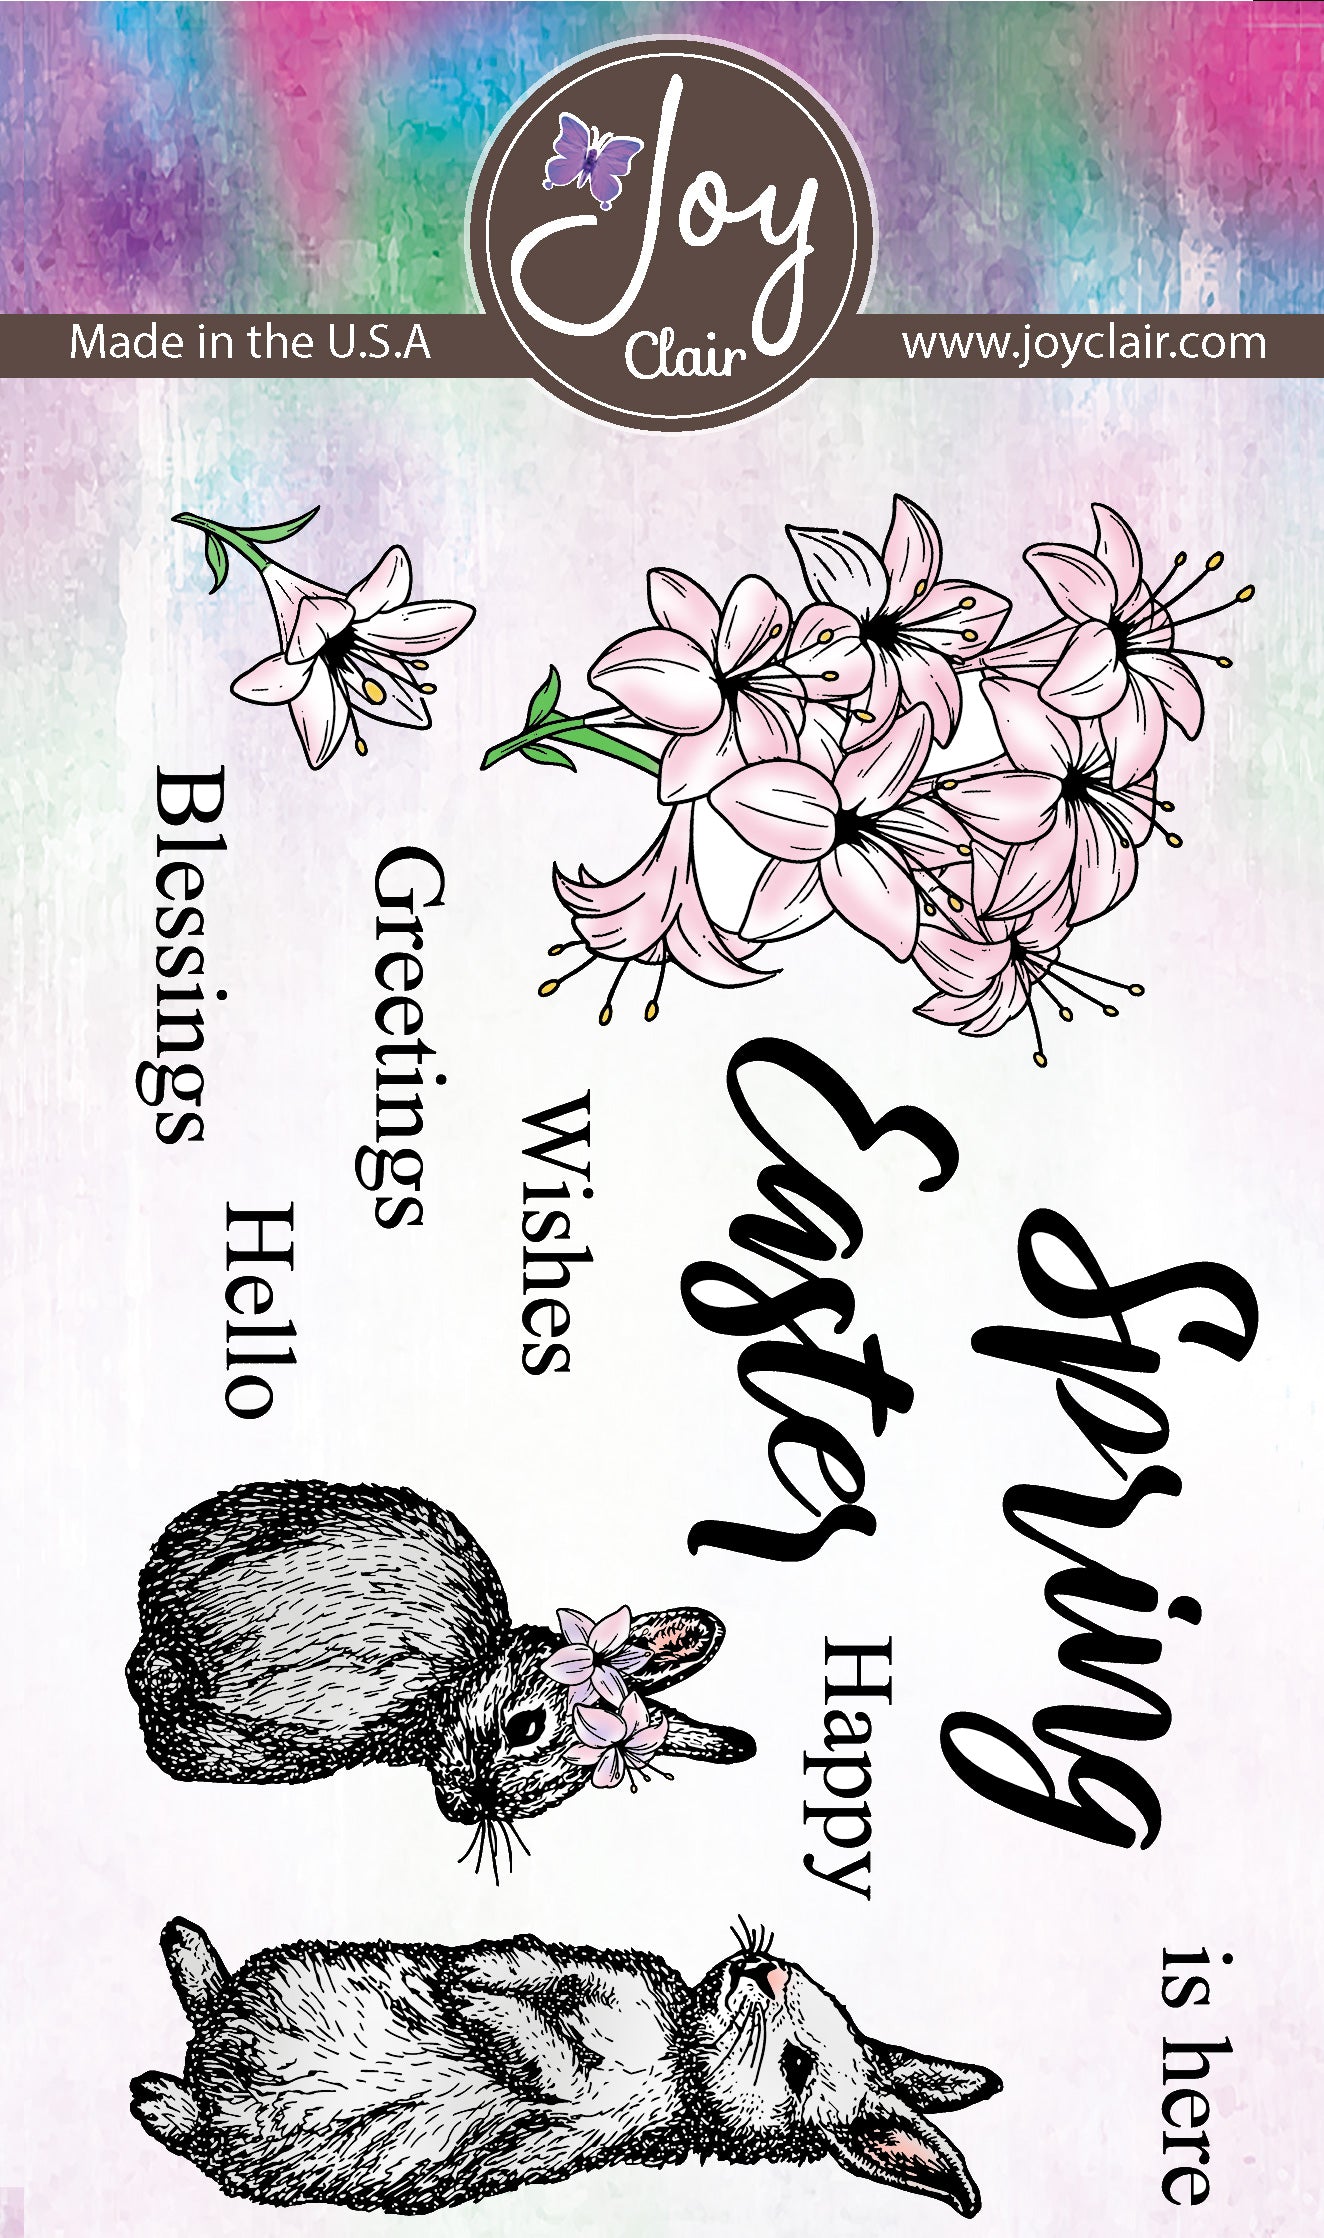 Easter Greetings Stamp Set Shop at: JCS |  MISTI Stamping Tool – The Most Incredible Stamp Tool Invented Shop at: SB.com | AMZ |  My Sweet Petunia – Creative Corners Shop at: SB.com | AMZ |
 Brother HL-L2300D Monochrome Laser Printer Shop at: AMZ |  Tombow Mono Multi Glue Shop at: SB.com | AMZ |  Fiskars – 12 Inch Personal Paper Trimmer with Cut-Line Shop at: SB.com | AMZ |  Teflon Bone Folder Shop at: AMZ |
 2 Rolls Double Sided Foam Tape Shop at: AMZ | 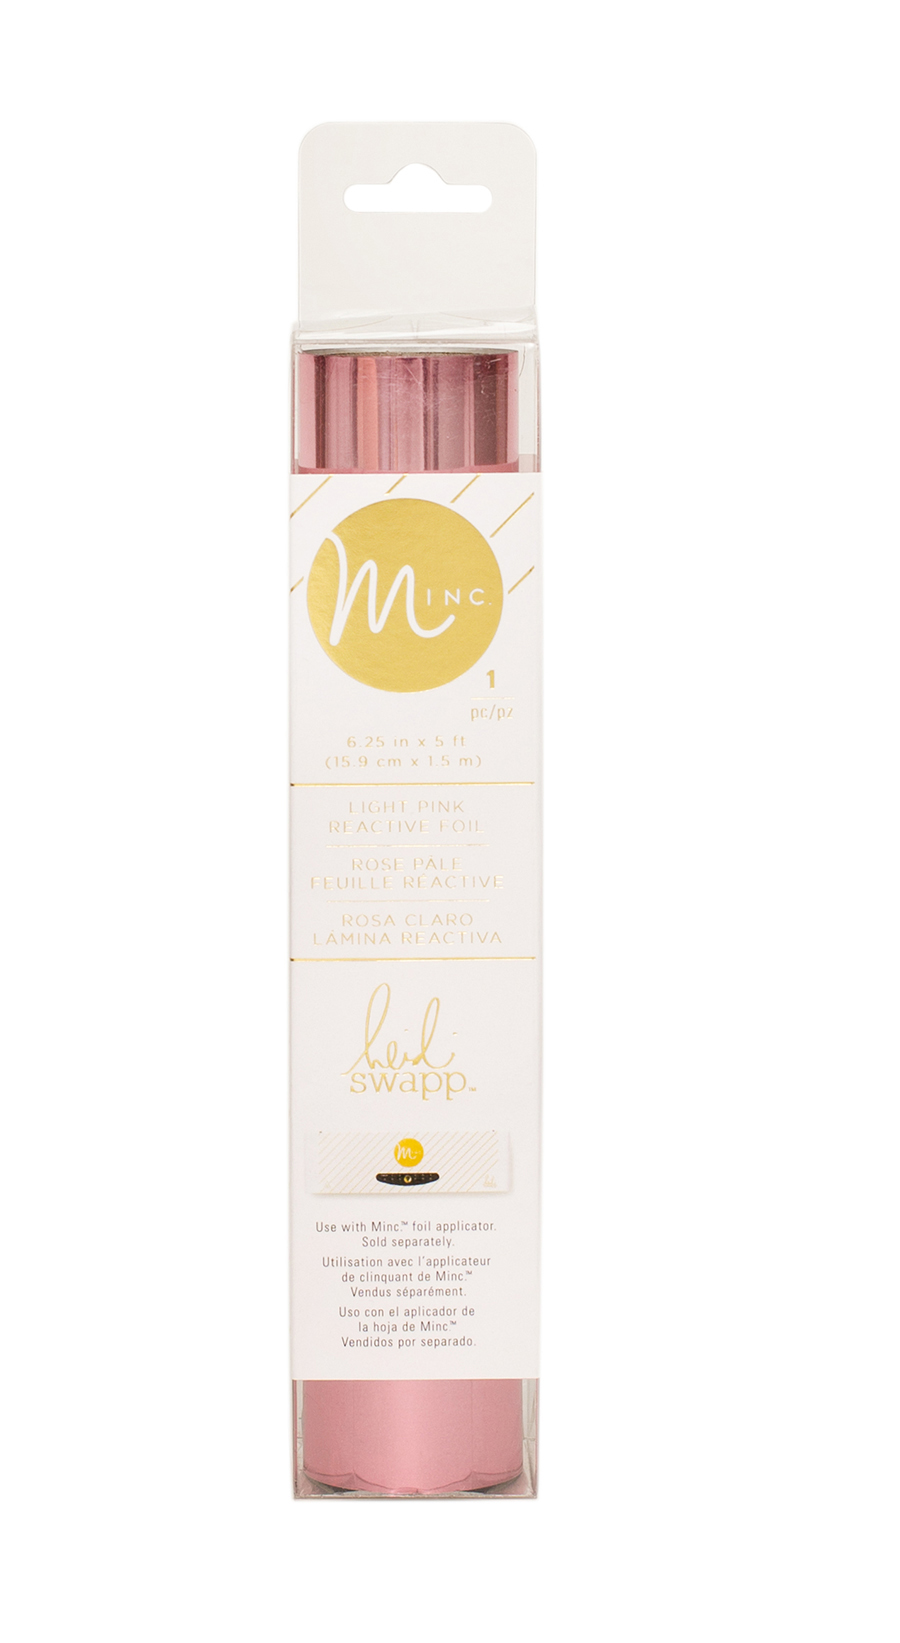 Light Pink Minc Foil Shop at: SB.com | AMZ | 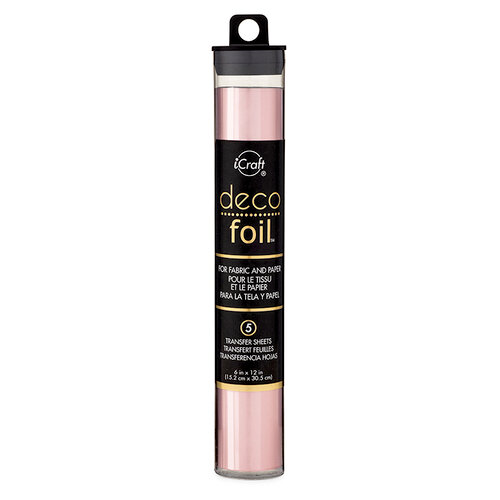 Pink Quartz Deco Foil Shop at: SB.com | AMZ |  Royal Sovereign Laminator Shop at: AMZ |
 Tsukineko – VersaFine Clair – Ink Pad – Pinecone Shop at: SB.com | AMZ | 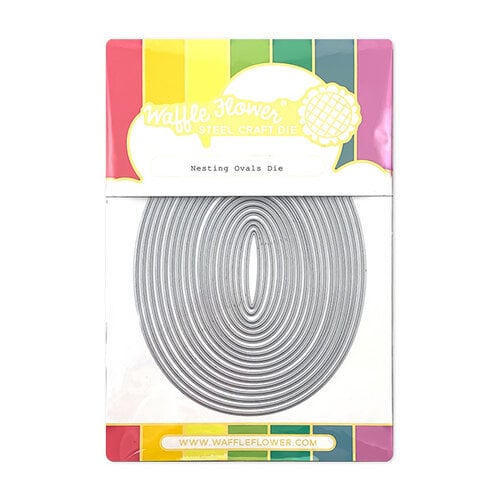 Waffle Flower Crafts – Craft Dies – Nesting Ovals Shop at: SB.com | AMZ | 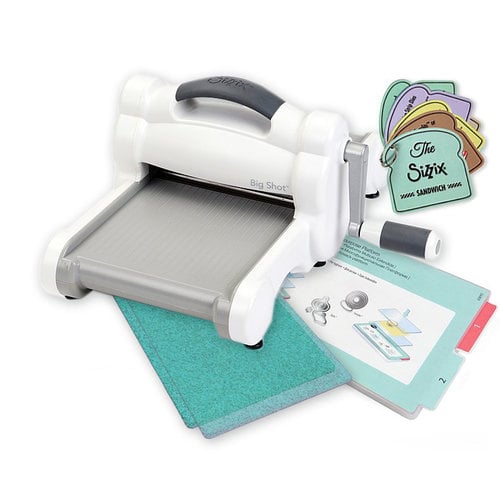 Sizzix – Big Shot Machine – White and Gray – With Exclusive Ocean Cutting Pads Shop at: SB.com | AMZ |

