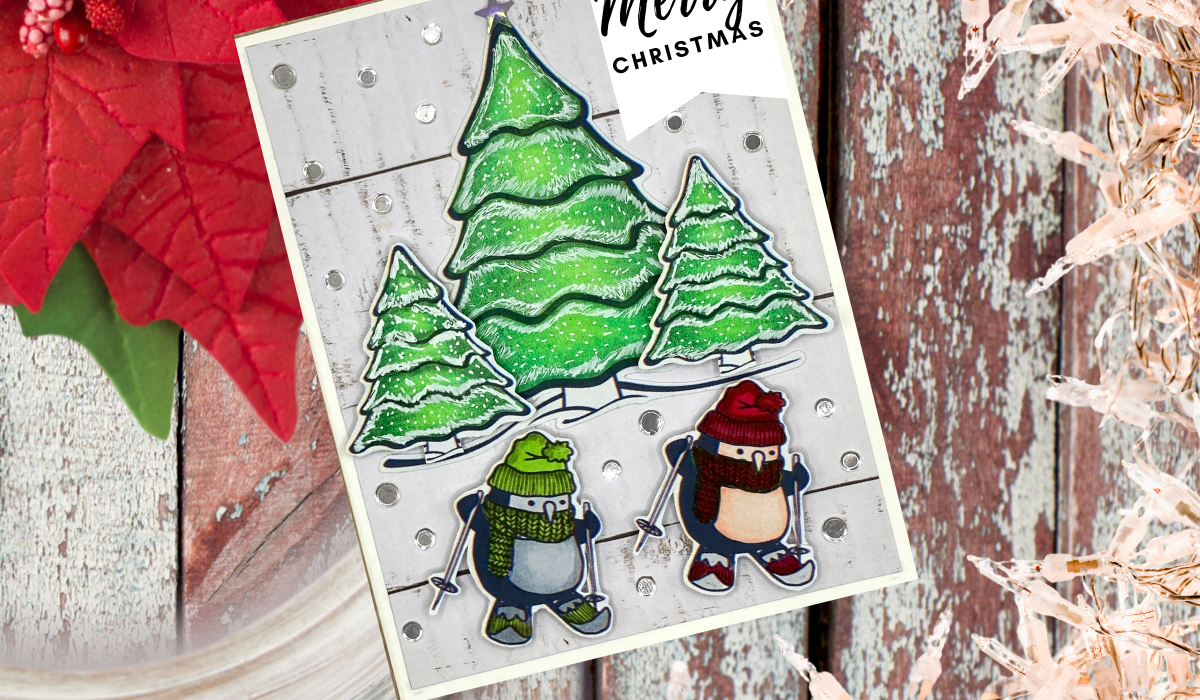
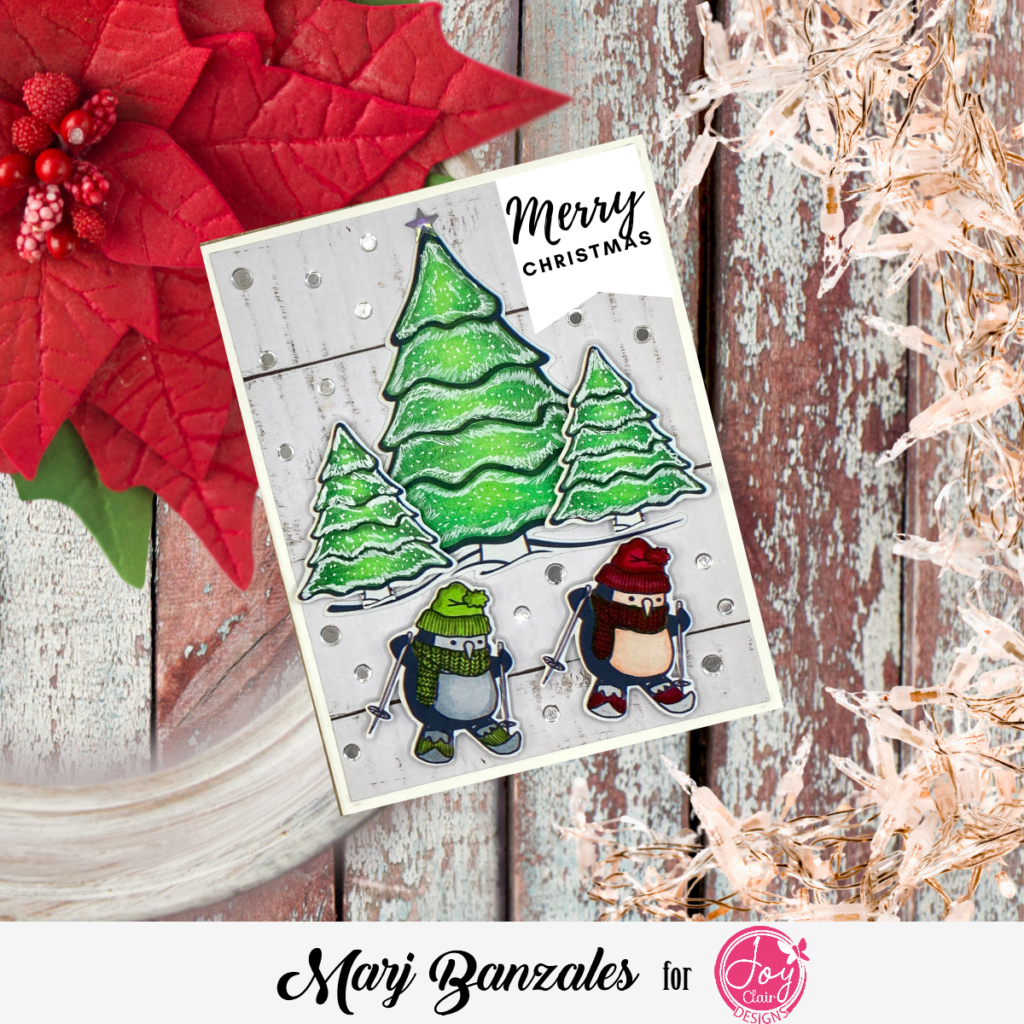
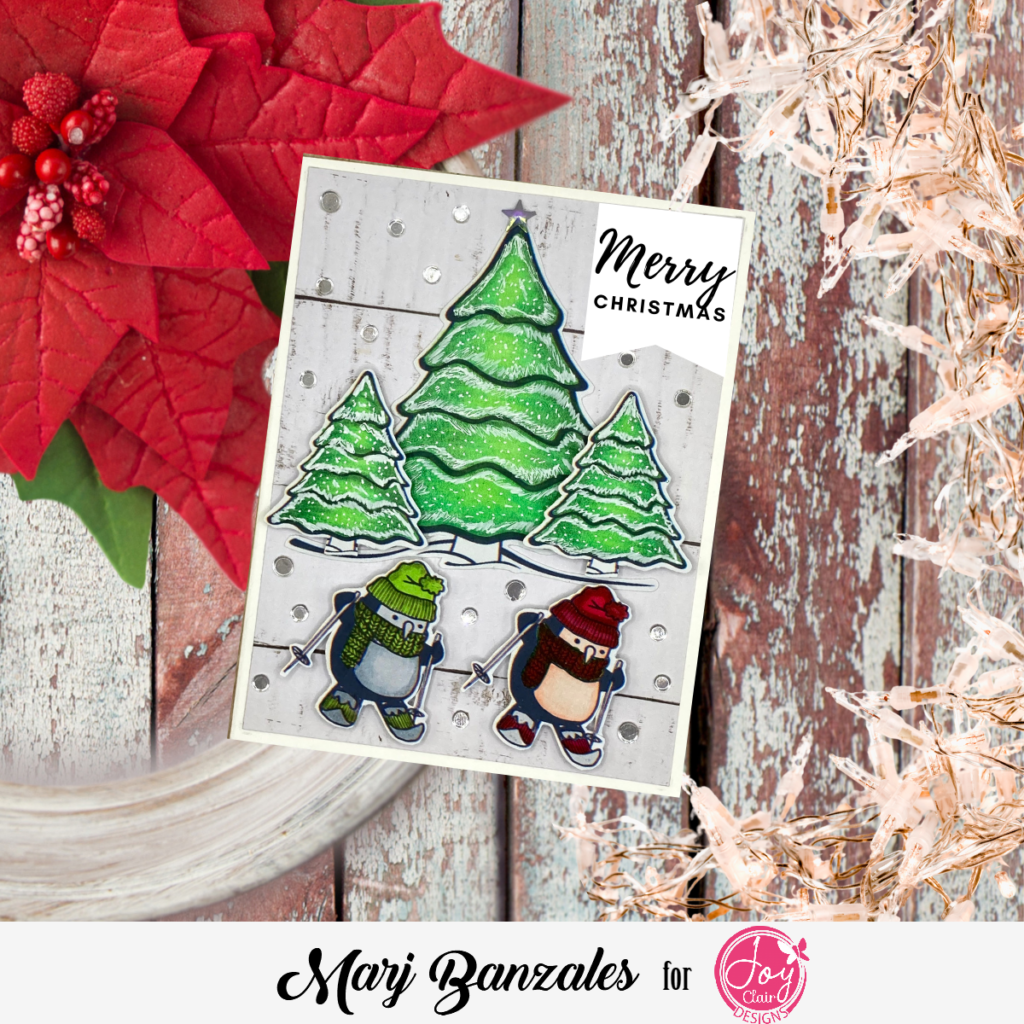
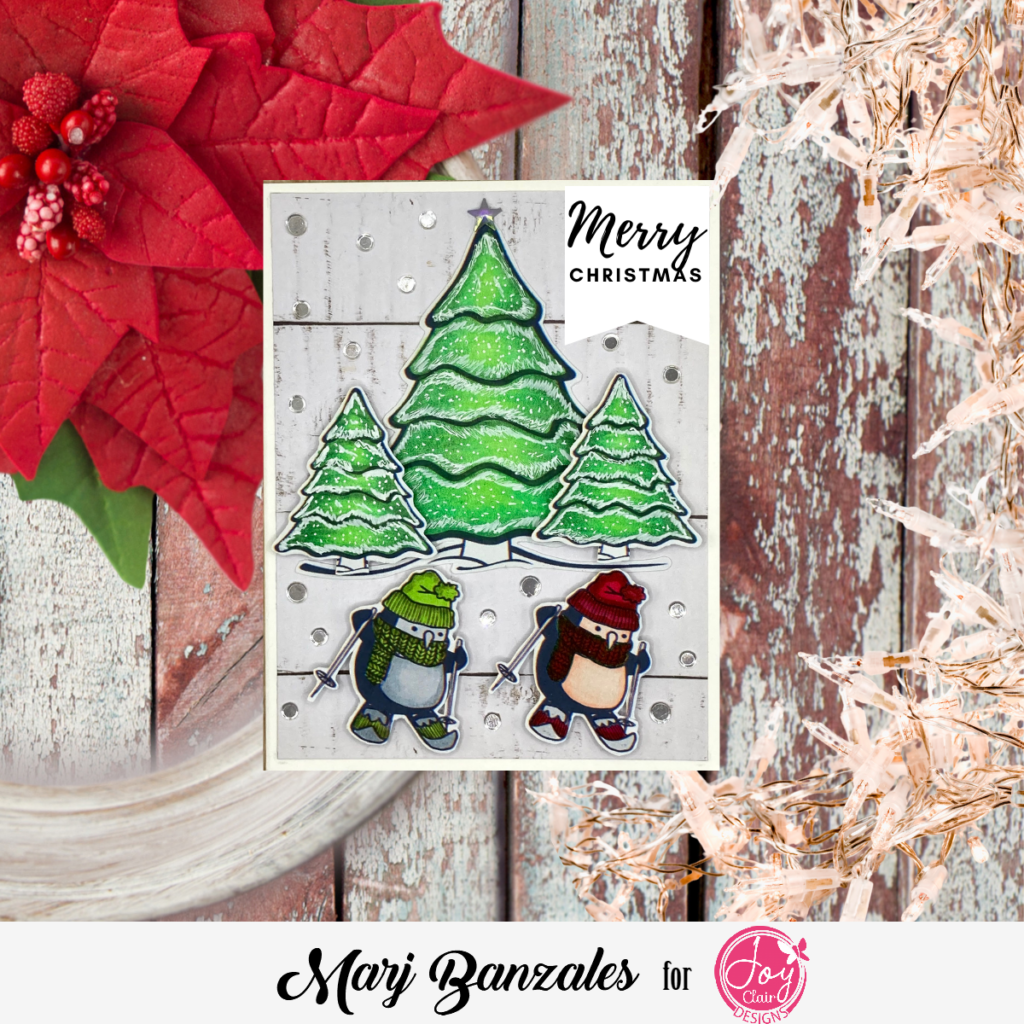
Hi friends and welcome back! Marj here again for another card to share with you. Is it the time of the year again as most of us start to create Christmas Cards in July? Well, today I’ll be sharing a card I made and will give you the details on how I created it.
So, let’s start …
For my card today, I used Joy Clair Designs Santa’s Favorite Digital Set. This is such a fun and super adorable stamp. What a fun way to make Christmas Cards using these cuties.
First, I started uploading the entire set to my Cricut Design Space. Then, I set it to the desired size I wanted them to appear on the card. After my deliberation on how it will appear on my card, I then print them using my Canon TS5320. This is my go to printer as it is so easy to operate.
Here’s my Favorite Medium to use…
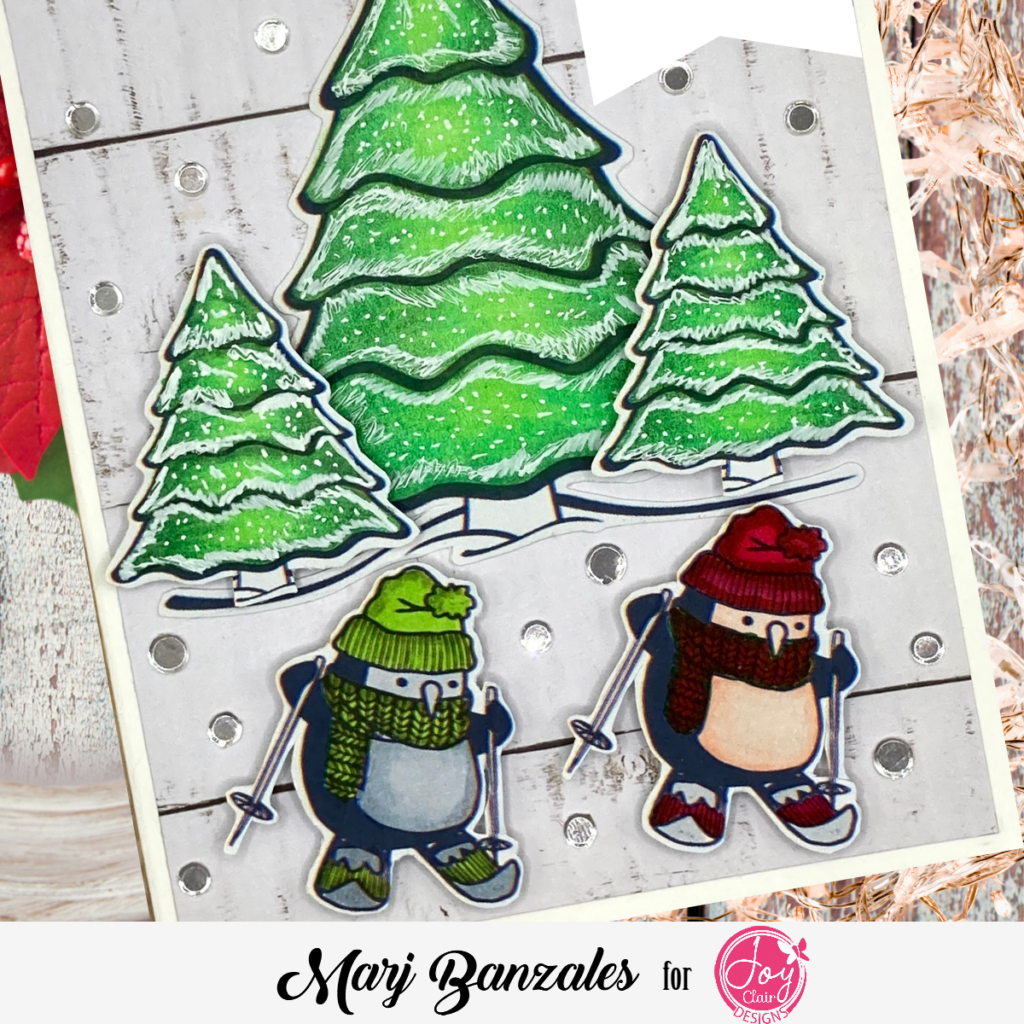
Using my Arteza Ever Blend Markers, I colored the little cute Penguins. For my first Penguin, I used A415 (Wine Red), A4886 (Cerise Pink), and A886 (Bubble Gum Pink). For the second Penguin, I used A942 (Olive Green), A5959 (Pale Green), and A5948 (Lime Green). So adorable and so fun to color! After that, I fussy cut them right away and left a little white border all over the image.
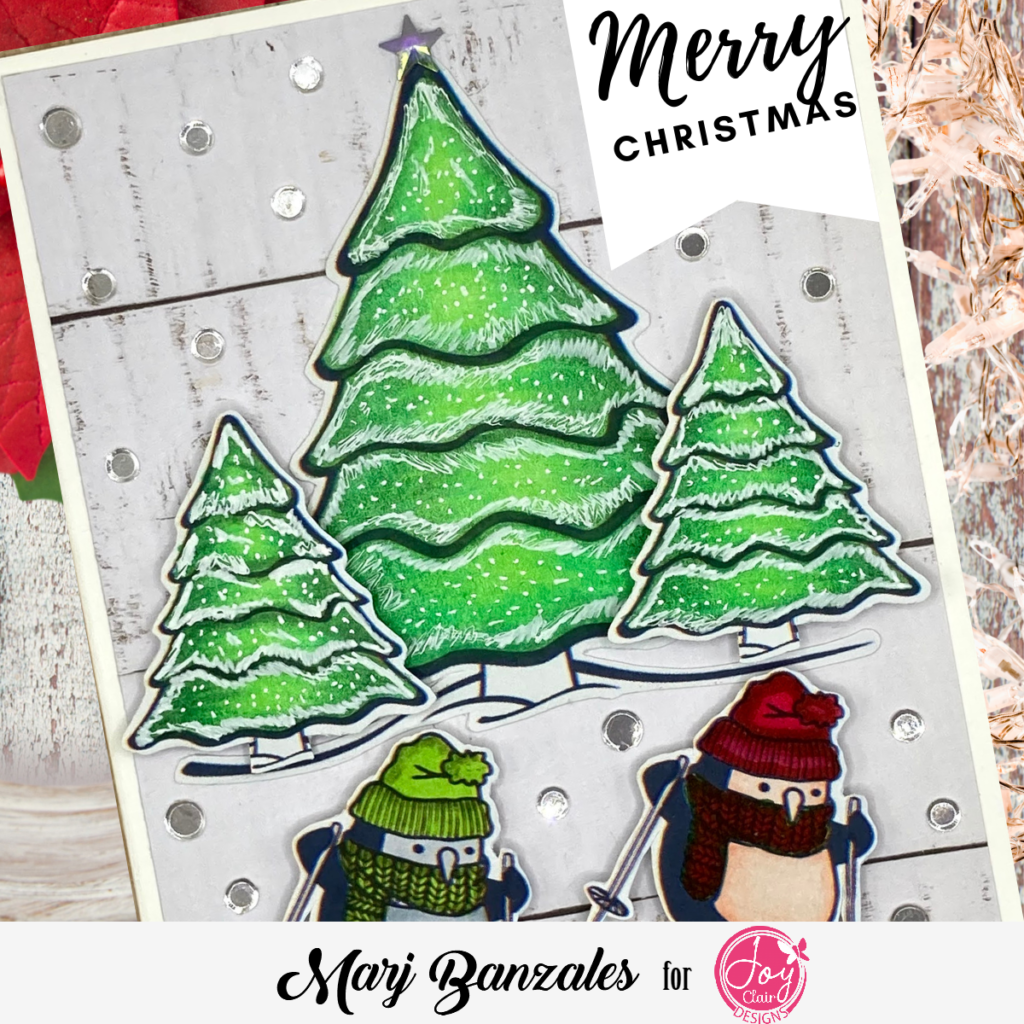
Next, I colored the Christmas Trees using Arteza colored pencils. I made 3 different sizes as this will be part of the scene I am going for the design. To achieve the color of my Christmas Trees, I used A041 (Forest Green), A042 (Spring Green), and A030 (Mint Green). Whenever I use Colored Pencils, I make sure to color it 3 times or even 4 to really set the color I am looking for in my image.
I let the colored pencils sit for few minutes and then used Prismacolor Colourless Pencil to smooth the color and to get the desired texture of the image. To look like there’s some snow, I used and added white gel pen to the Christmas Tree. I then set it aside to dry. While waiting to dry, I cut a piece 4 x 5.25 inches of Winter’s Night Pattern Pad from Recollections.
Now we are ready to assemble the card…
I started by adding some foam tape to the cute penguins for some dimension and added them to the bottom part of the card. Then, I adhered the tallest Christmas Tree in the middle of the card using strong glue. I added some double sided tape to 2 other Christmas Trees and attached it to each side of the bigger Christmas Tree. For the sentiment, I cut a piece of banner and added Merry Christmas. Finally, I added my card panel to white card base, added some embellishments that represent snow falling and we are done!
I hope you like this card. Don’t forget to stop by Joy Clair Designs to check out some other Christmas Digital Stamps and not just they also have new Slimline Dies.
Thank you for stopping by and I’ll see you again next time!
XOXO
Marj

