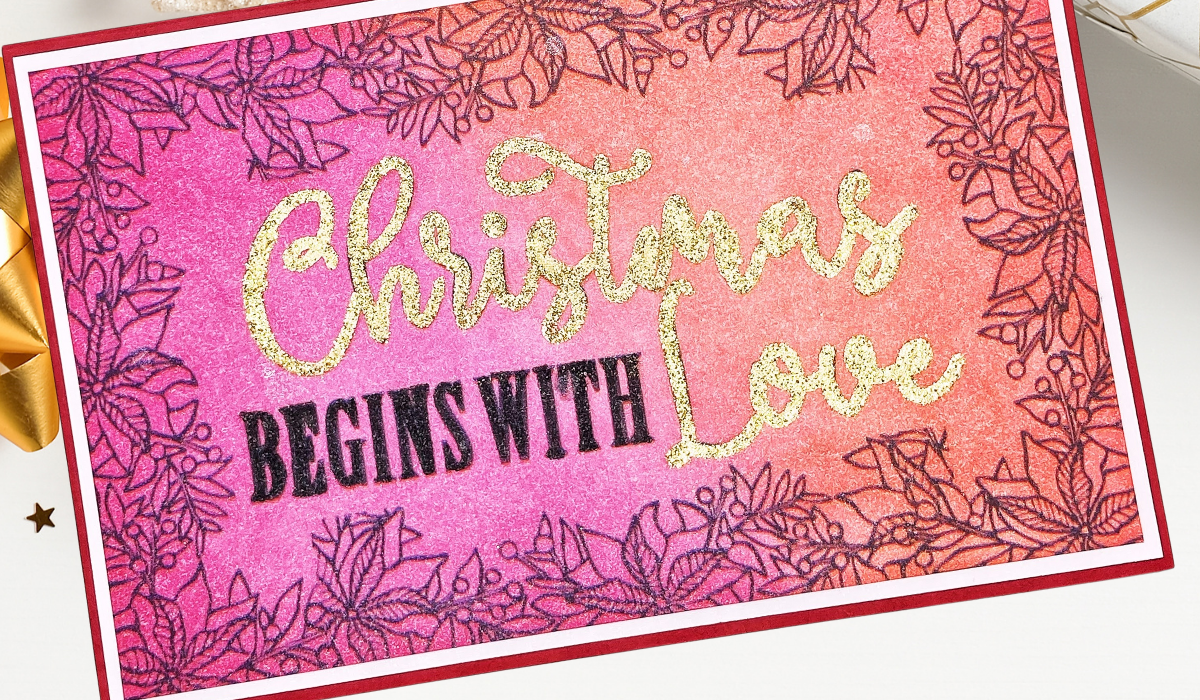
Christmas Begins With Love… but actually not just Christmas it should be every day, don’t you think? Most especially during this time that we have uncertainty on what is going on around the world. But with this card, I know I am really certain, lol!
Hello friends! It’s Marj of MarjBanzalesDesigns, today I’m here on Joy Clair Designs Blog sharing a shiny and embossed Christmas card. I used one of the digital stamps from the collection of Christmas Joy Digital Stamp Sets. I should say again, as always an easy card to make.
Let me tell you how I easily made this card.
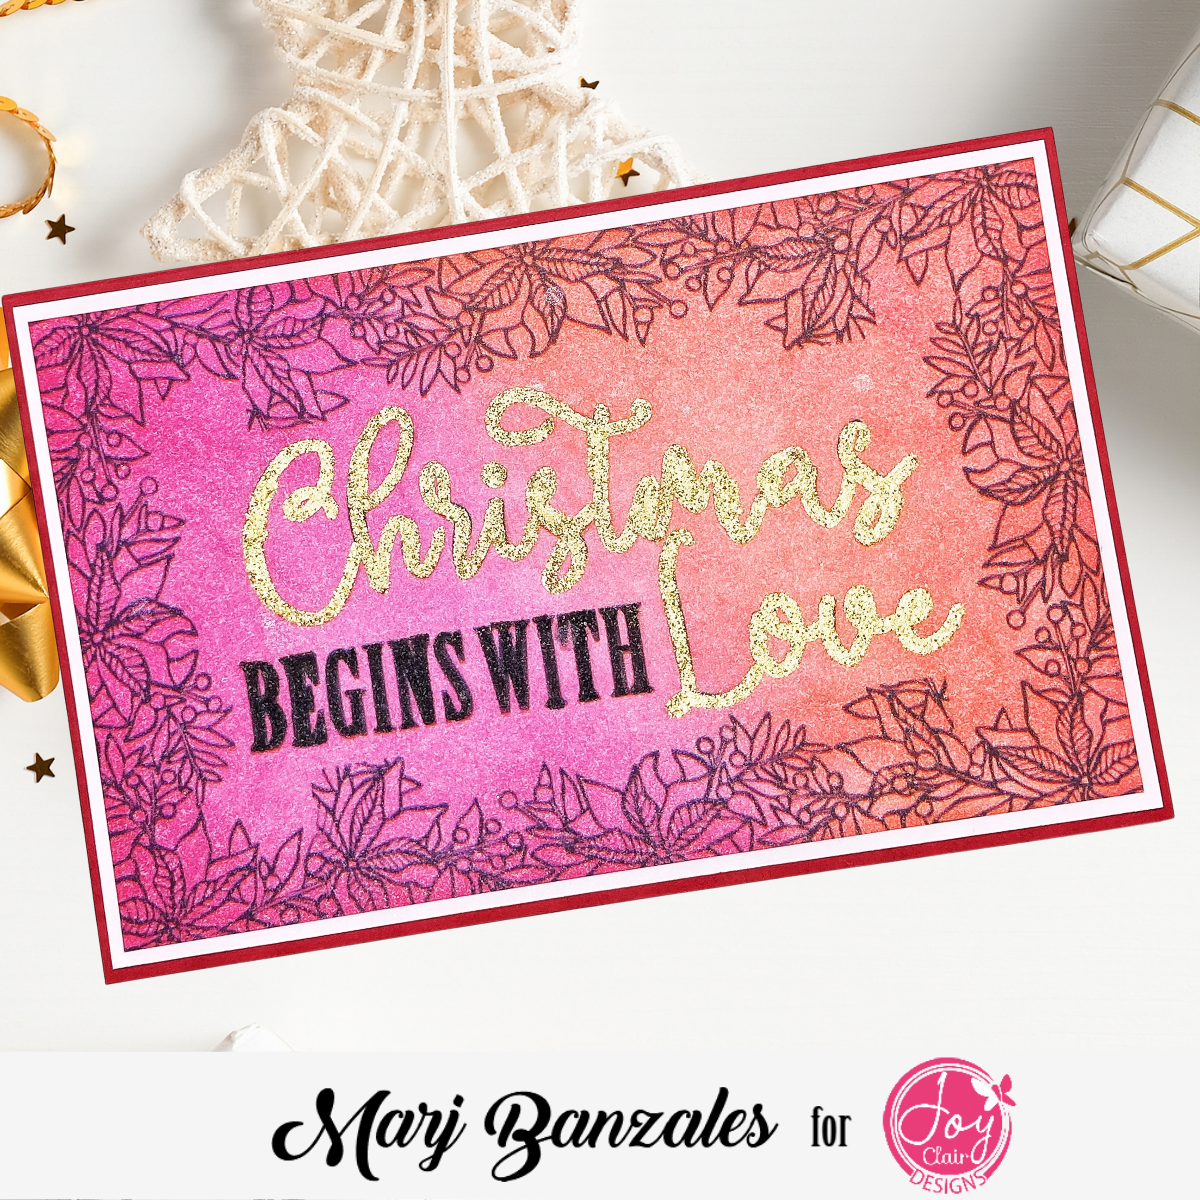
First, I made the design using a Word document and made an unusual size card. The dimension I made for this card is 6 inches x 4 inches. It’s a combination of an A2 notecard and a Slimline card. The digital stamp I used for this card is the border/garland type. All you need is the right dimension of what exactly you needed to make. Once done sizing and arranging the garland, I printed it on white 65 lb cardstock.
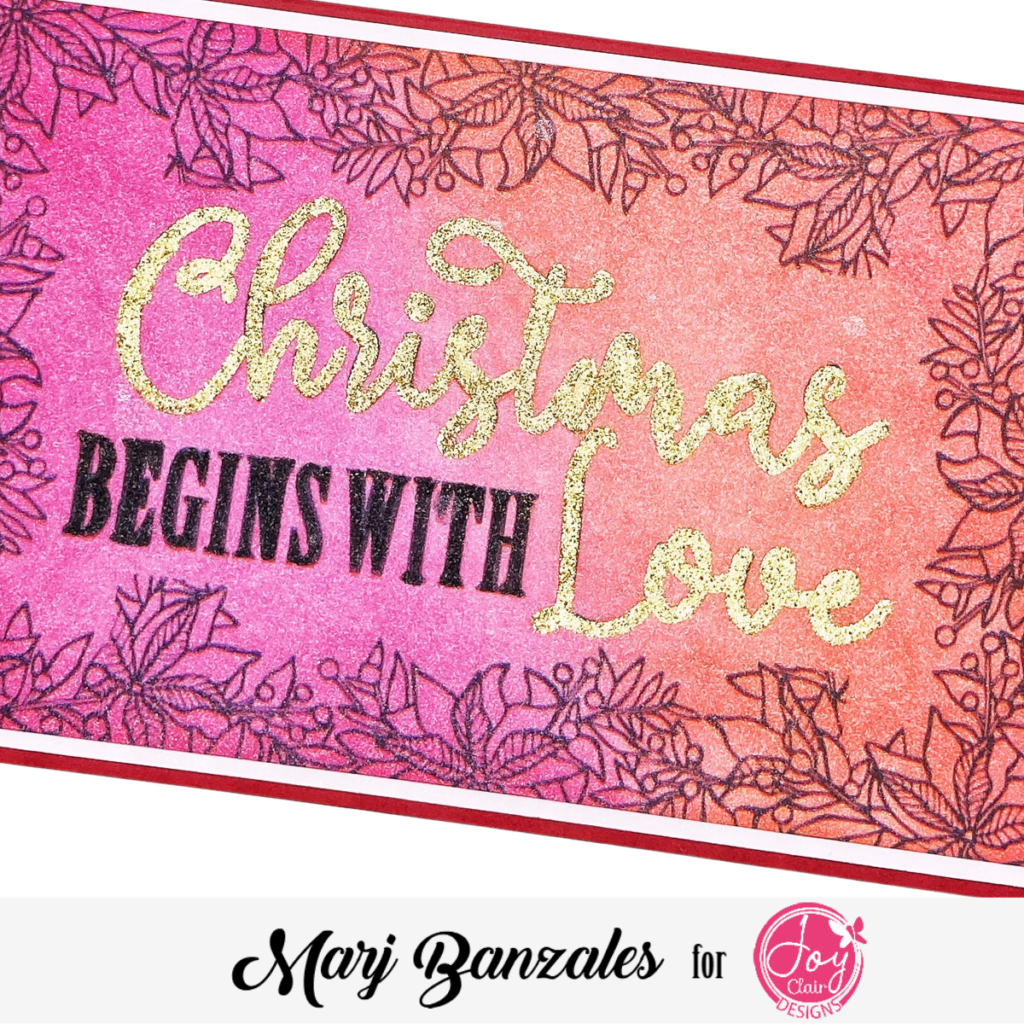
Next, I applied the Candy Shop Pink Hybrid Ink, started from the corner and moving towards the middle of the card. Always use a light hand so it won’t have any harsh lines while applying and easily can achieve the right amount of color. Then, I worked on the other side of the card using the Carnival Pink Hybrid Ink. I started again from the corner then moving towards the middle to meet the other color and blend them together.
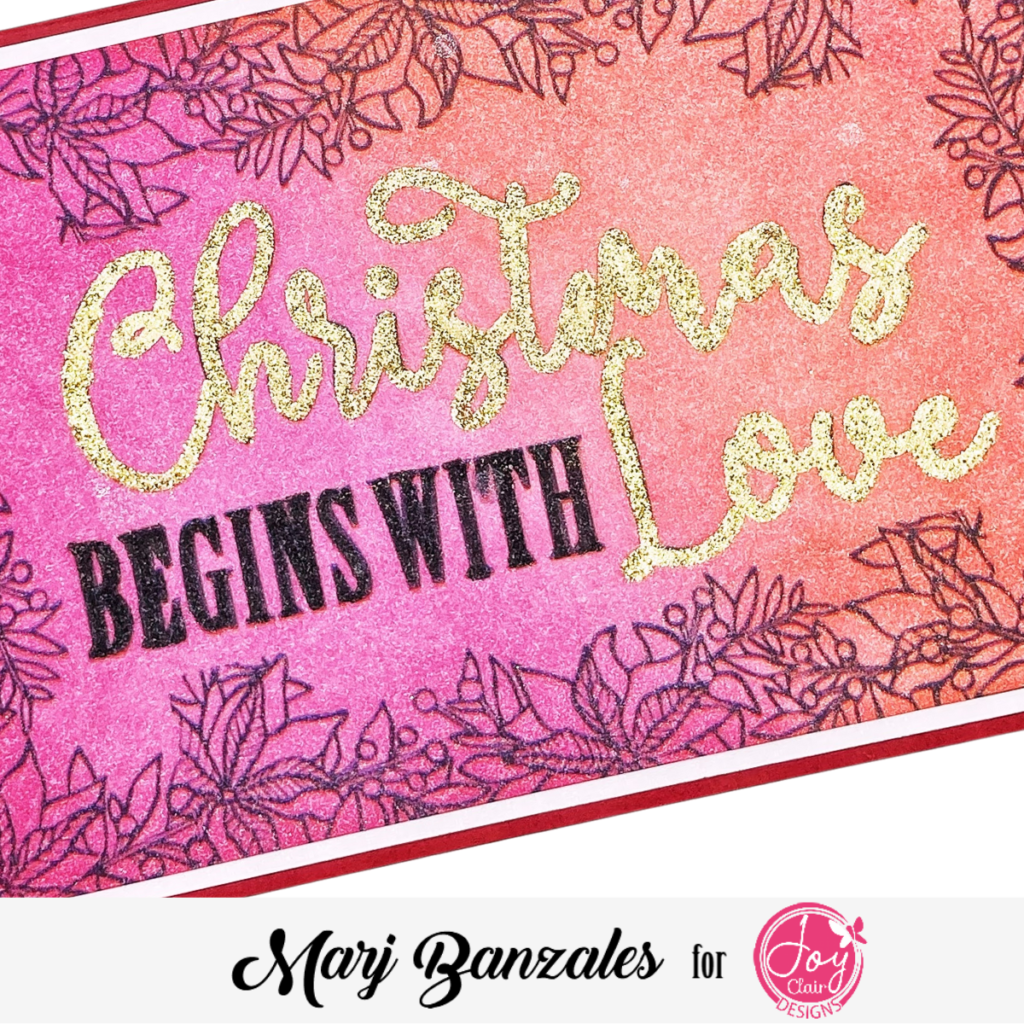
After that, I want to have some pop of color and shine to my sentiment. With that, I used Ranger Letter It Medium Embossing Pen to embossed the sentiment in the center. I applied it first with Christmas and then moved to Love so there’s a variation of colors. Now you can see the difference and pop of color from the sentiment Christmas Begins With Love! So shiny!
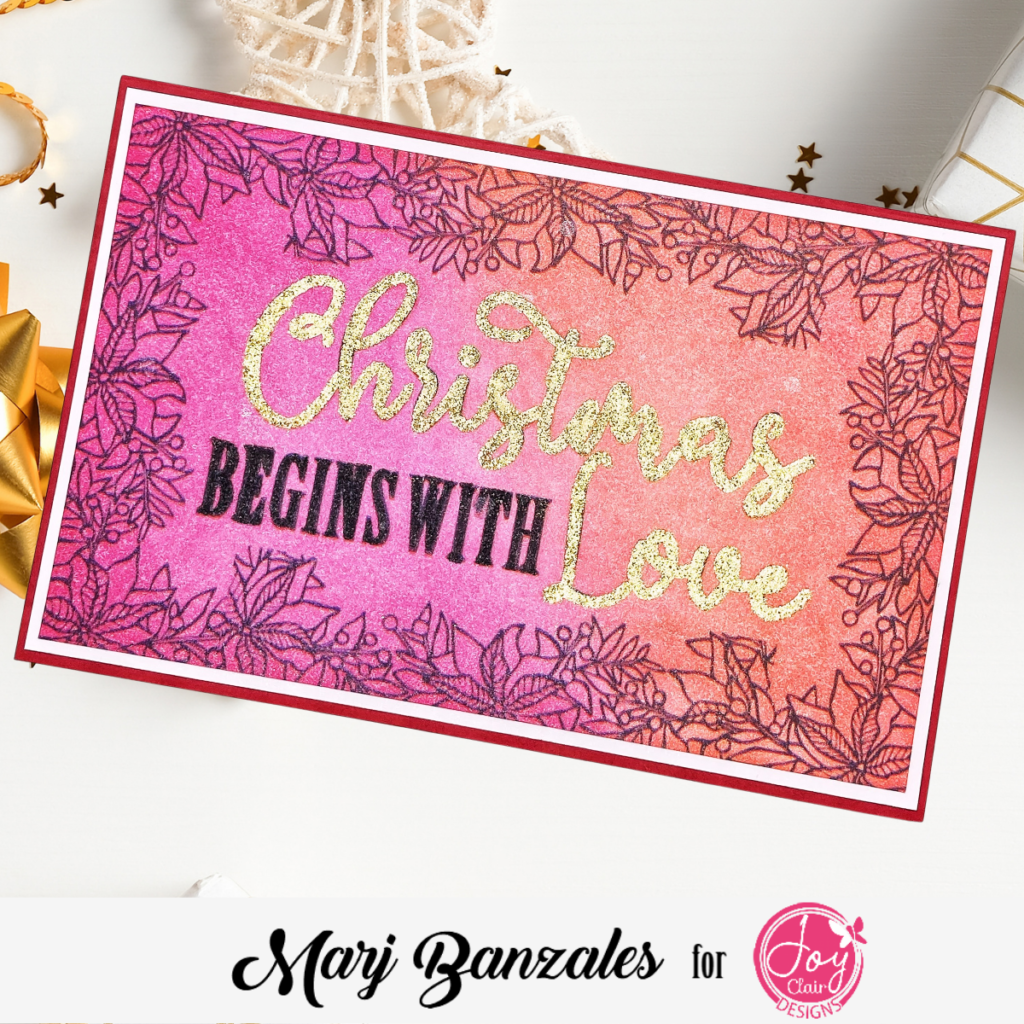
To assemble the card, I cut another piece of white cardstock just 1/4 inch larger then adhered using strong glue. For some more shimmer and shine on the card, I sprayed it with some White Perfect Pearl Spray ( I made my own). Finally, I added it red card base and we are al done.
To find more inspiration using Christmas Joy Digital Stamp Sets check it here.
I hope you had fun with my card and get a chance to check out all the beautiful designs over at the Joy Clair Designs Website. You can purchase the whole collection of different designs or maybe one or two.
Thanks for stopping by and I hope you were inspired by my project.
FOLLOW US
Be sure to join us at Joy Clair Designs Facebook Group, Joy Clair Stamps Facebook Group, Pinterest , and IG don’t forget to tag us with your beautiful creations.
For more inspiration, you can follow me on my Blog, Instagram, and Facebook.
See you again next time.
XOXO
Marj