
Hello, Joy Clair Designs Friends! Cathy here with my first October post. I used one of the images and a sentiment from Joy Clair Designs Cup of Joy digital stamp set to create an autumn-inspired shaker card for you today. 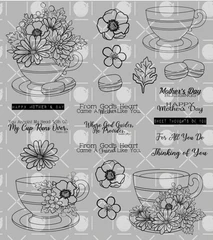
I went to my patterned paper stash to help guide my color choices. The paper I chose is meant to be Christmas paper, but I love it for this autumn-inspired card. Let’s get started with step-by-step instructions for my Cup of Joy shaker card!
Shaker Card Tutorial
Preparing the Card Front
- Create the front panel from patterned papers.

- Choose a die and die cut a window in the card front.
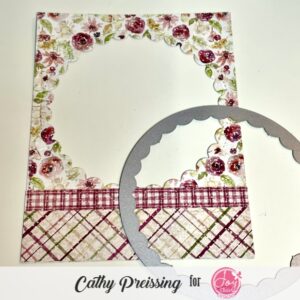
- Turn the front panel over to work on the back side. Add Score Tape to create a border around the die cut window.
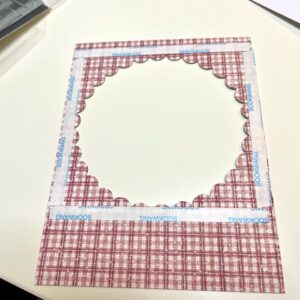
- Cut a clear acetate square to fit the window for the shaker card. Peel off the Score Tape paper and place the acetate panel on top. Set the panel aside.
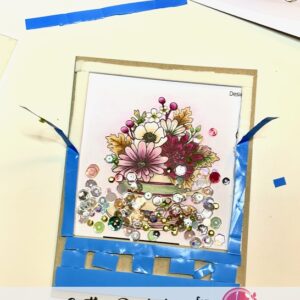
Creating the Shaker Portion of the Card
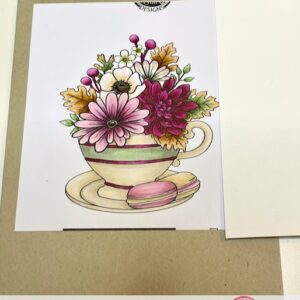
1. Adhere the image panel to the kraft colored card base.
2. Using 1/8″ thick foam tape, create a wall around the image. Tuck the vertical pieces against the horizontal sides so there aren’t any gaps. The 1/8″ foam gives the sequins plenty of room to move one the card is assembled.
3. Next, dust the image and the sides of the foam tape with anti-static powder so the sequins don’t stick.
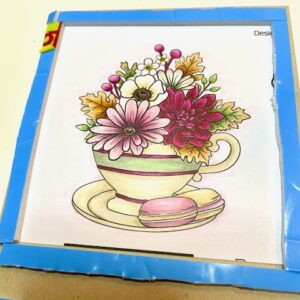
3. Add additional foam to support the rest of the card front, then put your sequins inside the walled area. I was liberal with my foam in an effort to use up my supply! .
4. The next step is to add the card front. I peel the foam paper off in sections and the tails help me pull the tape off while continuing to stick down the card front. I line up the top of the panel, then move to the sides, and finally the bottom.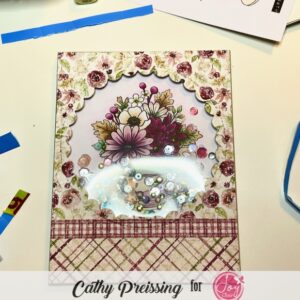
Now it’s time to finish off the card! To keep the design relatively simple, I layered the “Sweet thoughts of you” sentiment that is part of the Cup of Joy set on two flag die cuts. I looped gold thread around behind it and then glued it on this beautiful Cup of Joy shaker card. 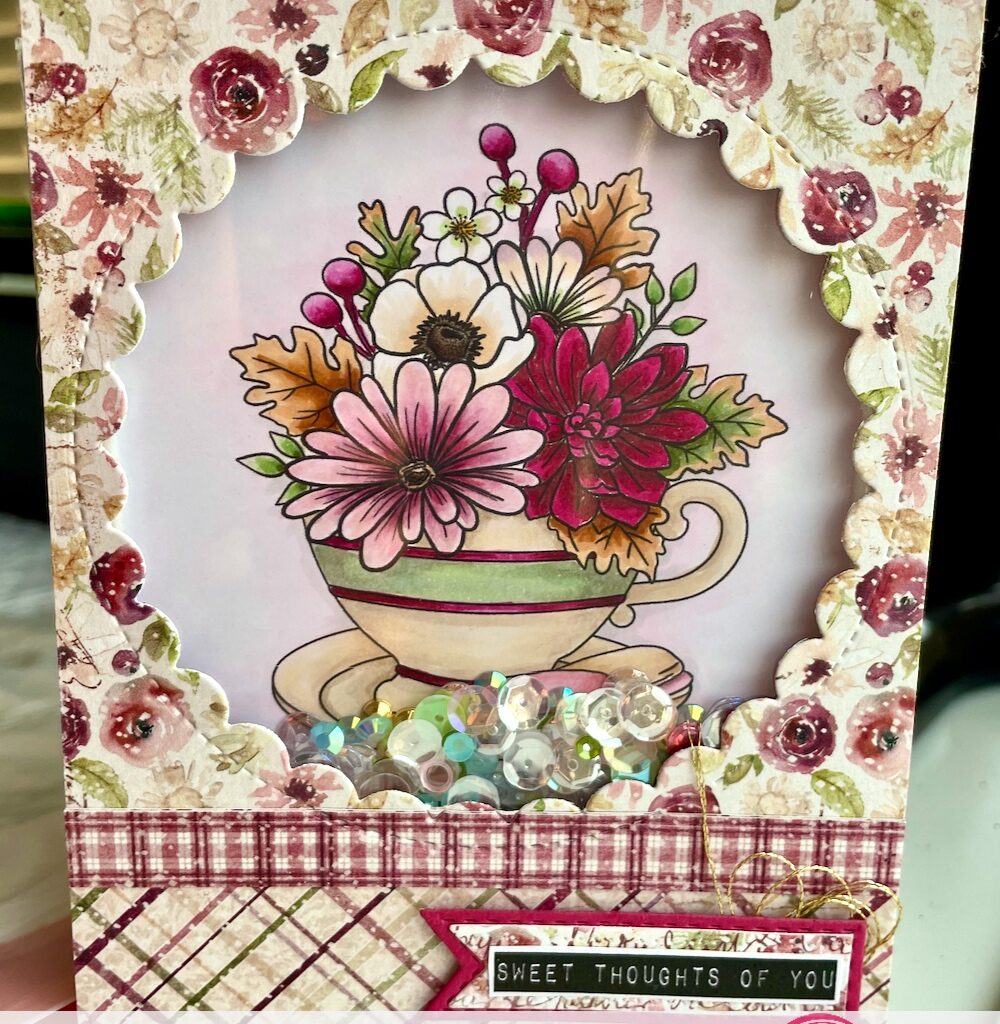
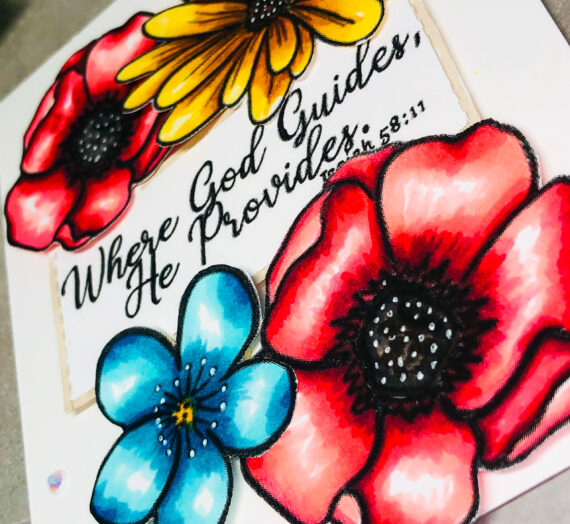
We didn’t even talk about coloring with my Copics on this card! The paper was a beautiful jumping-off place for the flowers in the cup, so color choices were easy. The stamp set is very versatile – did you know it was released as a Mother’s Day set? If you are interested, you can find more examples of shaker cards and coloring with Copics on my blog or IG page.
Copics Used:
Deep red mum: R89, R59, RV19, 17, W5
Pink flower: R39, 83, 32, 52, W3
Off-white flower: E41, 50; flower centers- E31, 44, 47
Multicolored flower: RV91, E50, G82
Leaves: YR 24, 20, E41, 43, BG 96, 93, G40
Berries: RV69, 19, 63, R39
Macrons: RV95, 91,32,00; E31, 41, 50, YR20
Teacup: E41, 50
Follow us!
Be sure to sign up for Joy Clair Designs newsletters. You will receive notifications of new releases, sales and exclusive offers for subscribers. You can also follow the team’s Joy Clair Designs creations on Facebook Page, Joy Clair Stamp Projects Facebook Group, Instagram , Twitter, Pinterest and YouTube!
Thanks for taking a closer peek at my card. I hope you are able to make time to be creative in the coming days! ~Cathy