Hi everyone! It’s Lindsay here with you today and I am so excited to share today’s video tutorial with you all. The tutorial today is a follow along digital stamping video tutorial, where I am slowly walking you through how to create a card background and a focal image digitally. You can follow along with me from start to finish!
I know so many have said they don’t use digital stamps because they are intimidated, don’t know how, etc. With this tutorial you can follow along with me and make your own handmade card!! Be sure to watch the video below!!
The Follow Along Video Tutorial
Things to Know About the Follow Along Tutorial
There are a few key things I want to fill you in on about this tutorial.
- I use Adobe Photoshop Elements. It is not a free program, but I use this program because it is a powerful program and it’s what I use for EVERYTHING. Editing photos, making thumbnails, digital stamping, creating my sticker sheets, etc. So ALL of my digital stamping tutorial use this program because it’s what I know, use and LOVE!
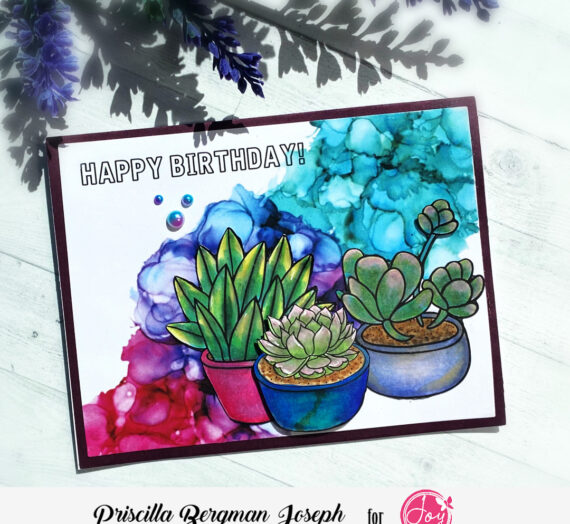
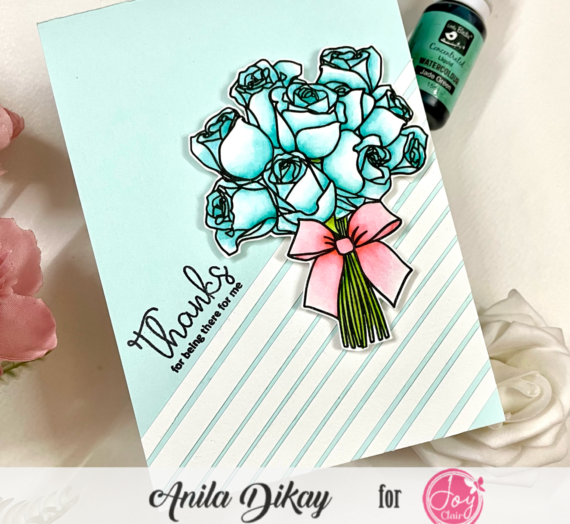
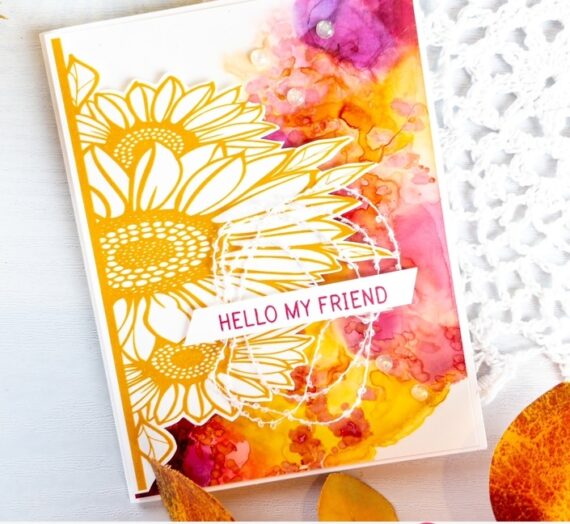
- The stamp set I am using is the Cup of Joy Digital Stamp Set from Joy Clair Stamps. This set is GORGEOUS and I’ve used it before to make stickers with. Check that out HERE. However, this tutorial will work with all the different Joy Clair Digital Stamp Sets!
- I do go slow in this tutorial and it’s long. In my previous tutorials I went too fast, I see that now. If this is still too fast, pause the video and then move to the next step when you’re ready. If it’s too slow, speed up the video. This way you get the added bonus of hearing my voice sound super funny, too!
- If you enjoy this kind of tutorial, let me know! Leave a comment on the video or here on the blog so I can know to keep making these. They take quite a bit of time, so hearing that they’re helping is a great incentive to keep making them!
Finishing the Handmade Card
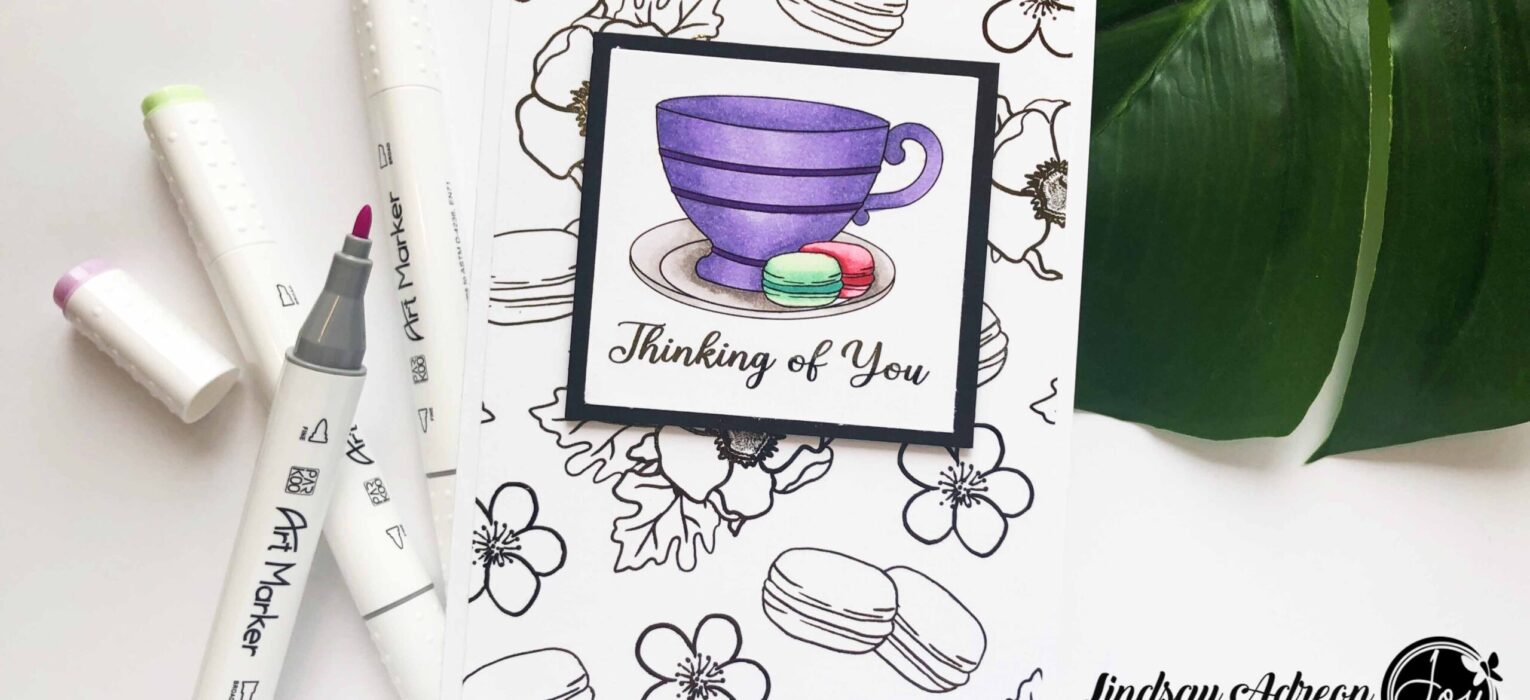
I am going to let my video do all the work in explaining how I created both the focal point panel and also the background panel with the Cup of Joy Digital Stamp Set. But I do want to give you a quick run down of how I put everything together! First, I printed the panels. I used my laser printer and 80 lb. cardstock.

For previous tutorials I used 110 lb. cardstock for my foiling. Let me tell you, 80 lb. works so much better! It allows the foil to transfer more smoothly and with less skipping. I used 80 lb. Neenah today for both panels, but you could always print the background and focal point separately!
With my panels printed I started by coloring in my focal image. Because I printed with my laser printer, I was able to use alcohol markers to color in the image. Specifically, I used ProMarkers.

Then, I foiled the background panel and the sentiment on the bottom of the focal panel. I love foiling digital stamps. It is such a simple and quick way to add so much WOW to a handmade card!

And finally, I put everything together! I added a black mat to the focal panel and popped it up on the background with dimensional adhesive. The background was attached to an A2 top folding card base with liquid adhesive.

I hope you all enjoyed the follow along digital stamping video tutorial today! Remember, if you did enjoy it and want to see more like it, be sure to leave a comment so I know to keep making them! Until next time, happy crafting everyone!!