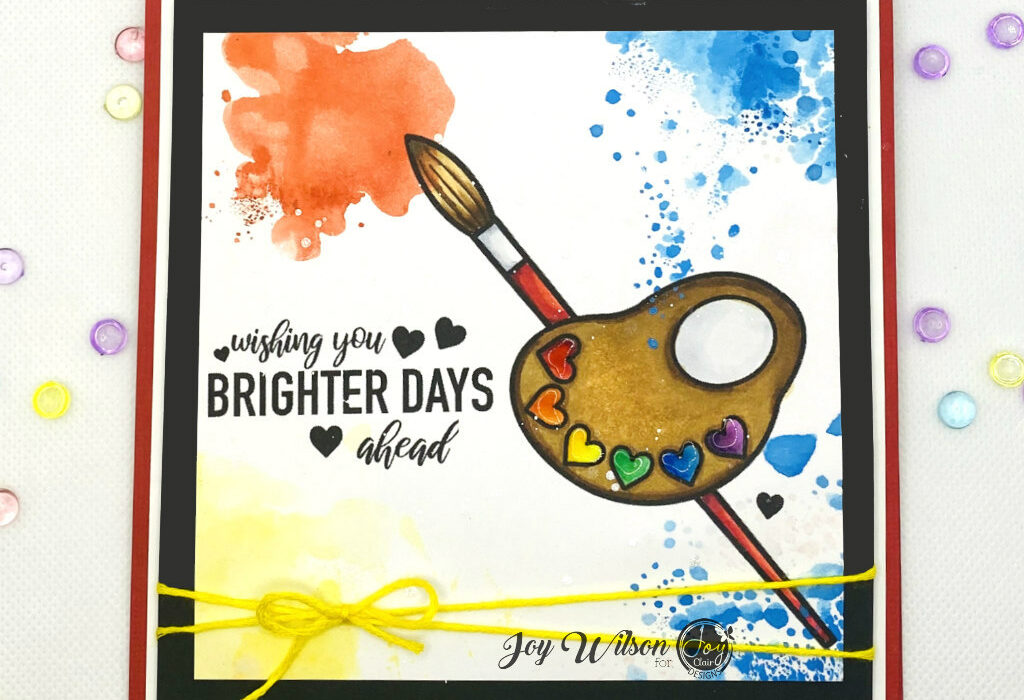
Hi and welcome back, Joy here today with an ink smooshing technique to make a background. But first, the Pencil Me digital stamp set is a dream for all of our crafty friends.
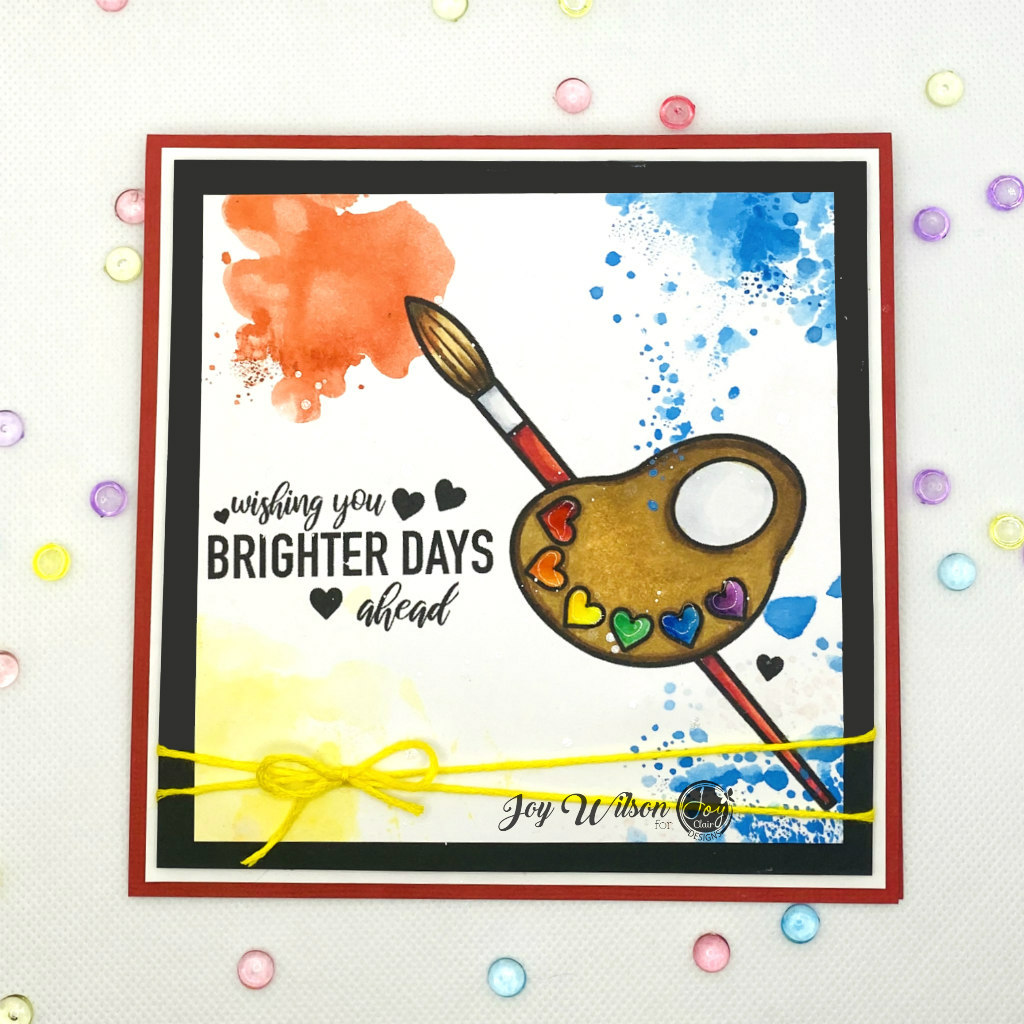
I love to make cards and gifts for my fellow card makers. Often struggle to find “artsy” stamp sets to use for them. The Pencil Me stamp set fits the bill. As it has colorful sentiments and many crafty supply images to build the perfect scene. In addition, I admittedly chose to start with building my scene and then added my inky background. Which typically is done in the opposite order.
CARD DETAILS:
Normally, I create my scene using Photoshop elements. However, I’m sure there are many free programs out there too. I’ve even used Microsoft Word to make a scene. Anything you can do with a traditional rubber or photopolymer stamp, you can do with digital images.
For example, to make my card, I imported the following images from the Pencil Me set: artist palette, the heart paint swatches and the hole in the palette. Bringing some of the images to the front and some to the back so that they layered nicely. Then, once I was happy with the arrangement, I printed them onto smooth 110 pound card stock. Knowing I would color them with Copic Markers and do ink smooshing.
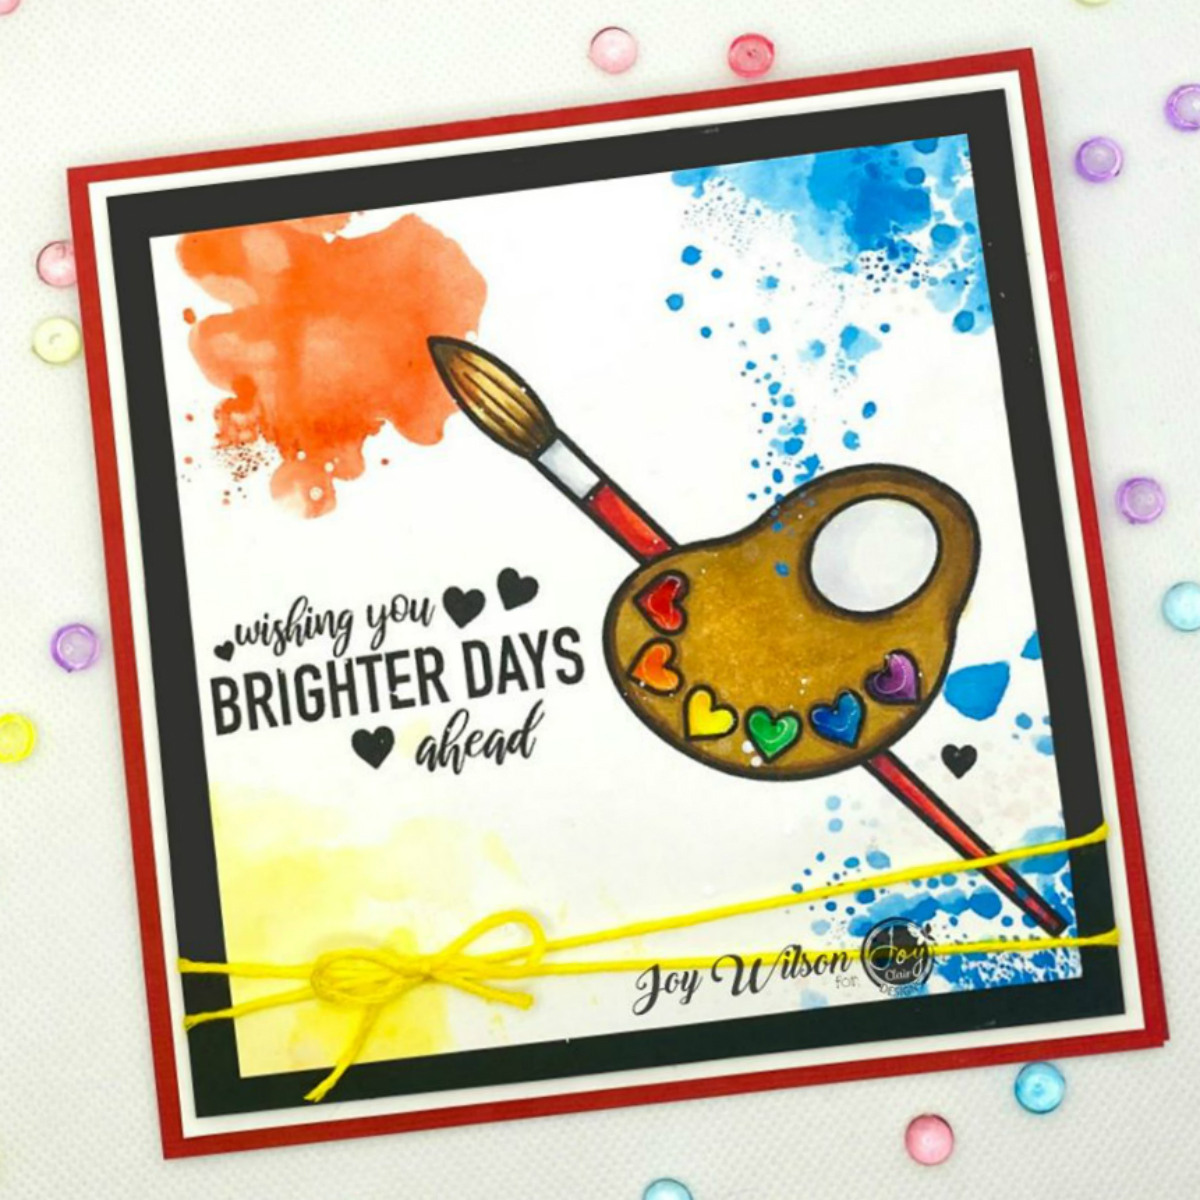
For the ink smooshing, I used distress oxide inks as they are a hybrid of dye and pigment inks. Typically pigment inks don’t play nice with alcohol inks as they are solvent to solvent products. But since the distress oxides have dye in them and the water was added it worked out nicely.
My technique!
I laid down the inks onto a craft mat and added a couple fine mists of water to it and then ran my finger through it. So where you see the smooth ink splotches is where I had used my finger to break up the beads of ink, but where you see the fine texture is where I left the ink alone. I quickly and strategically dipped my paper into the inks as to not cover up the images and heat set them in between layers of inking.
To finish my card I added a yellow twine, glossy accents, and clear shimmer spray.
One more tip to share…
If you find that your paper is warping from the use of water or a heat gun, once it is dry, you can run it through a laminating machine without the plastic sheet to flatten it back out!. Or you can run it through your die cutting machine just as if there was a die in place and it will flatten it out. Give it a try… you’re going to love the results!
For more inspiration from the team and our fans check us out on social media:
Facebook Page, Joy Clair Stamp Projects Facebook Group, Instagram , Twitter, Pinterest and YouTube!
Now, get crafty with Joy!
JoyfullyStamps
IG
Facebook
Pinterest

