Hello everyone! Betsy on the blog today featuring a card made with the Just Butterflies Digital Stamp Set. This stamp set is truly versatile and so very pretty! Let me show you how I made my card. I started by composing my butterflies and sentiment in the computer and printing it out onto some pink patterned card stock from my stash.
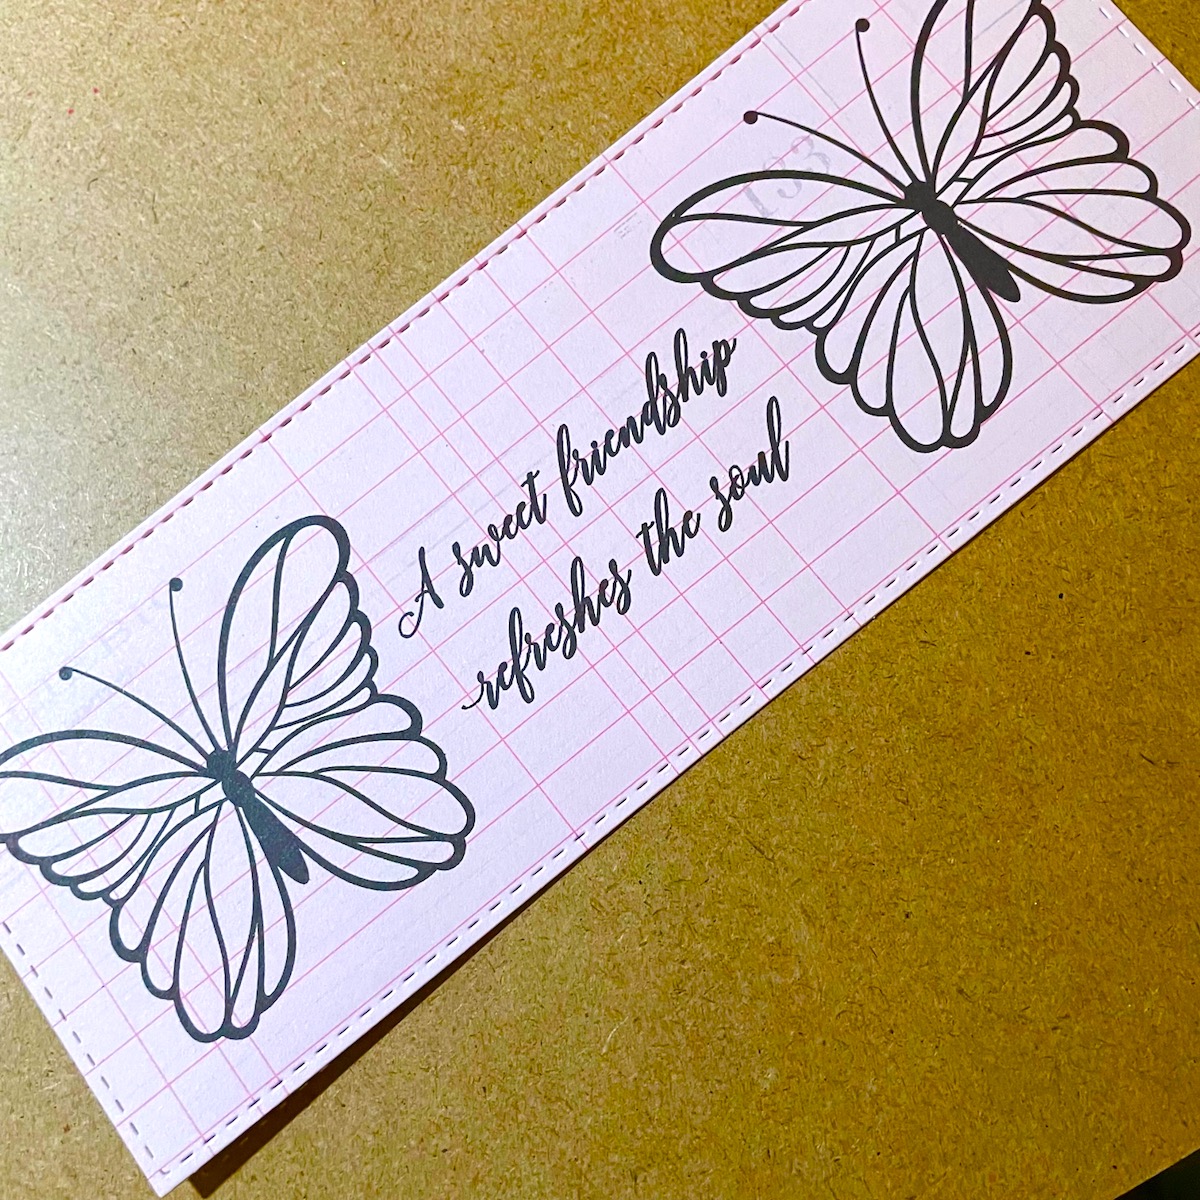
I found this paper very inspiring. It’s a beautiful shade of pink with some text/numbers ghosted in gray. I die cut my panel with a stitched die before coloring. I used a scrap of the left over paper to try some different color combinations with my Copics. I finally settled on a pink one.
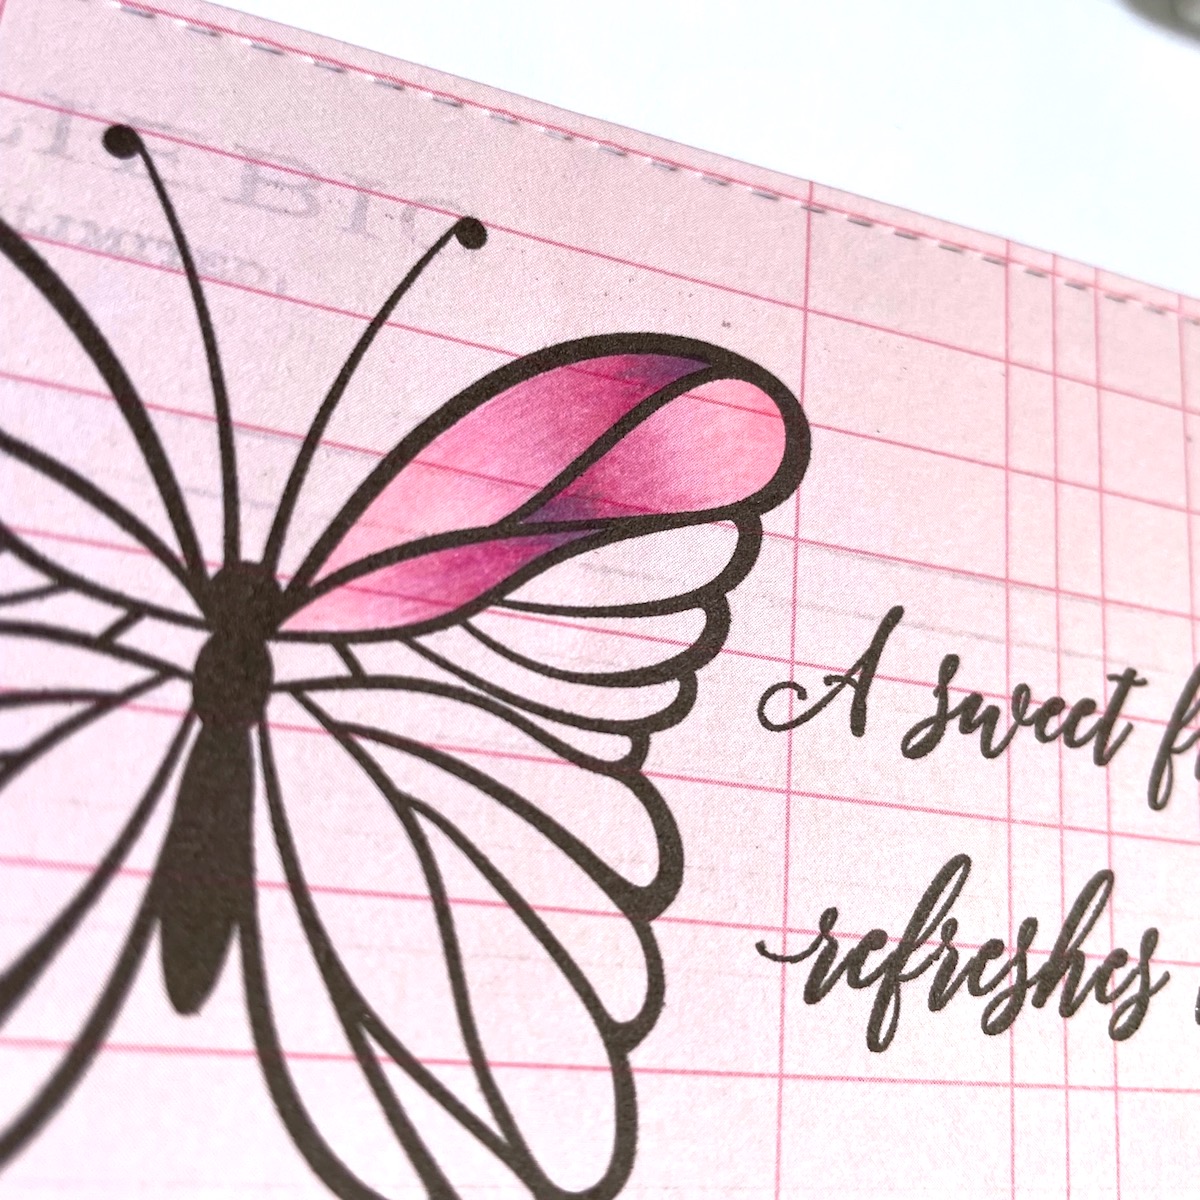
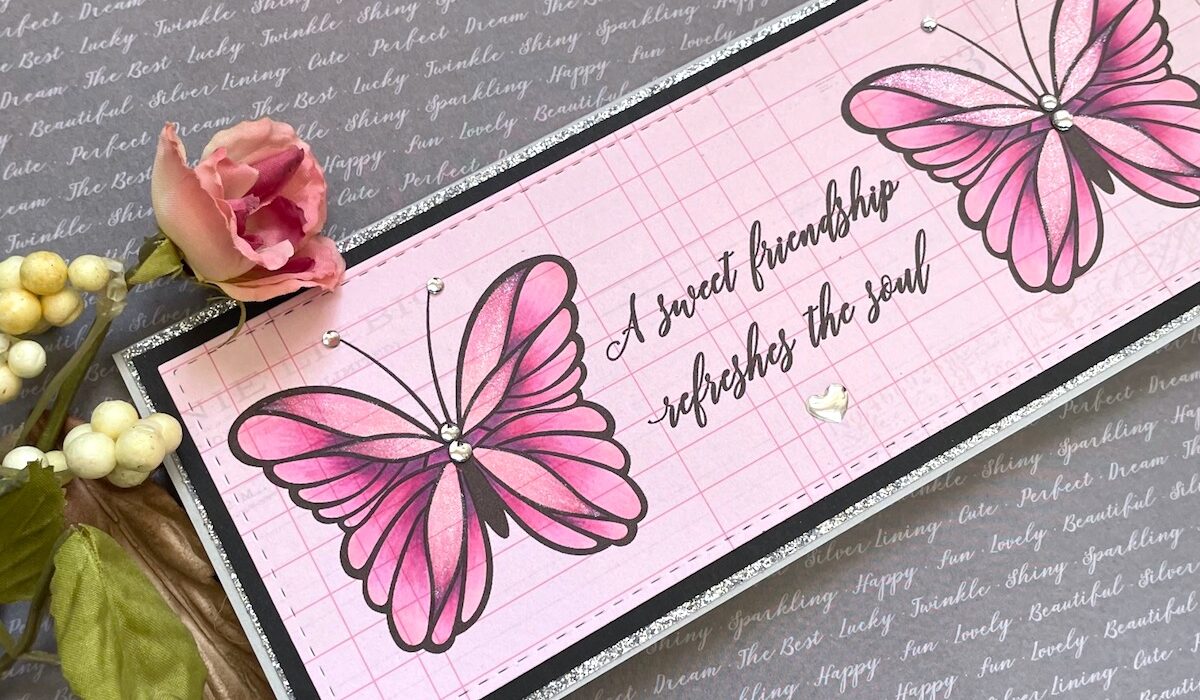
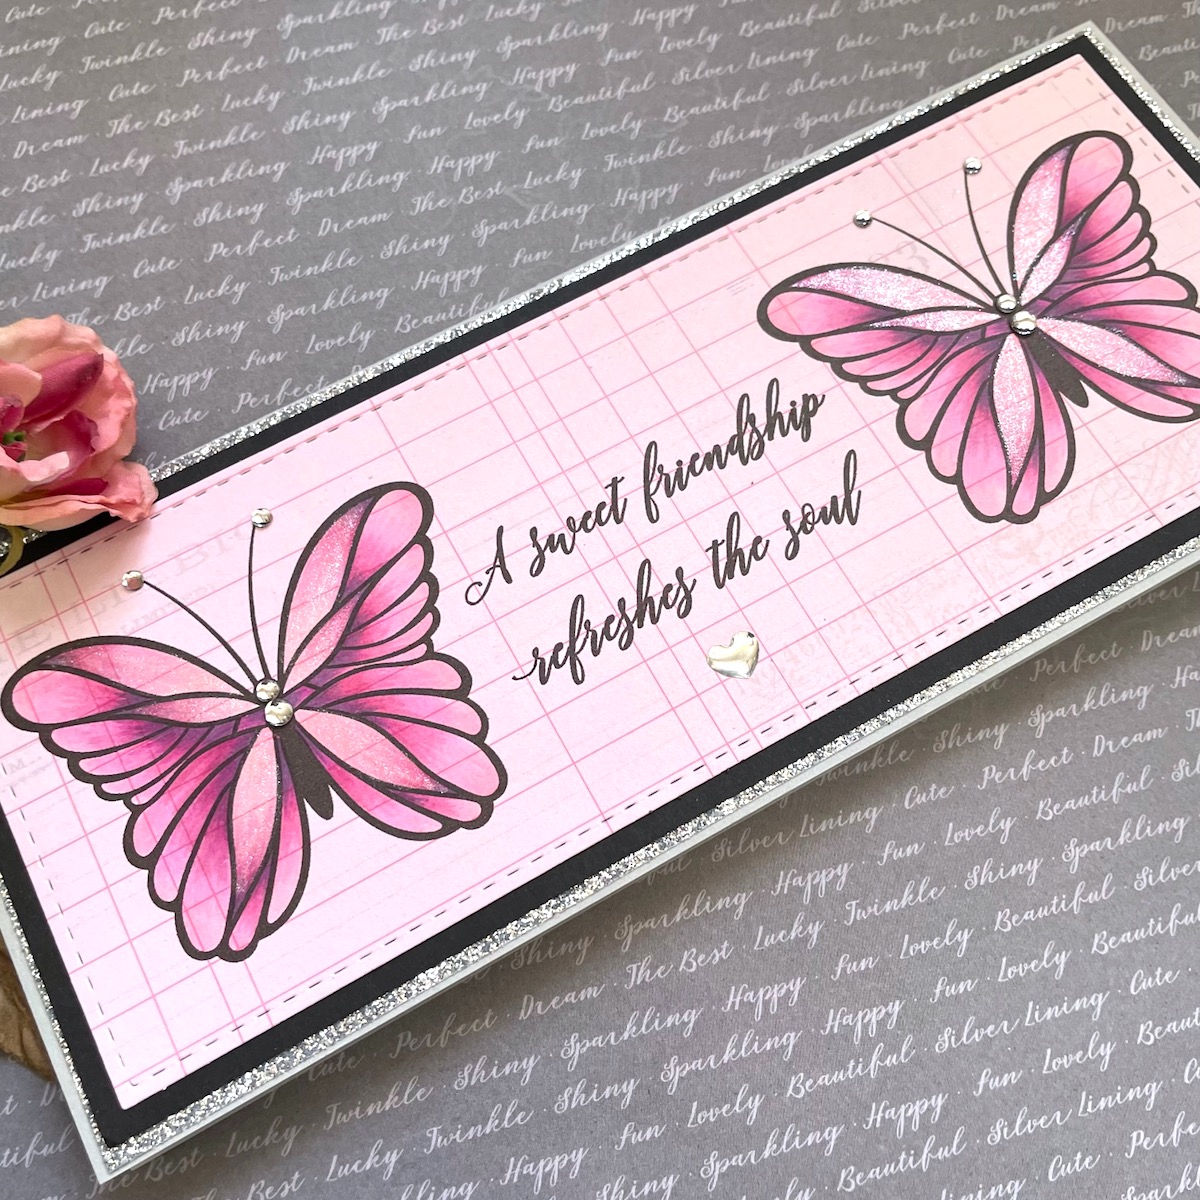
I chose 3 sections on each wing to reverse my shading. So most of the petals had the shading on the inside end, the 3 sections I chose had it on the outer end. I like the way that made them stand out.
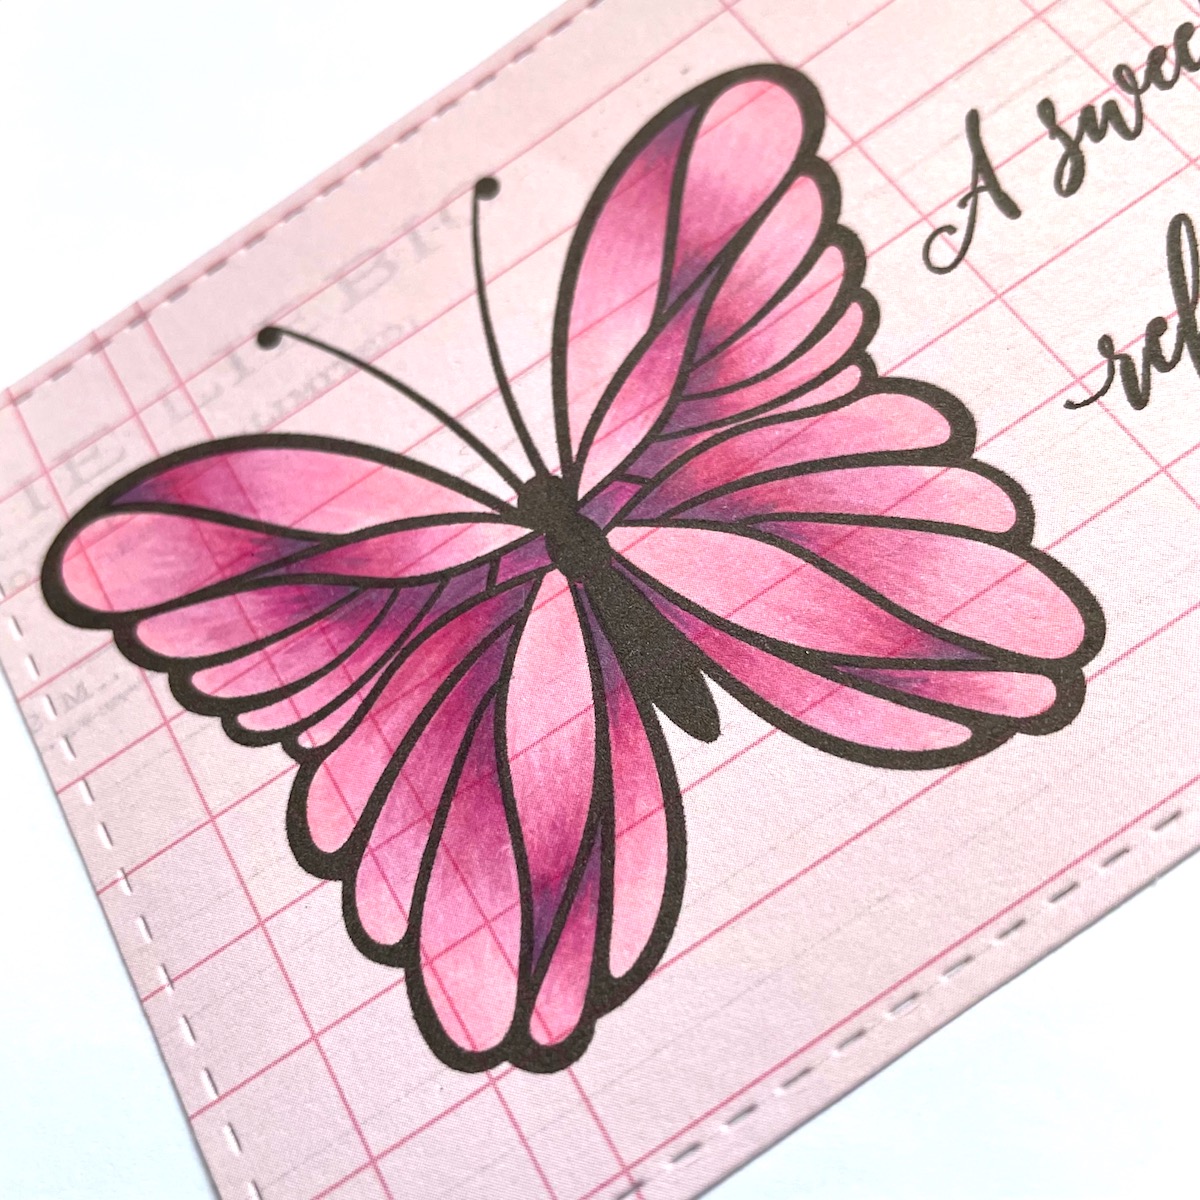
The end result of the reverse shading really made the wings pop. I went on to color the other butterfly. Copic colors used: RV21, RV63, RV34, RV66, C5. Once all the coloring was done, I made a slimline card base from some light gray card stock. The card when closed measures 3 1/2″ x 5 1/2″. I added a panel of silver glitter paper to the gray panel that was 1/8″ smaller. To that I added a black card stock panel that was 1/8″ smaller than the glitter paper.
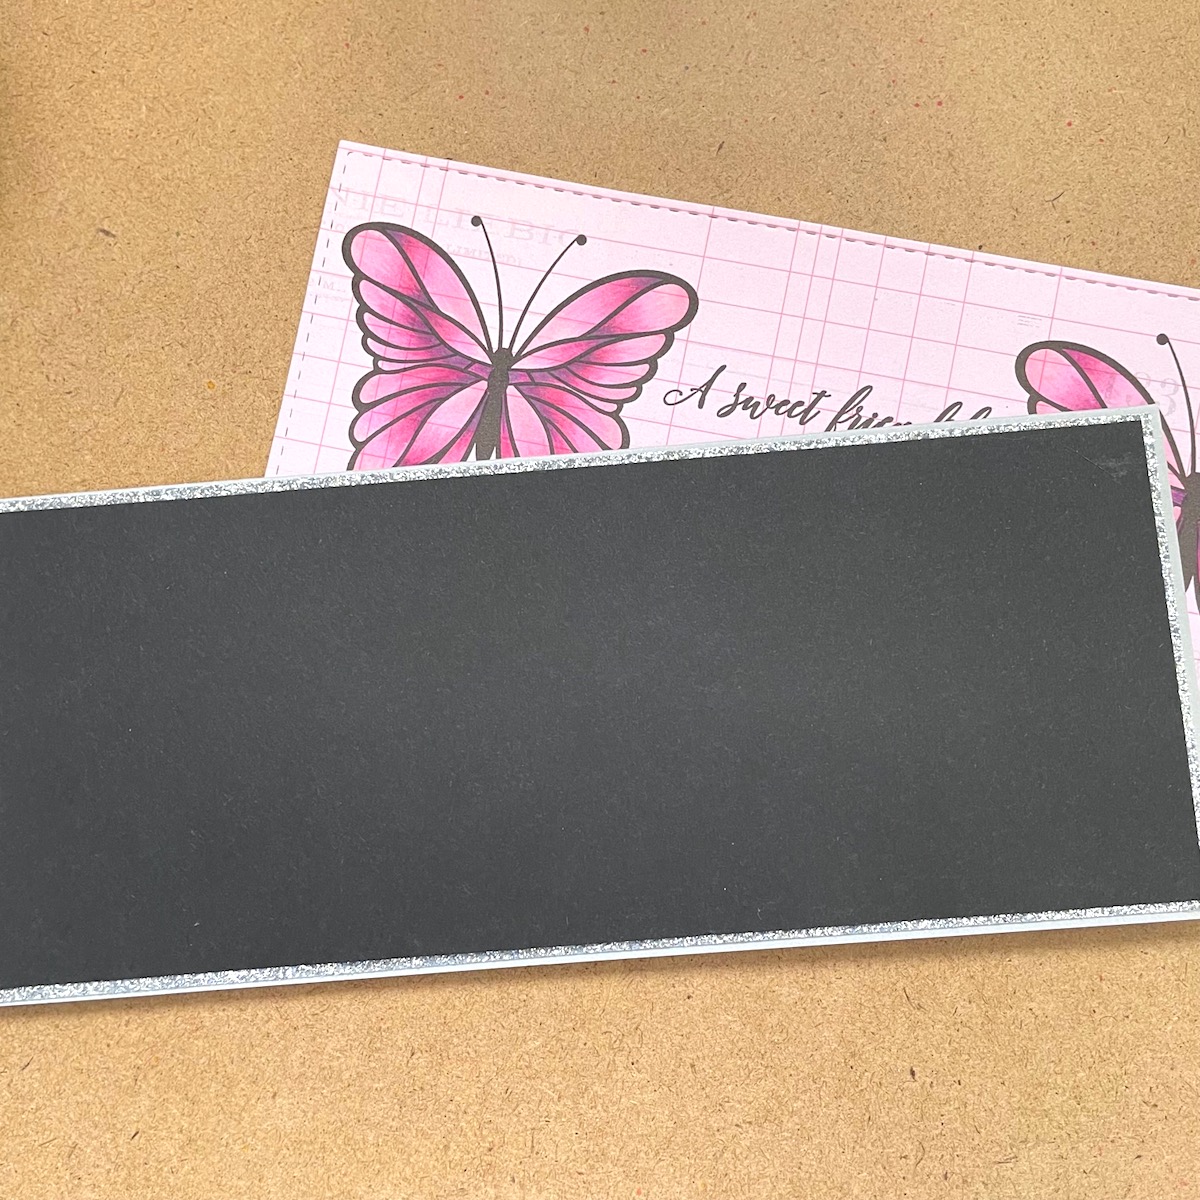
Before adhering my pink panel to the card, I stamped a post mark stamp on the lower right corner in pale gray ink. This is very subtle but adds to the harmony of the card. I adhered my butterfly panel to the card base.
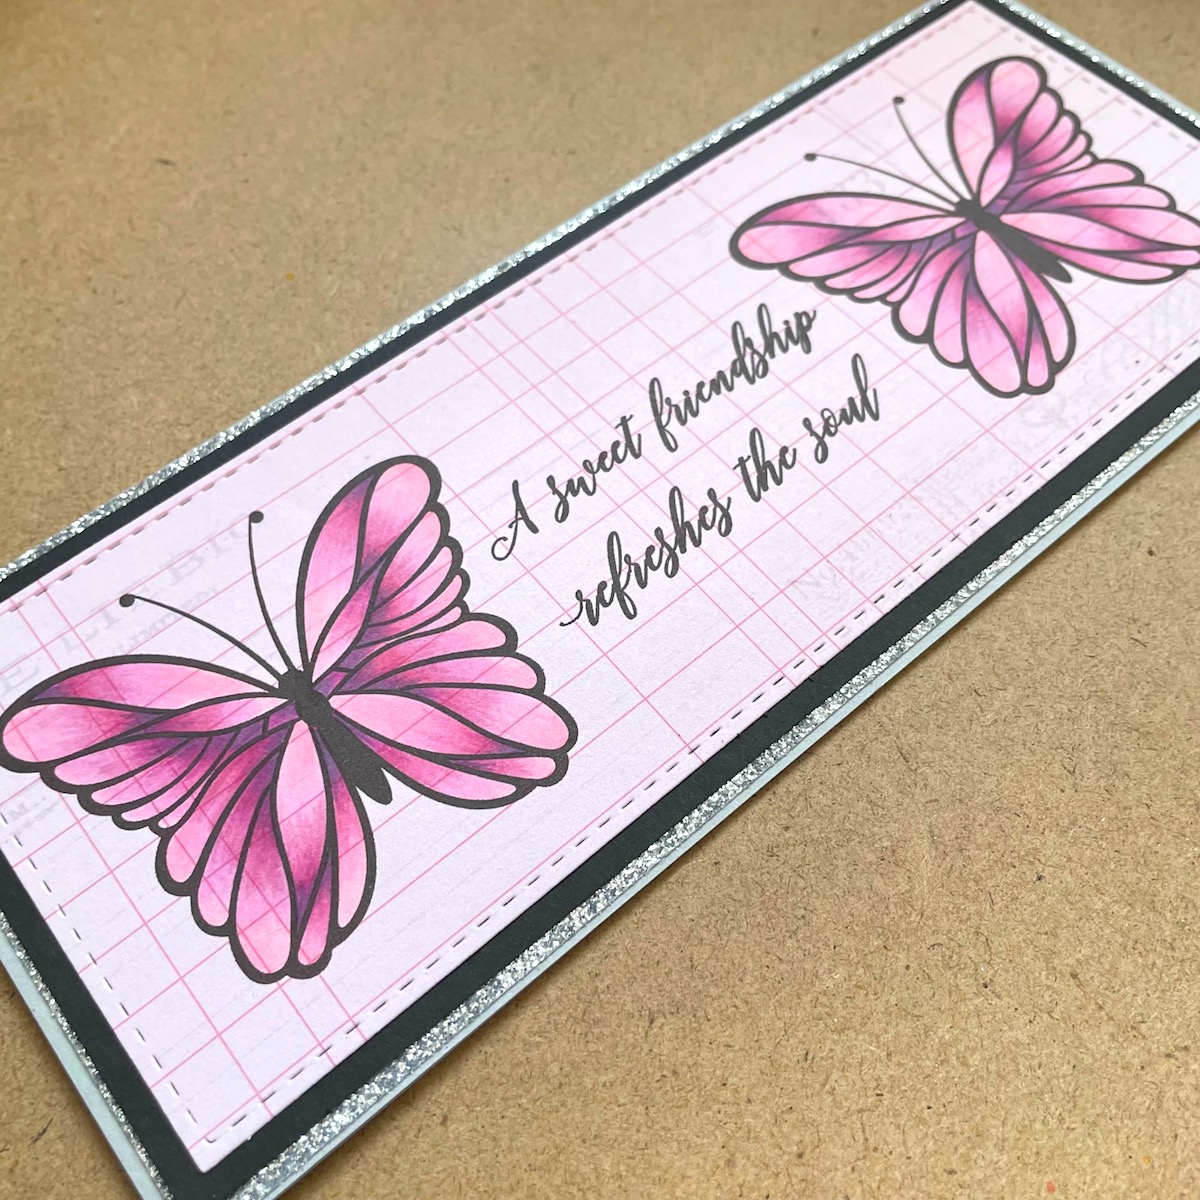
I felt the card needed a bit of sparkle. I have some mirror baubles in different sizes and I had a mirror heart that matched. A touch of shimmer pen to the 3 sections on each wing that I reversed the shading and my butterfly card was done!
This digistamp set was such a pleasure to work with and will be such a staple to my digistamp collection!
Thanks so much for stopping by!
Betsy