Merry Christmas with a Cup of Joy!!! Hello my crafty friends here at Joy Clair Designs, Marj here and welcome back for another day with me.
Are you excited about the coming holiday? Well, I am I get to bake cookies and cook and prepare the table!!! I hope you are too and will do a little crafting here and there too!
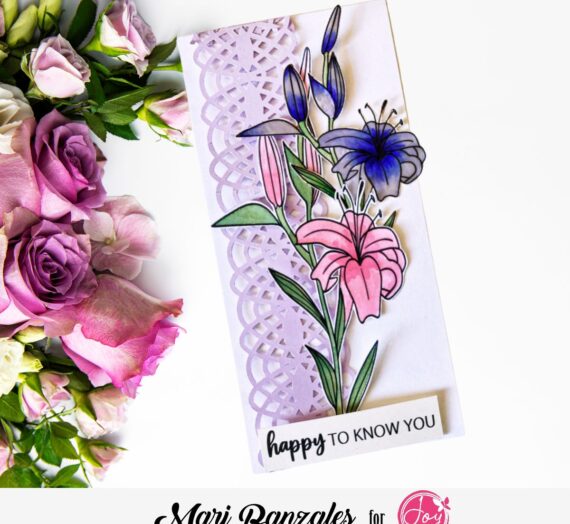
For my project today, I chose to work on the Cup of Joy Digital Stamp Set. I love this stamp set as it can be used for any occasion and will coordinate accordingly at all times.
So, let’s get started…
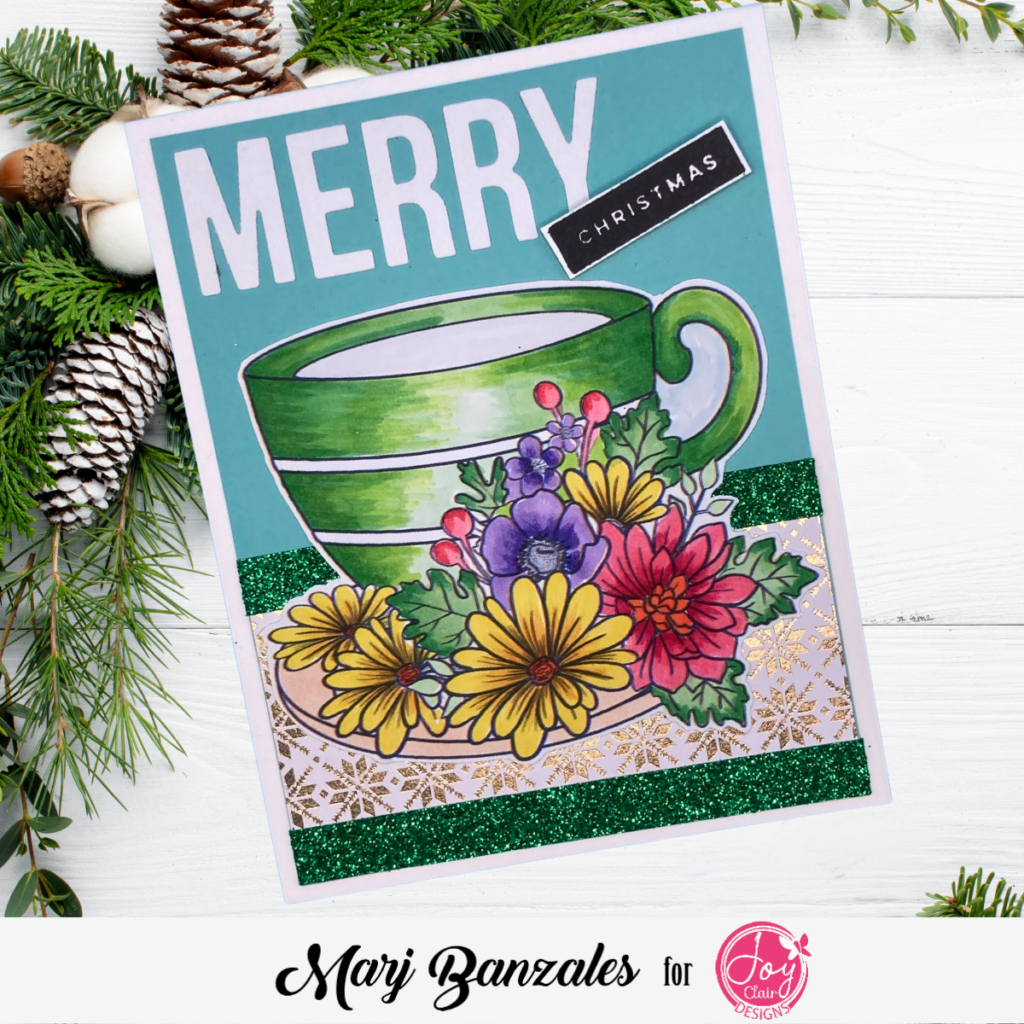
First, I opened my Word Document and designed my card on an A2 size card. I placed the Cup of Joy Digital Stamp where it should be just to see how it will look on the card. Then, I resized the image accordingly and printed it. Now it’s time to get inky, I colored it using my Arteza Ever Blend Ultra Art Markers. I choose the combination of Green, Violet, Yellow, and Pinkish Red.
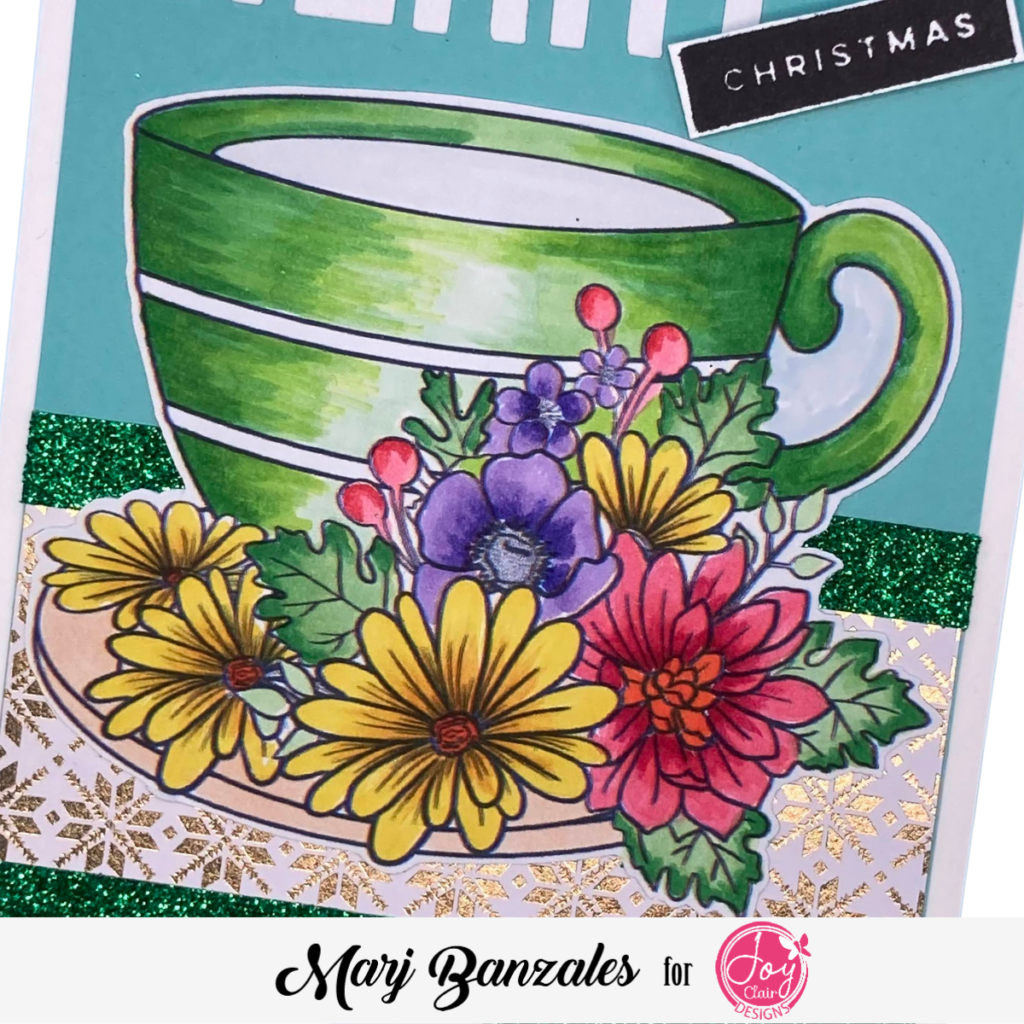
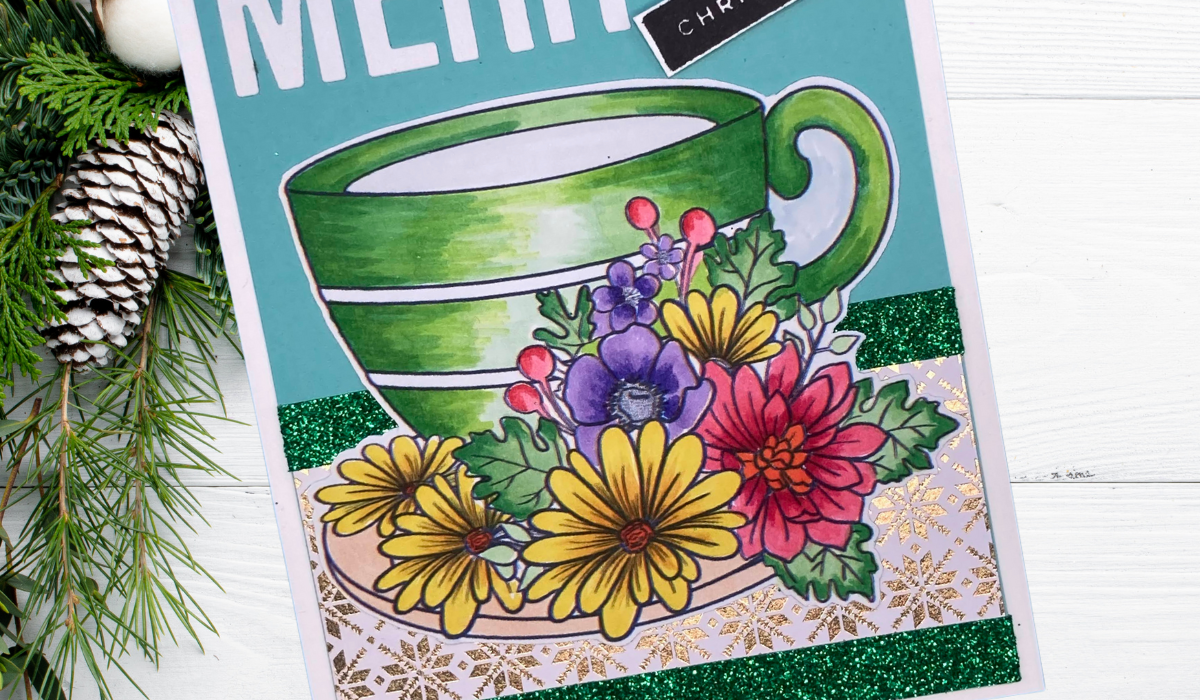
Once done coloring, I fussy cut it leaving a little white border all around it. I always make t a point to have that white border to have that pop when you add it to the front of the card. Next, using my Spellbinders Die Cutting machine, I die cut the Scrapbook.com Merry word die onto Sweet Tooth Cardstock by Cardstockwarehouse. Then, to complete my sentiment using the Wordfetti Christmas from Scrapbook.com I stamped the Word Christmas Cardstock.
Now it’s time to assemble that card…
Using an A2 notecard as my base then added a slightly smaller size of light blue cardstock for another layer. Then, adhered a Gold embossed pattern paper for some dimension. I cut a strip of Green Glittered washi tape and placed it on top and bottom of the pattern paper, and added the image.
To finish off the card, I placed the sentiment Merry on top with glue and the Christmas with double sided tape.
Thank you so much for stopping and I wish you all a ver Merry Christmas and a Safe New Year!