
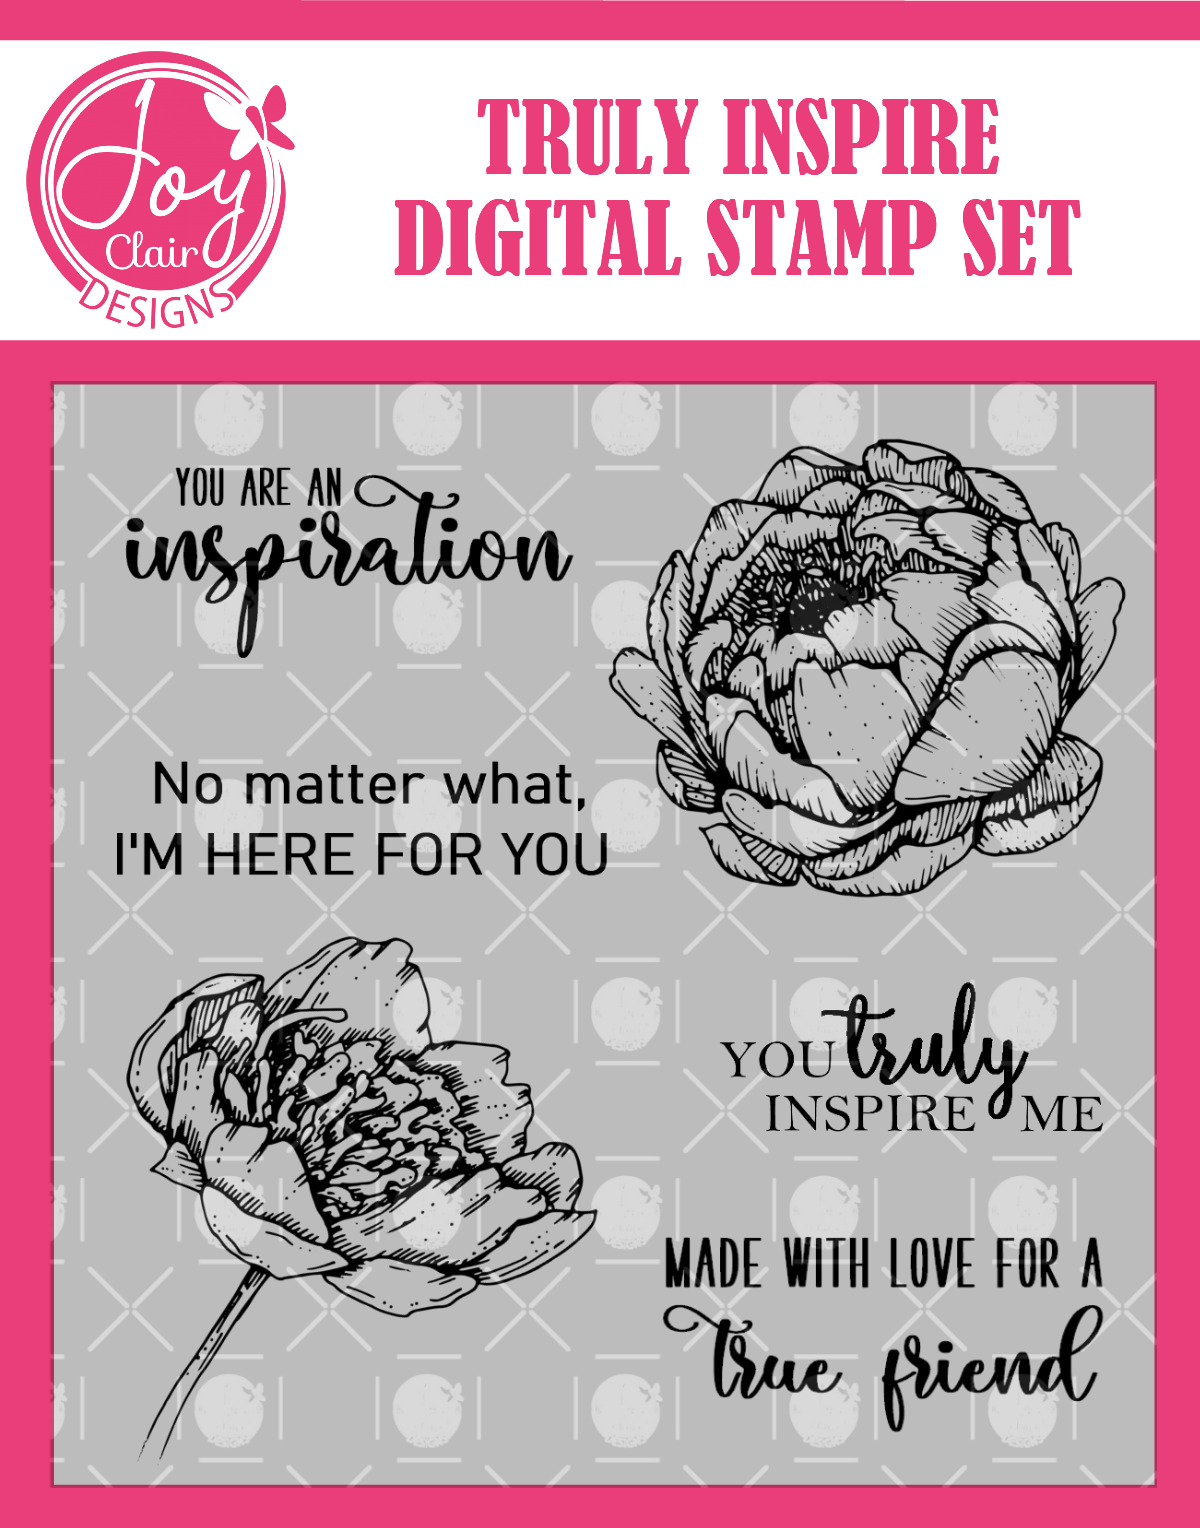
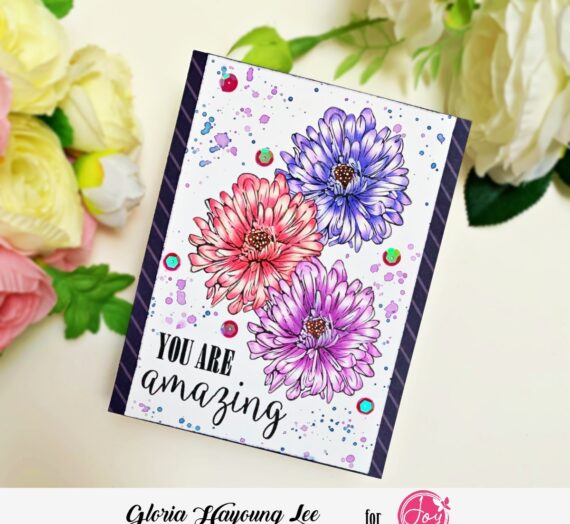
Hello crafters, Joy here sharing a gorgeous card using the Truly Inspire digital stamp set which comes with two images and four encouraging sentiments. I made a card that is a little different for me, as I got out of my comfort zone and tried my hand at water coloring. I really love how this came out, and hope you learn something new about digital stamps today. Let’s get started.
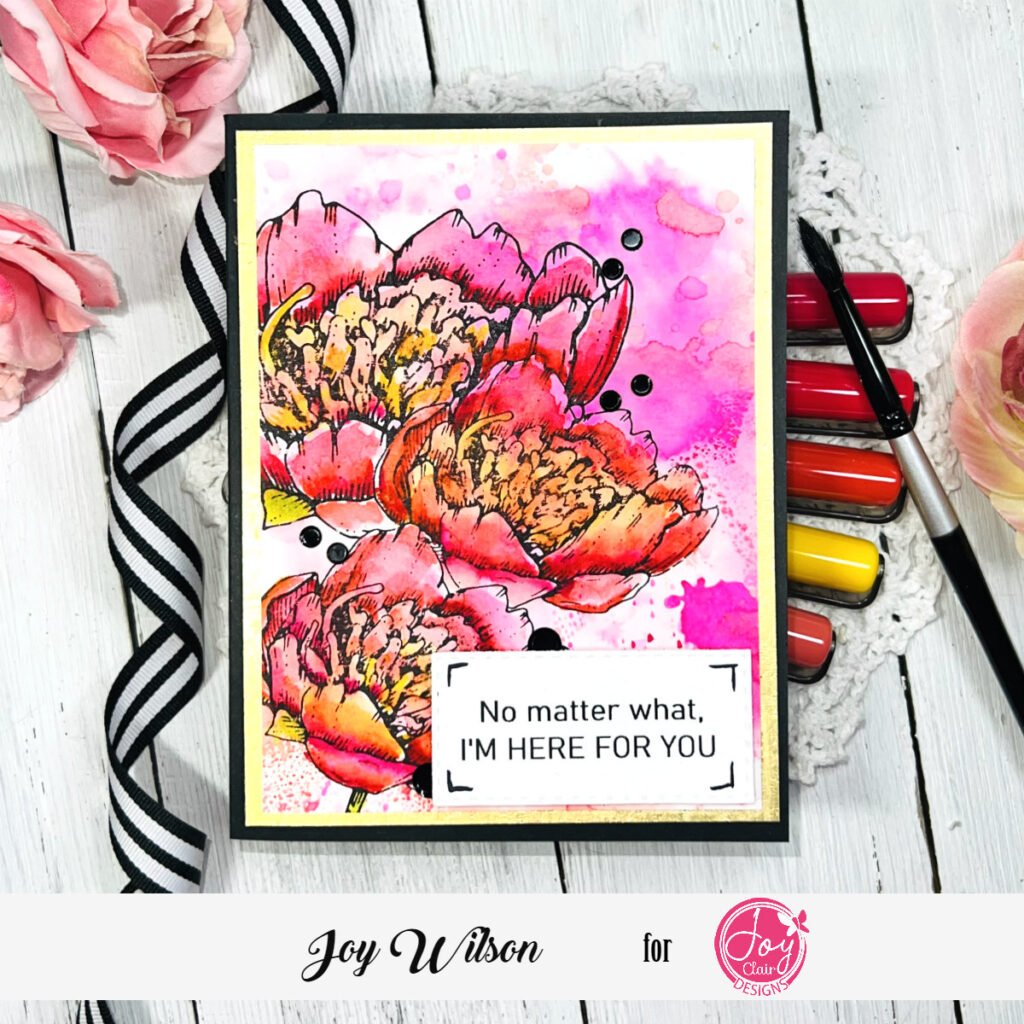
Did you know that you can add digital stamps, such as Truly Inspire to premade backgrounds? Yep, it’s pretty incredible! I created my background using three Disress Inks in the colors, Abandoned Coral, Kitsch Flamingo, and Picked Raspberry by using the ink smooshing technique onto a 8.5 x 11 inch piece of watercolor paper. I made sure to use the smooth side of the paper so that when printing it would give me a crisp image. I applied the ink to the entire page so that I had color distributed everywhere for when I printed the images.
Just a little tip on ink smooshing, if you dry between layers you will preserve the texture of the droplets and the harsh edges.
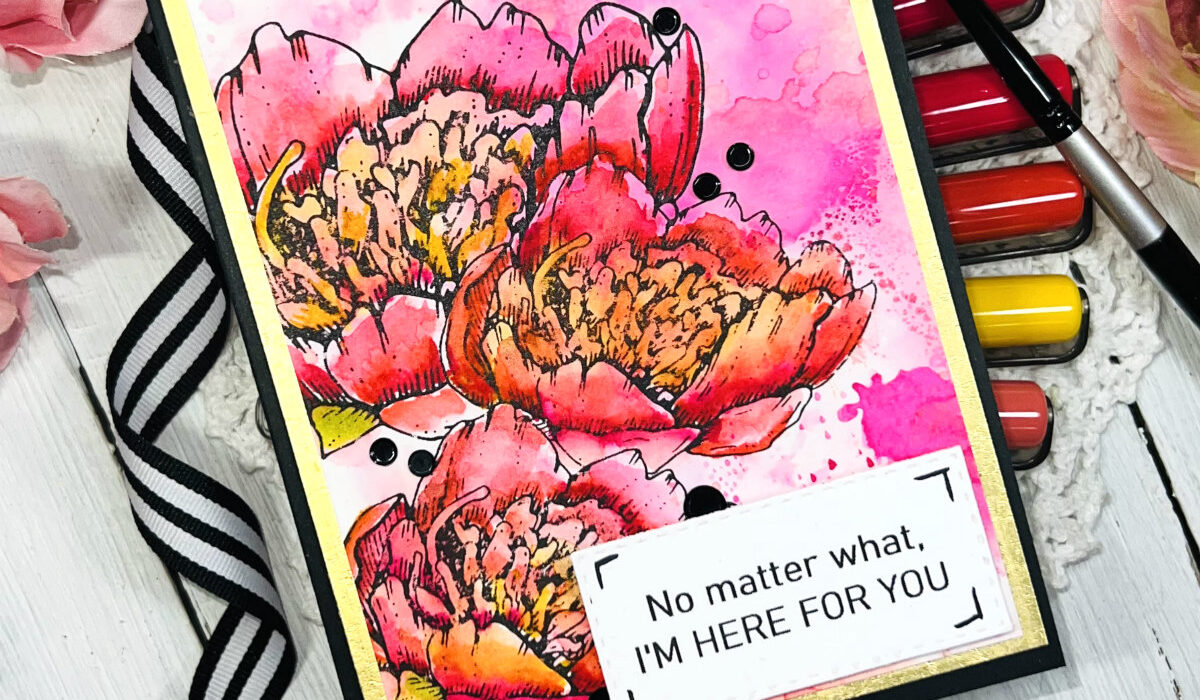
I created my Truly Inspire floral arrangement using Photoshop Elements and sized them in a field approximately 4 x 5.25 inches, staggering the sizes of the flowers and overlapping them. I then saved this into a Word Document because I wanted to print out 4 of these and I find it easier to print multiple using a word processing software. The reason I wanted four was because I had created one giant background and had the space to make 4 cards. I am only showing one card for the purpose of the post, but the process was the same for all of them. I also printed the sentiment from the same stamp set onto smooth card stock and blocked it off with a rectangle die.
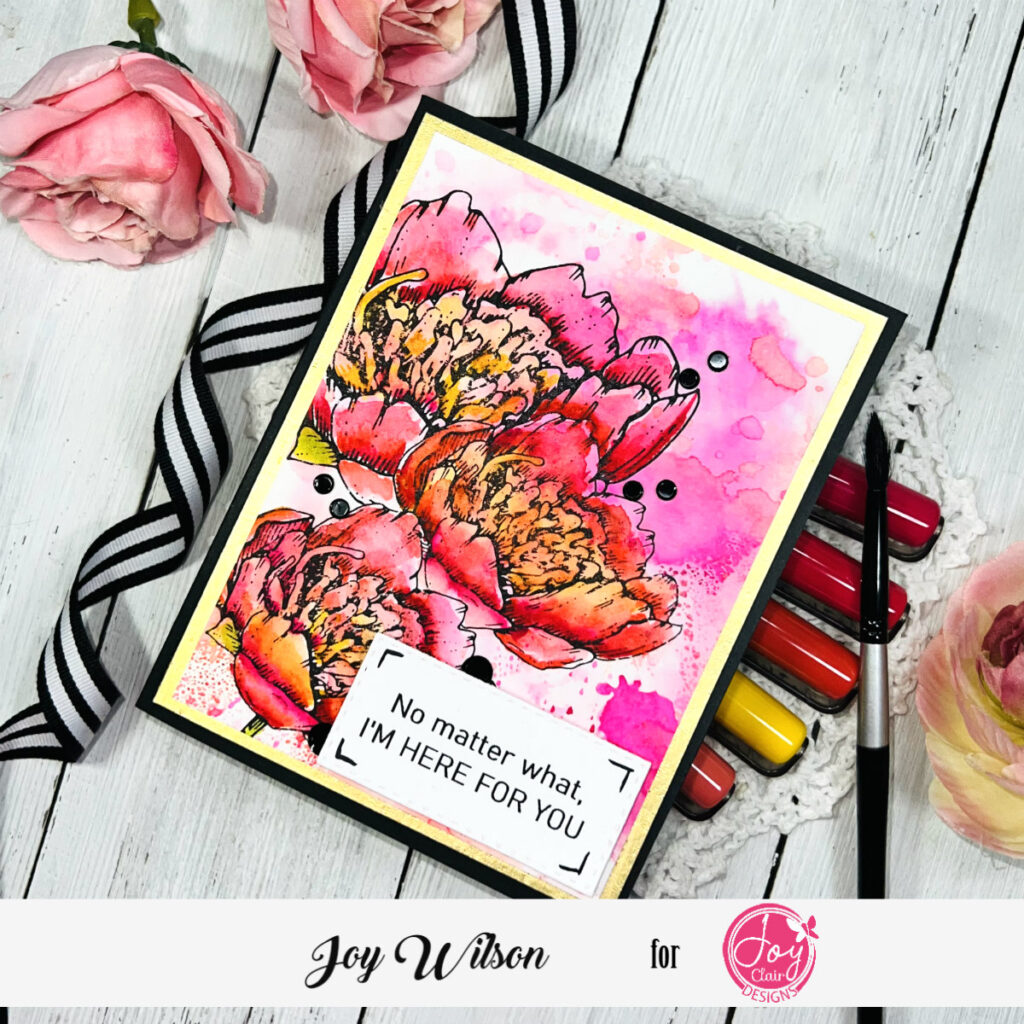
Despite having a lot of color in my background, I still wanted to water color my Truly Inspire, images. I used 5 Karin Markers to outline the inside of the petals and then applied water to get the colors to mix. I love how the following colors mixed, (Magenta Red, Magenta, Rose Pink, Red, and Gold) and would love to know what you think. Now I did flip back to my comfort zone and brought a YG 01 and 03 Copic marker to flick in the greens of the leaves and stem. I was able to do that because yellows play nice with Reds, and Copics play nice with dye inks such as Karin Markers, but I was careful to use them sparingly as to not get a brown muddy mix. Finally I added a gold mat and sequins before adhering to the card base. This was such a fun card to create! And who knew you could put an inked background into a printer? I learned something new!!! Ok that’s a wrap for me. I have a process video if you are interested to see how it all unfolded.
You can find the entire collection of stamps HERE!
For more inspiration from the team and our fans check us out on social media:
–Joy Clair Designs Facebook Page
–Joy Clair Stamp Project Facebook Page
–IG
–Pinterest
You can connect with me here:
JoyWilsonInk
IG @joywilsonink
Pinterest
Youtube
Bye for now!!!


Melissa Leftrick
So beautiful!!
Joy Wilson
Thanks Melissa! I hope you give it a try!
Hugs, Joy