
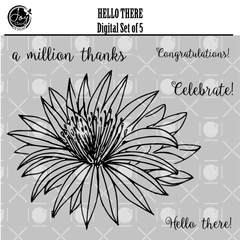
Hello everyone! Betsy here today sharing the Hello There digital stamp set. This is a beautiful single floral image with some great sentiments. Let me show you how I created my card!
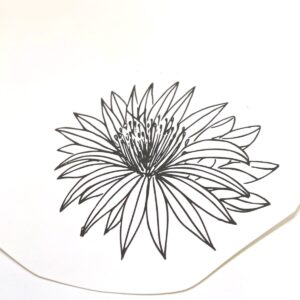
I started by printing out the main image onto Neenah 80lb. Classic Crest Solar White card stock. I was unsure if I was going to be using a sentiment from the set or not. I did print out a few but in the end decided not to use them.
Since this was my main image, I really wanted it to stand out. I decided to use a dark pink/red. I knew I could get the deep colors I was going for.
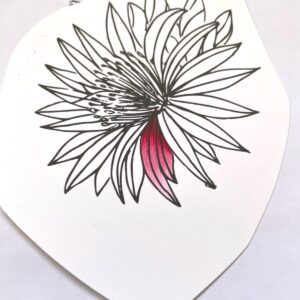
I was really please with these first few petals.
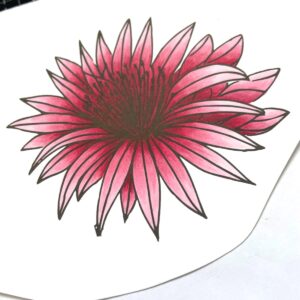
The Copic colors I used:
R81, R83, R85, R37, R89
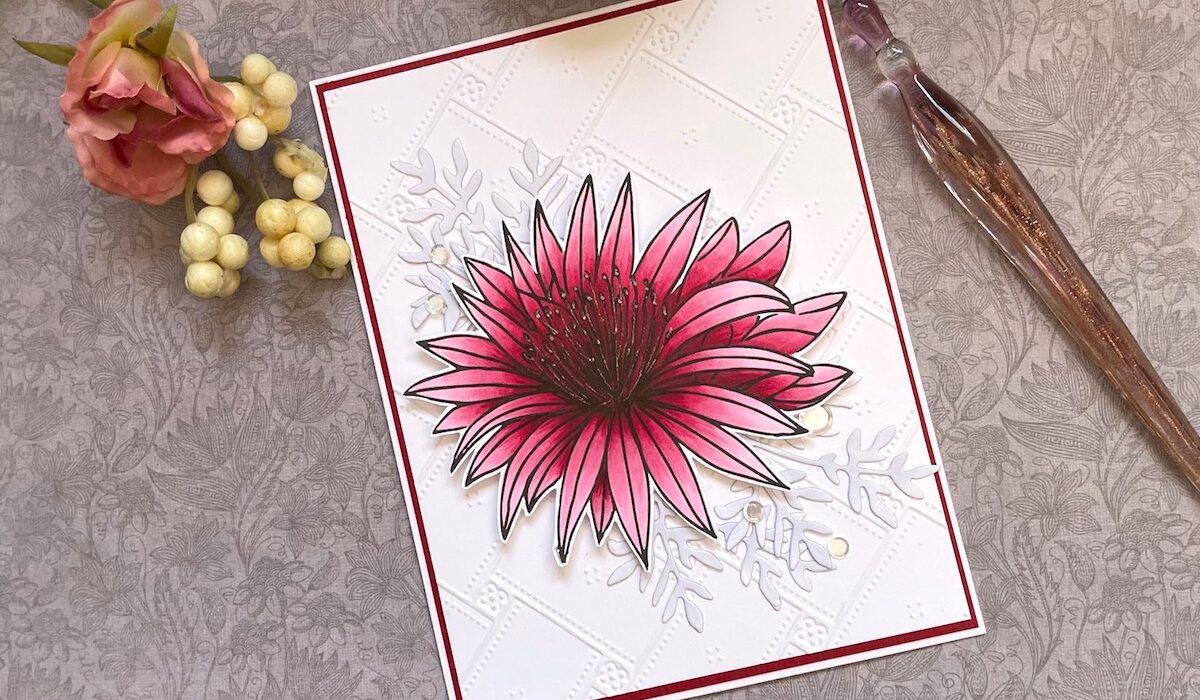
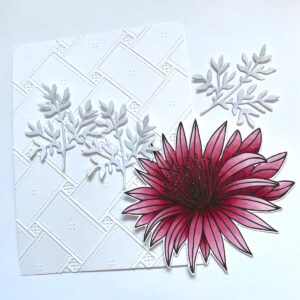
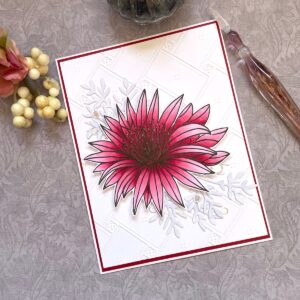
I wanted to mount this blossom on white, so I decided to emboss my white card panel that measures 4″ x 5 1/4″. This gives a subtle backdrop for the drama of the flower. I adhered this embossed panel onto a top folding A2 size white card base that had a panel 4 1/8″ x 5 3/8″ of deep red.

The card needed just a bit more so I used a foliage die from my stash and colored them with my C1 Copic marker. This gives the eye a bit of a rest from the single flower.
I adhered the foliage down flat to the card and popped up the floral piece with foam tape. Once I had the card put together I felt it needed just a touch of something. I added some Sparkling Clear Confetti and then I took a Gelly Roll Stardust Pen and gently went over the lines in the middle of the flower. I went really lightly with the pen. But it faintly brings the center of the flower into view without being overwhelming! And that finished this gorgeous card. I can use it for any occasion!
I hope you enjoyed today’s tutorial! Such a beautiful image and can be used for so many different things!
Thank you so much for stopping by today!
Betsy