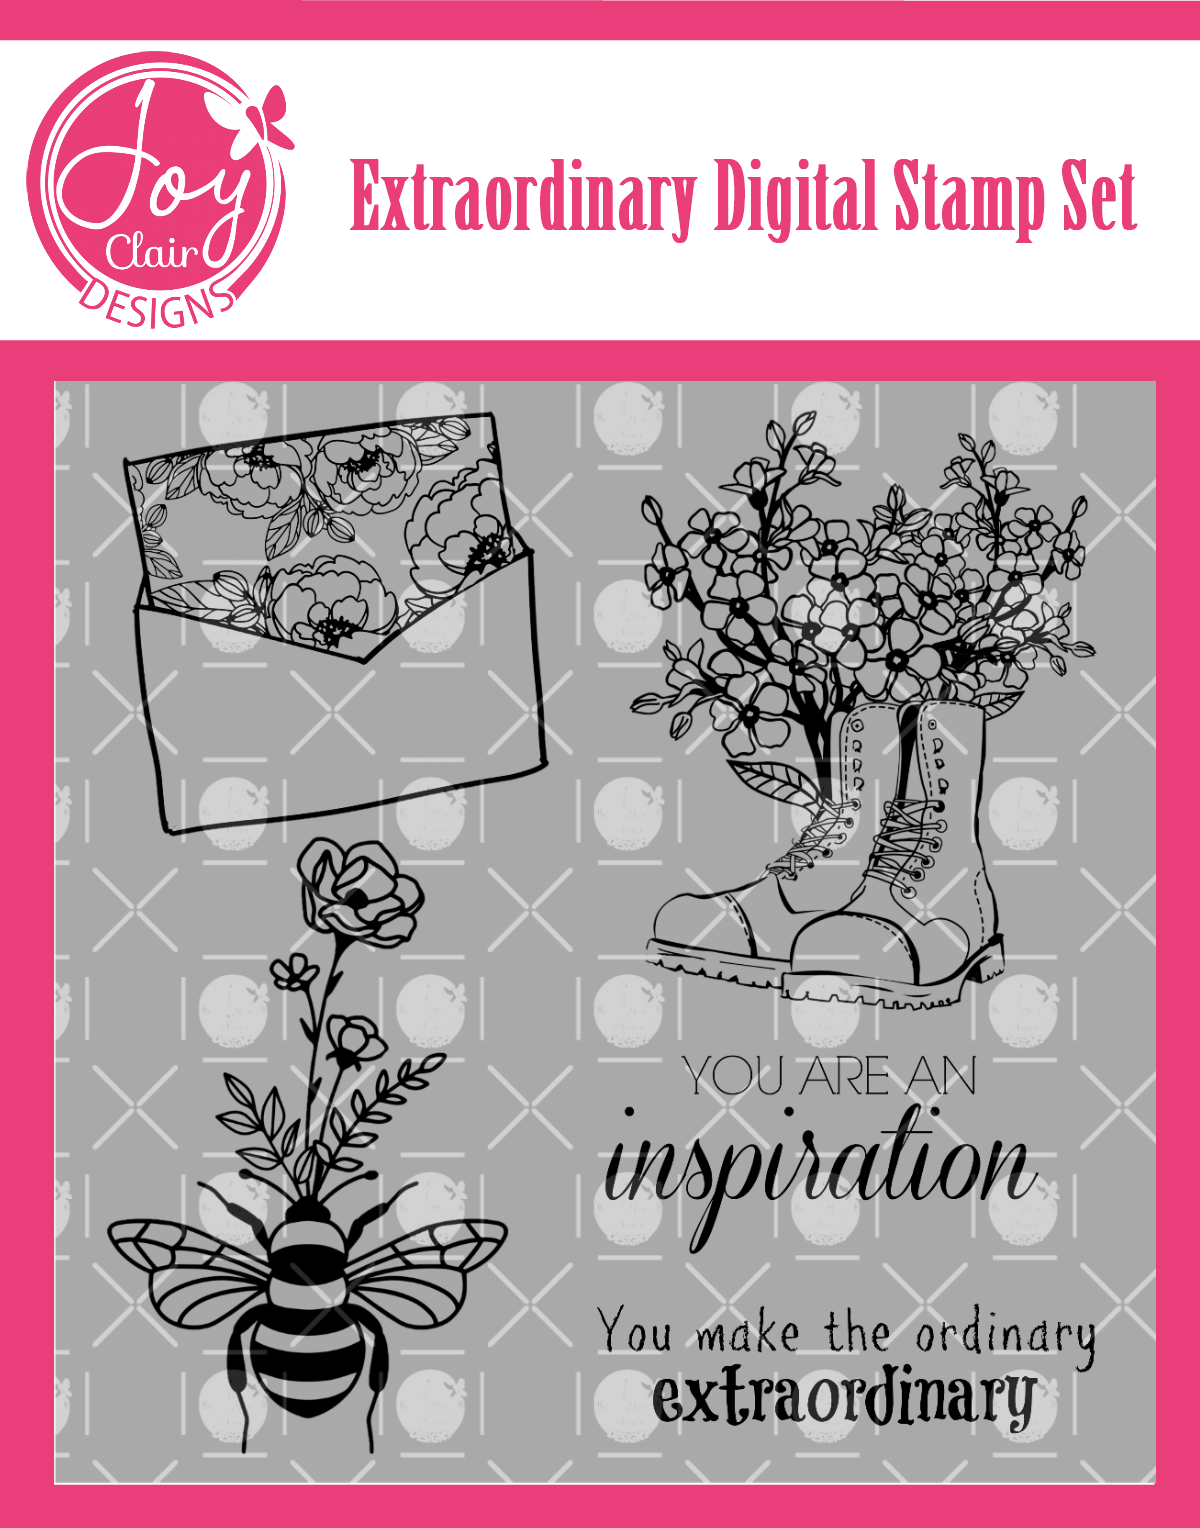
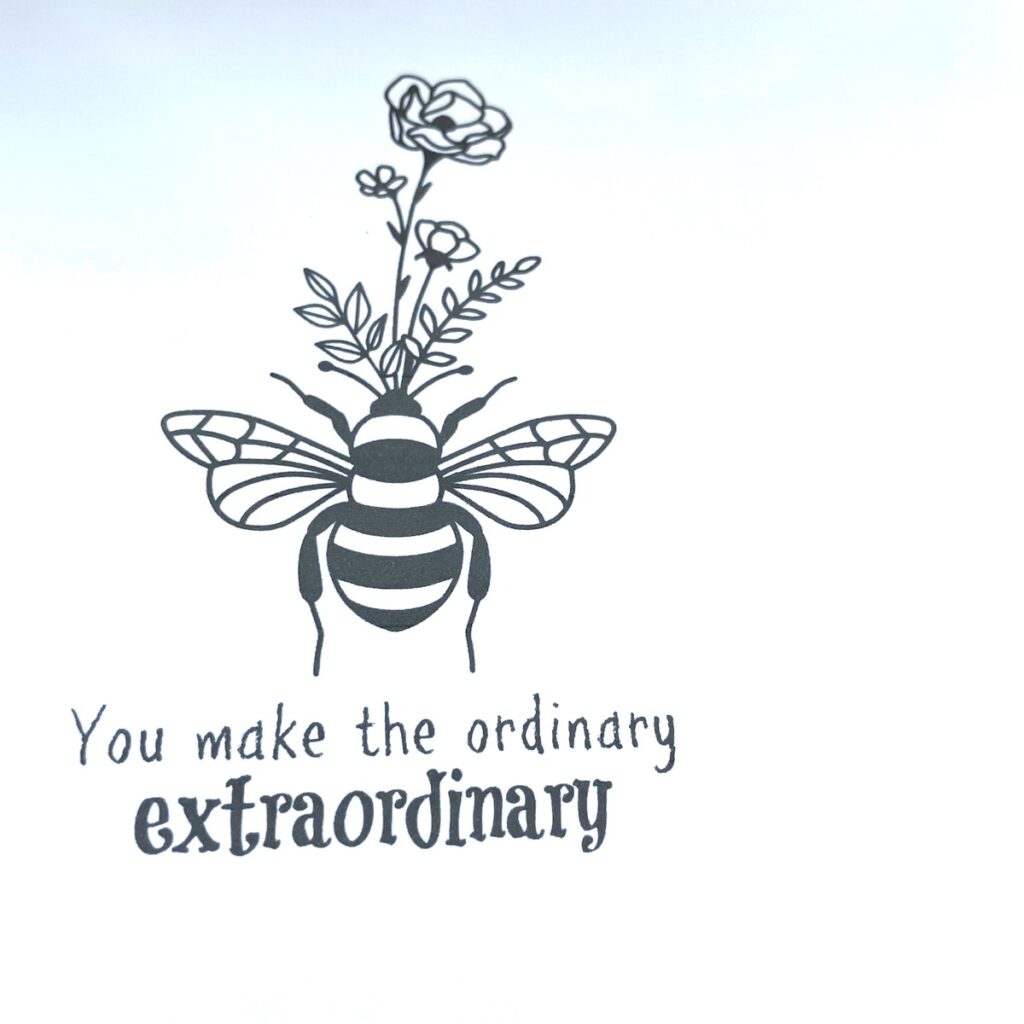
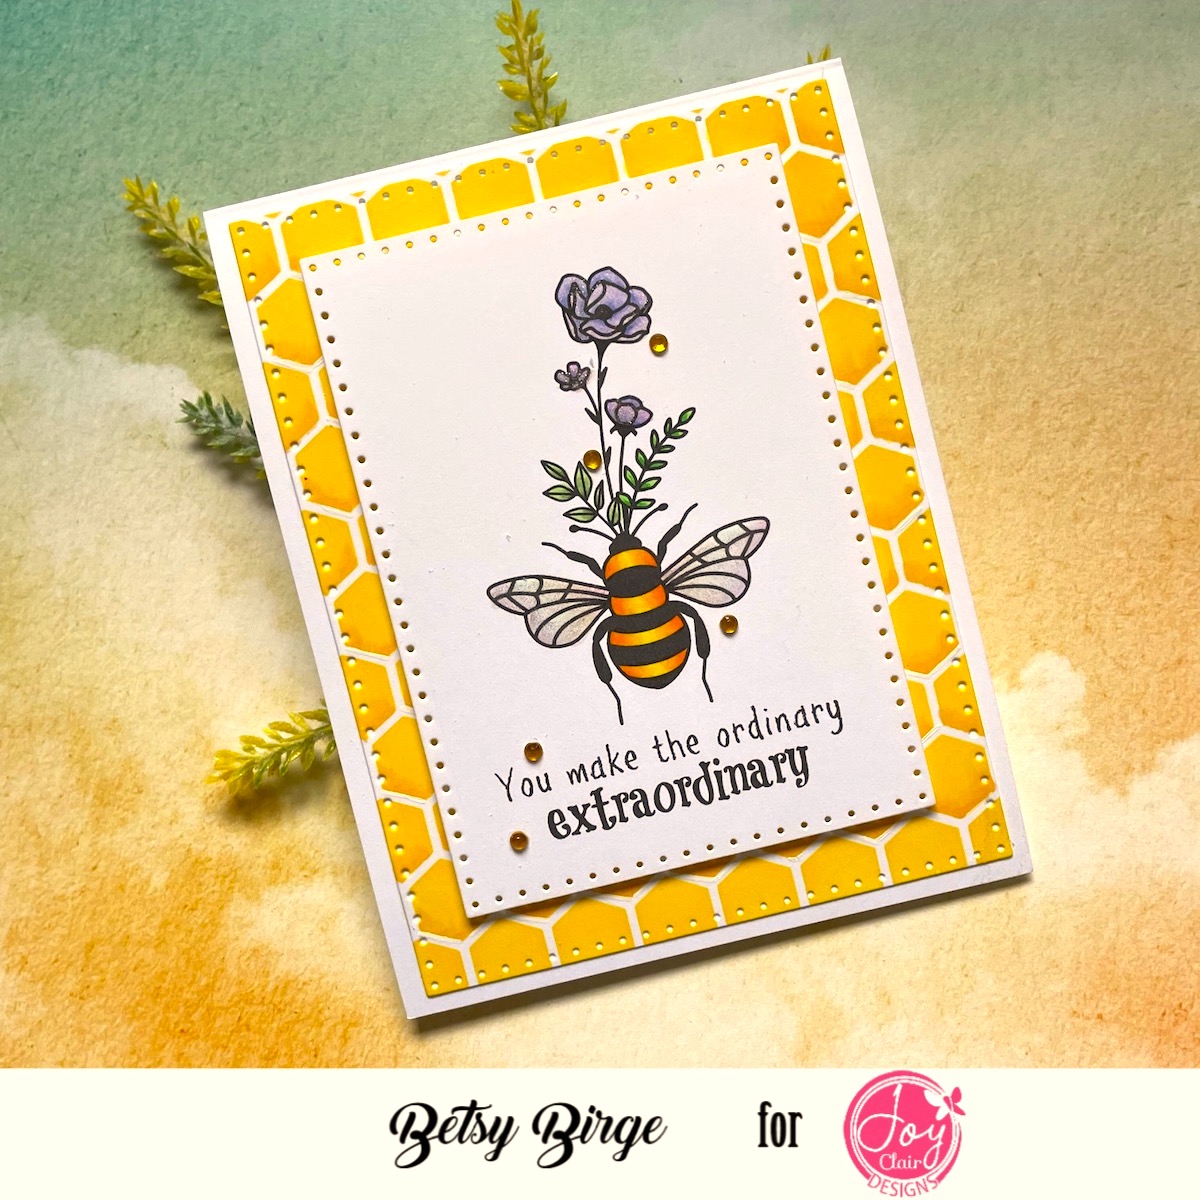
Hello everyone! Betsy here today from Caring Heart Cards sharing with you a beautiful card made with the Extraordinary Digital Stamp Set! This is such a gorgeous set and the images are quite different than you might expect…I love them all!
Let me show you how I made my card! I started by composing my image and sentiment in the computer and printing it out onto Neenah 80lb Solar White card stock.
Even before I started to color my image I wanted to die cut it. I used a pierced rectangle die set. I chose the die in the set that is 3 1/4″ x 4 1/2″.
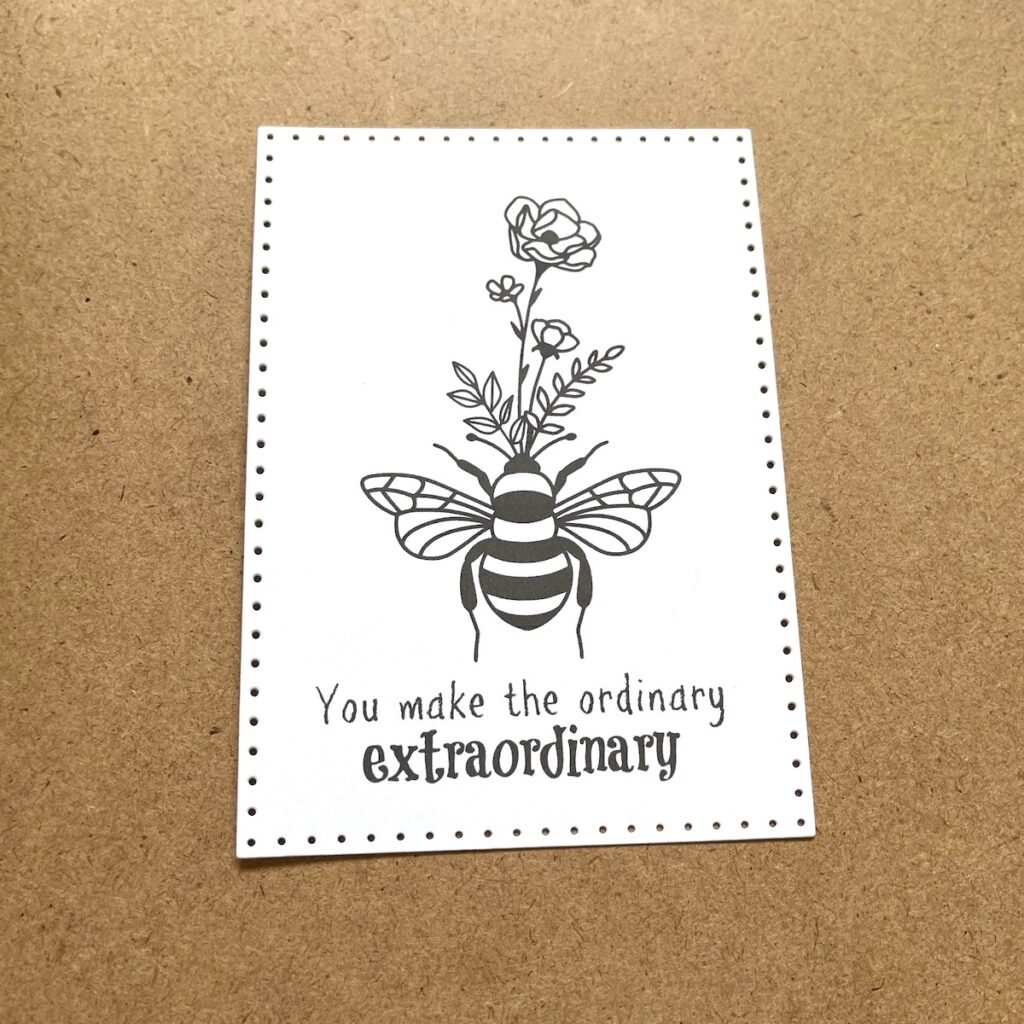
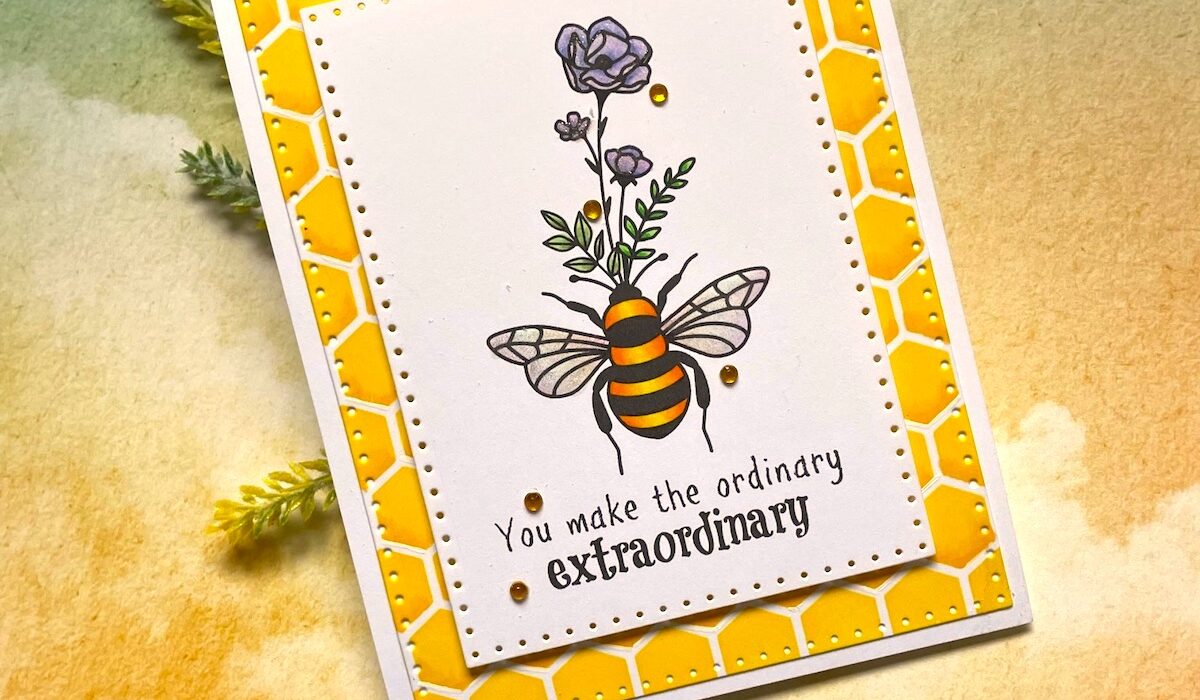
There is not a large area to color, so I wanted to make sure my image popped on my card. I did this by using bright colors.
COLORING PROCESS:
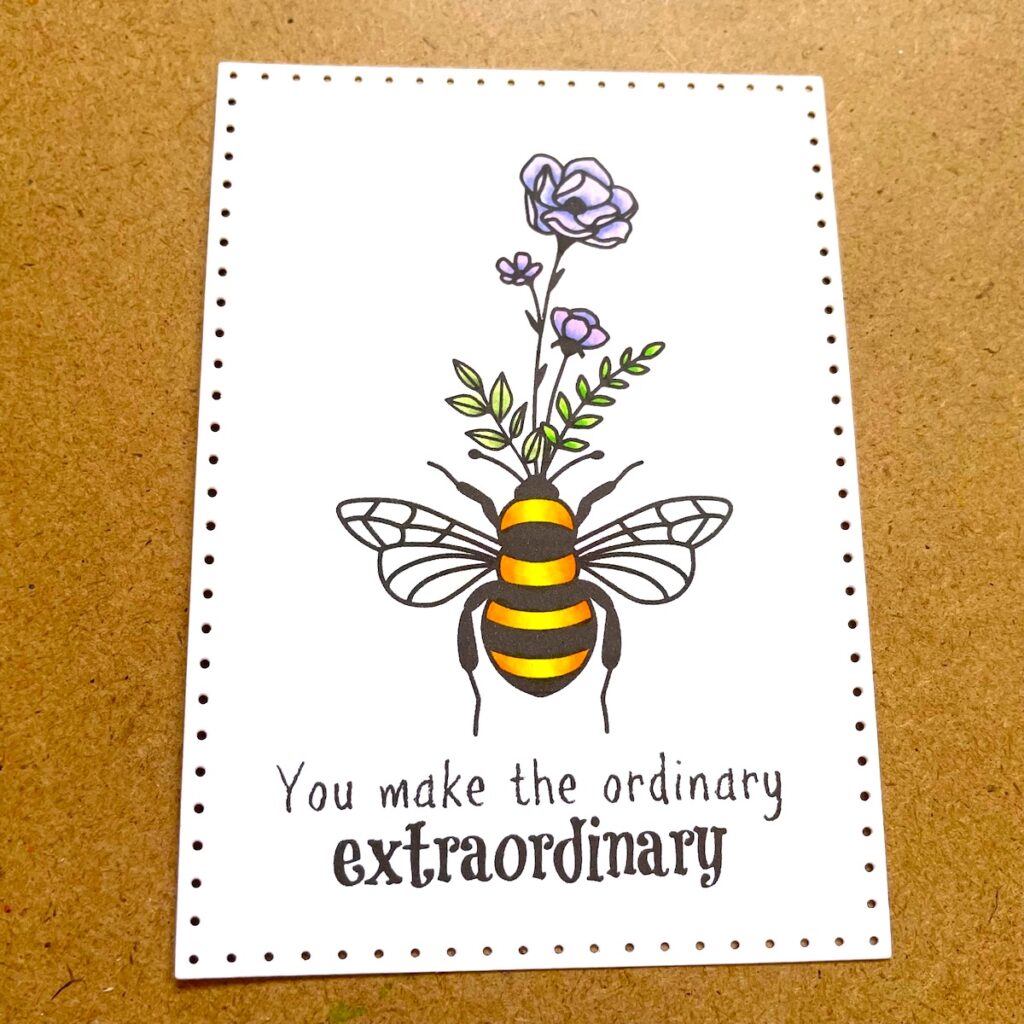
I used Copic Markers for coloring. For the bee I used Y02, Y08, Y17, Y38, YR04. Two different green mixes for the 2 different types of leaves. And YG11 & YG63, and YG06 & G14 for the other. Blue Violets for the flowers – BV000, BV02 and BV13. For the wings I used: B0000, RV00, YG0000, V01. For just a bit of added brightness to the flowers I glazed them with RV10 and RV63. I set that piece aside to work on the background.
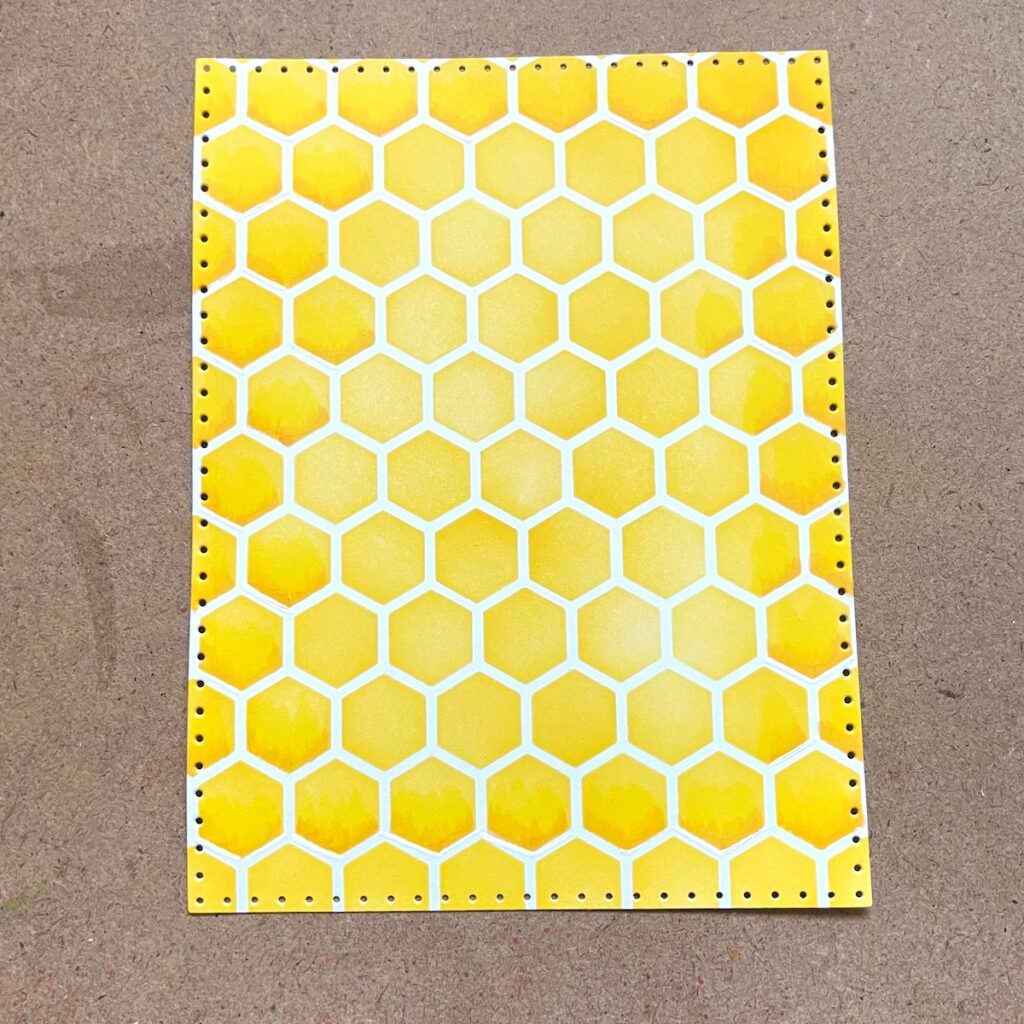
Using a honeycomb stencil and Mustard Seed Oxide ink, I stenciled an A2 size panel.

Once it was dry, I used a die from the same pierced set that was 4″ x 5 1/4″.
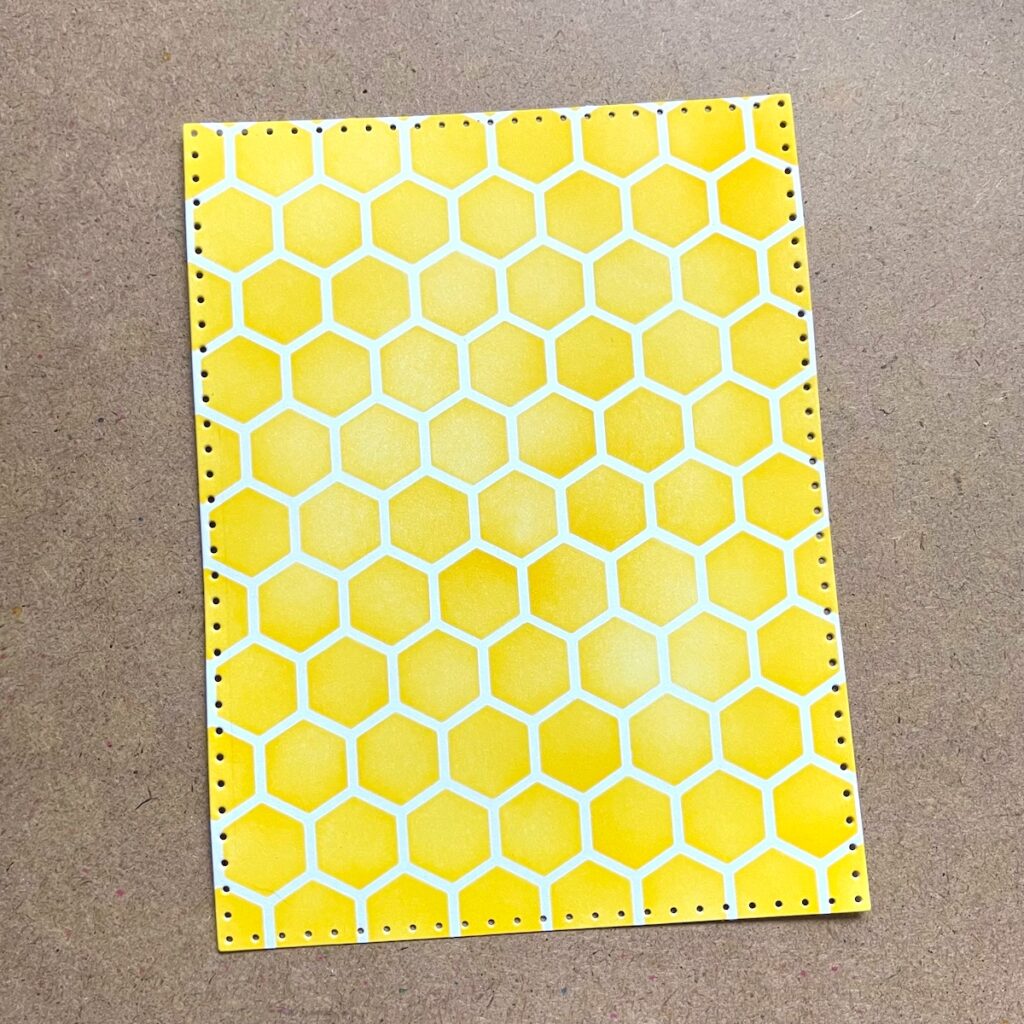
To give this piece just a bit of depth, I used a YR21 Copic Marker and shaded the bottom half of each of the hexagons. This was not deep shadowing, just enough so you know it’s there.
Now I was ready to assemble my card.
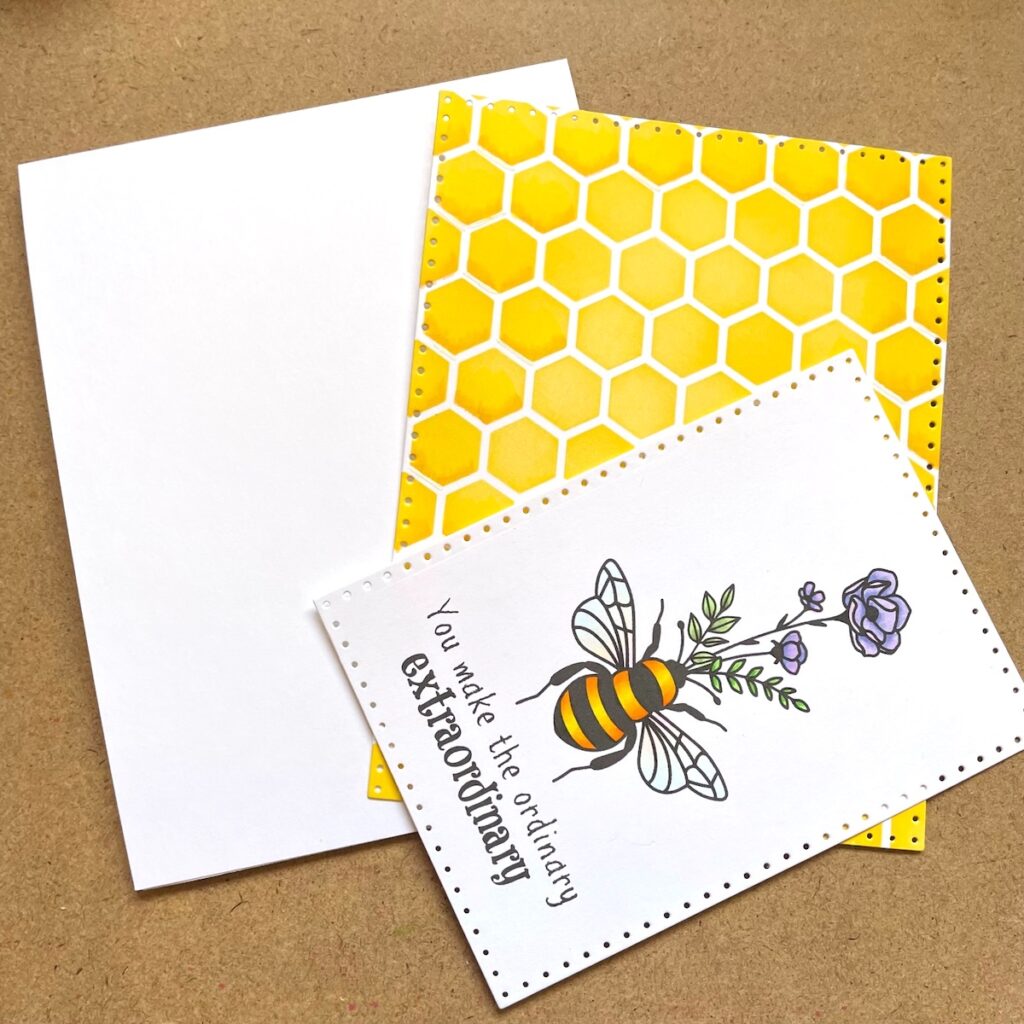
I adhered the stenciled panel to my white A2 size top folding card base. I adhered my main panel by adding a piece of adhesive foam the back. I added shimmer to the wings of the bee and the flowers.
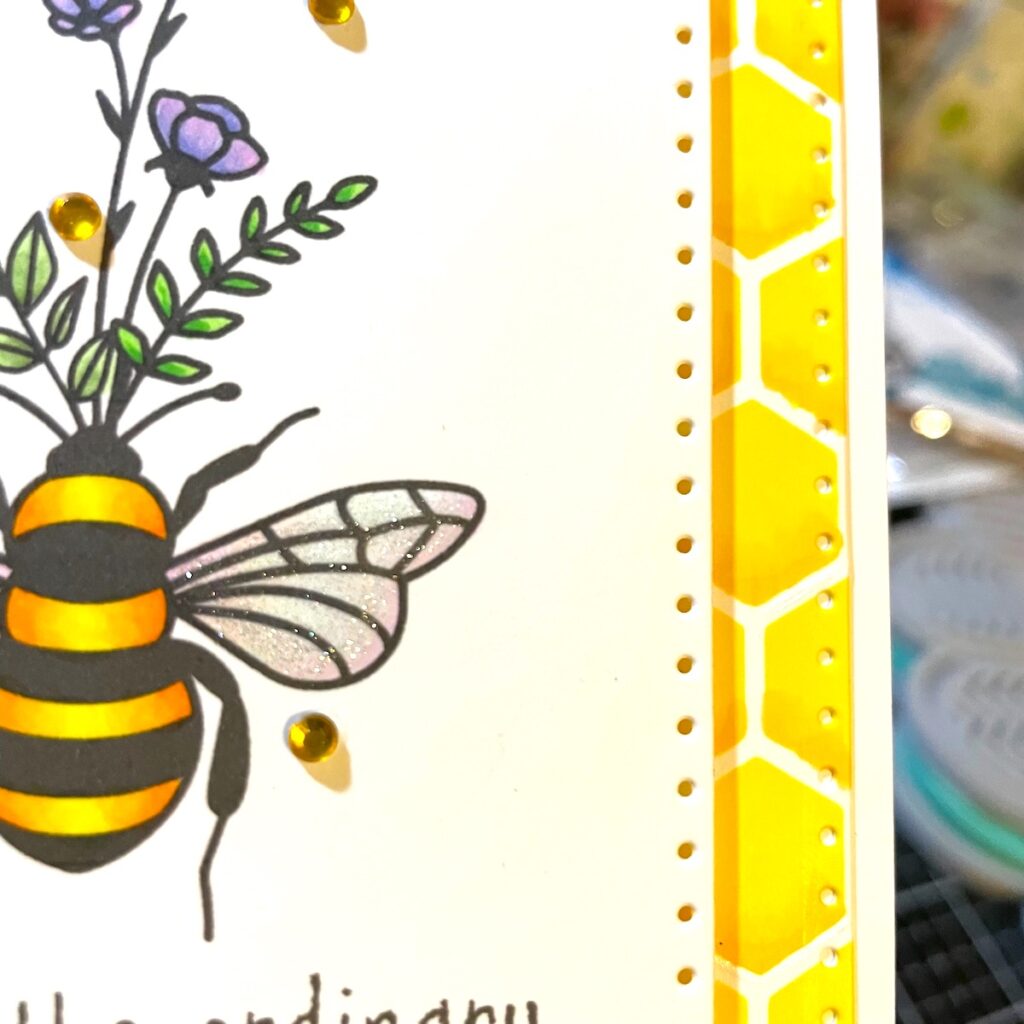
So hard to catch a photo of shimmer! It’s so pretty! I also added some yellow gems around my image. And that finished my card for today!
This stamp set is available in the shop and there are 2 other images included as well! It’s one of my favorites!
Thanks so much for spending time here today!
Betsy