
Hello Joy Clair Friends, Cathy on the blog today. I love word play, so the “galentine” trend pulled me into the craft room to create this flowery Galentine card. I know just who to send it to!!
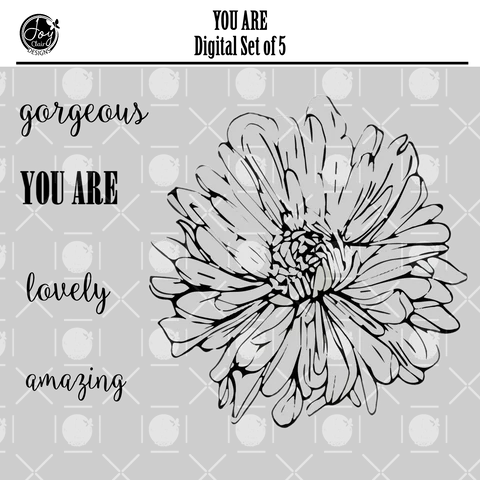
My card features Joy Clair’s gorgeous digital stamp set, You Are. Its bold chrysanthemum and the different sentiment fonts called to me! I knew Joy Clair shop’s Delighted Lace Rectangle Mini Slimline die set would add a sweet, feminine border around the card. The visual interest it brings to a card makes it one of my go-to die sets!!
Card Creation Process
When it comes to manipulating graphics on my computer, I am a dinosaur. I was excited to learn that the png format of a digital stamp set has a transparent background which makes it perfect for layering!! Plus, since I work within a word processing program as opposed to a graphic editor, my options are limited. However, Joy Clair teammate, Tia’s last post Message In A Mason has inspired me to learn more about Pixlr in the coming week!!
If you have found your way out of the dark ages of technology – skip this section!! I’ll share my thinking because figuring out how to use my supplies to bring an idea to life is part of my creative process. Starting with the png version, I reduced the size of the chrysanthemum and layered three images together. Here’s a screenshot of what I saw on my computer screen:
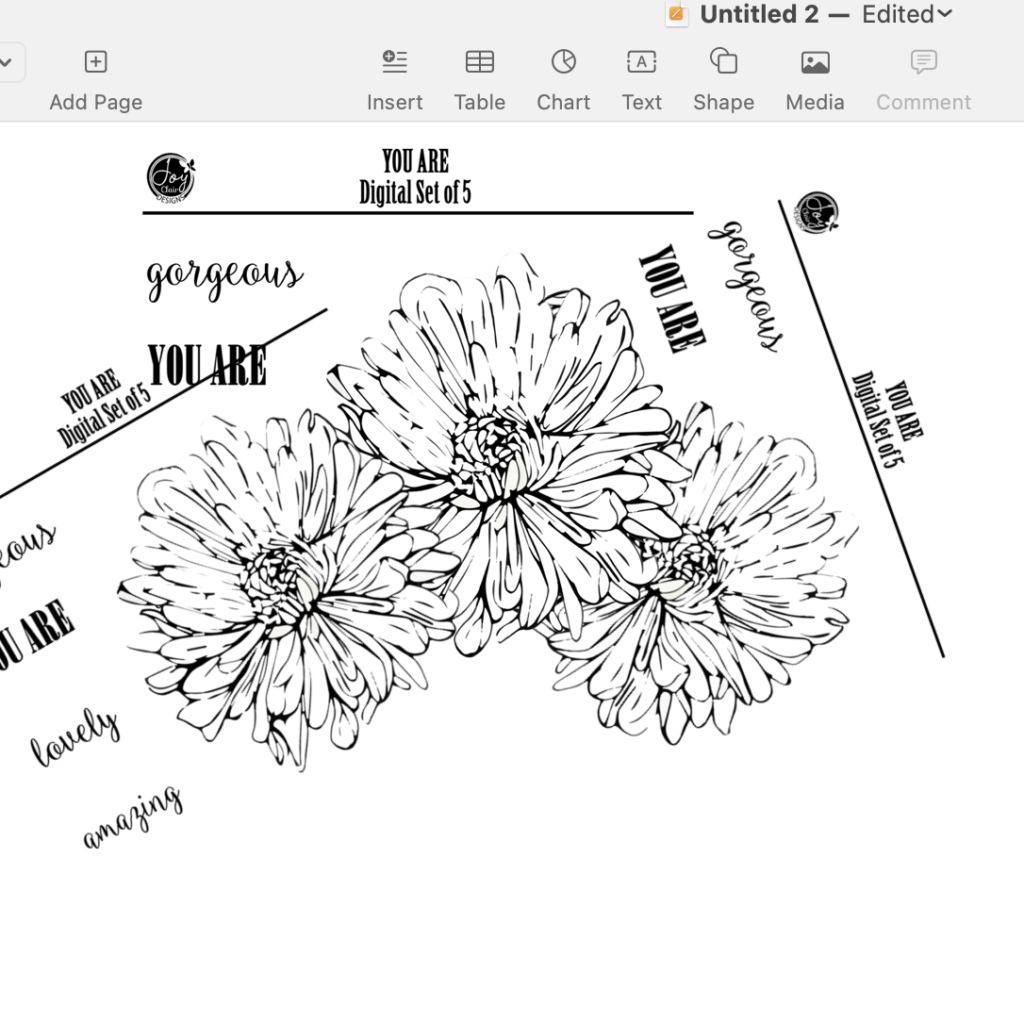
Ready to fussy cut the image, I rotated the whole digital set to create a focal point with the flowers. Opening a second document, I focused on layering different sizes of the sentiments so I had them ready for my card.
Coloring with Copics
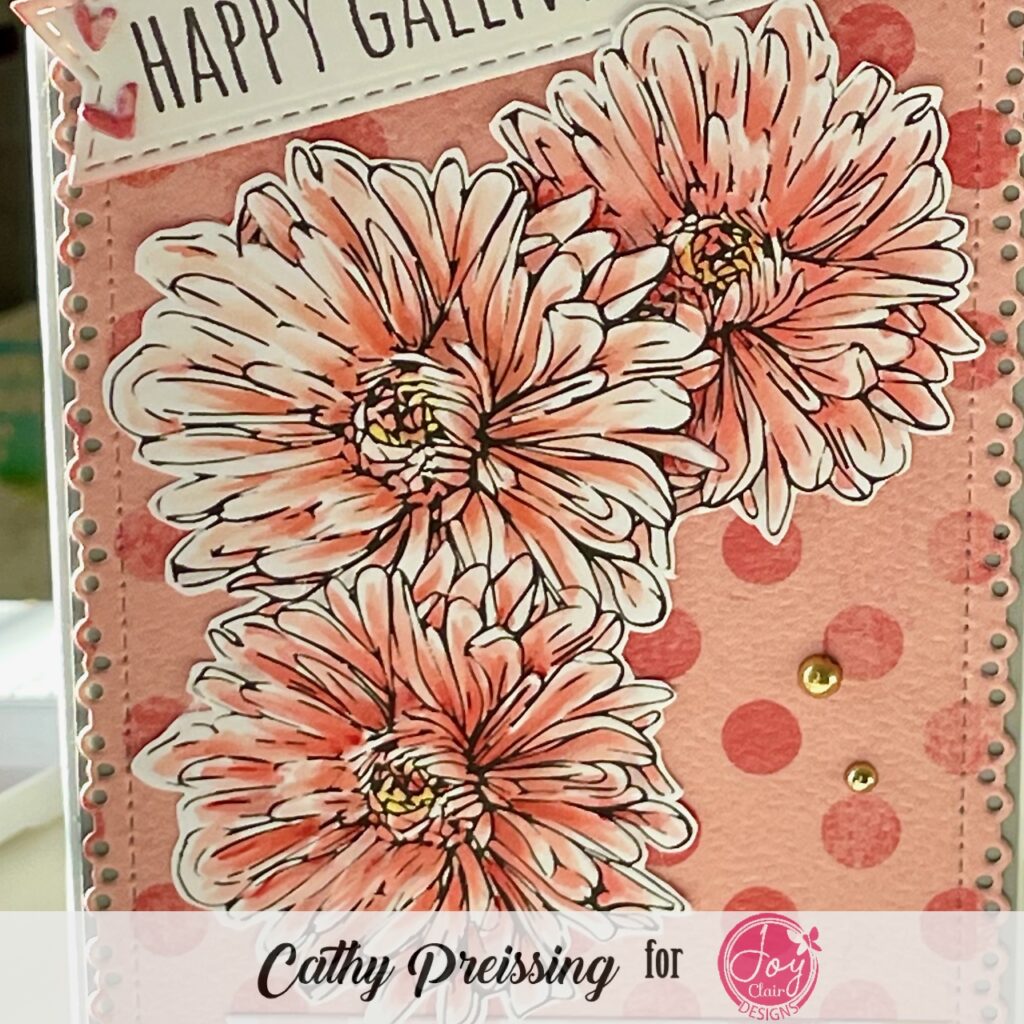
My next step was to pull out my Copics and color these beautiful chrysanthemums! Staying with the R family of markers tied the flowers into the background paper. I used R000, R11, R20, R22, R24 at different places throughout the three flowers. E70 is used in some spots where you see gray. Finally, I added a little Y113 to the centers to tie in the yellow from the patterned paper at the bottom of the card.
Card Design
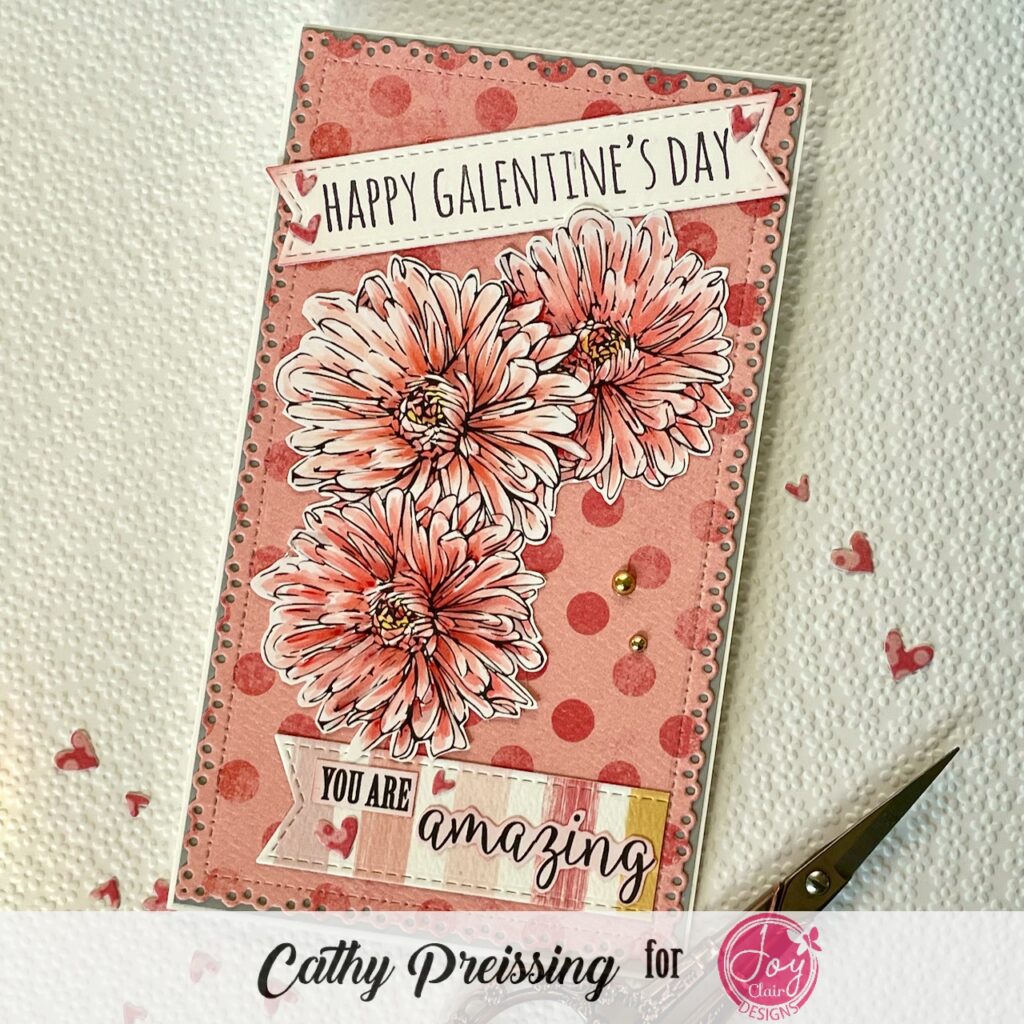
As I focused on the card layout I decided this flower cluster was perfect for a mini slimline size card. Don’t you love the Delighted Lace die’s movement and detail? It’s not just a simple stitch or border. Then I went to my stamp stash looking for a “valentine” sentiment and found an everyday occasion set I could transform into a “galentine” sentiment for the top of the card using my Misti and a little masking.

Next, I worked on the sentiment flag at the bottom of the card. I trimmed a small “You Are” and fussy cut a large “amazing” and inked the edges. Finally, I layered light graycardstock with my card base and background paper and added embellishments.
I love how this card came together, but I have a feeling that learning to use an editing software like Pixlr will make my life a whole lot easier – thanks, Tia!! I hope you are inspired to keep stretching yourself! Thanks for stopping by the blog! ~Cathy
Follow us!
Please sign up for Joy Clair Designs newsletters. Subscribers receive notifications of new releases, sales and exclusive offers. You can also follow the team’s Joy Clair Designs creations on Facebook Page, Joy Clair Stamp Projects Facebook Group, Instagram , Twitter, Pinterest and YouTube!